CSH (x2)
8 mm x 10 mm
(Included)
CTP (x1)
(Included)
Icon Legend...............................4
Warnings & Notices.....................5
Parts Identifi er............................6
Bench Seat Assembly..................7
Bench Back Assembly...............11
Bench Adjustment....................18
Cleaning & Care........................22
Registration............................23
Warranty.............................24
TOOLS REQUIRED TABLE OF CONTENTS
CONTACT LIFETIME CUSTOMER SERVICE:
Call: 1-800-225-3865
7:00 am–5:00 pm (Monday–Friday) MST
and 9:00 am–1:00 pm Saturday MST
Live Chat: www.lifetime.com
(click on “LIVE CHAT” tab)
Video Instructions: www.youtube.com/lifetimeproducts
QUESTIONS?
MODEL# AND PRODUCT ID (you will need both when contacting us)
Model Number: 60253
Product ID:
BEFORE ASSEMBLY:
• Assemble on a level surface
• 2 adults recommended for setup
Pour le français, voir la page 2. Para el español, ver la página 3.
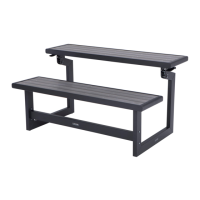
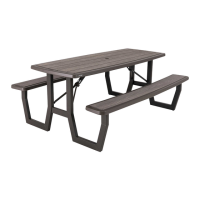
ASSEMBLY INSTRUCTIONS
MODEL #60091
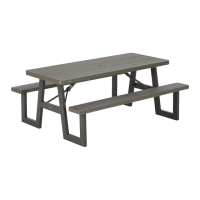
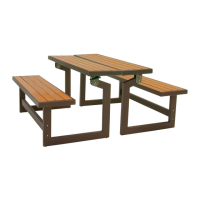
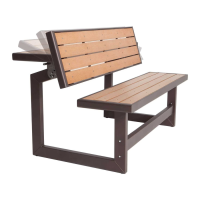
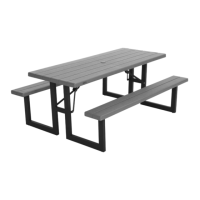
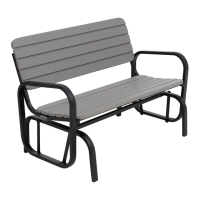
CONVERTIBLE
BENCH
MODEL 60253
ITM./ART. 1500110
Importado por:
Importadora Primex S.A. de C.V.
Blvd. Magnocentro No.4
San Fernando La Herradura
Huixquilucan, Estado de México
C.P. 52765
RFC: IPR-930907-S70
TEL: 55-5246-5500
www.costco.com.mx
FOR OUTDOOR DOMESTIC USE ONLY!
IMPORTANT, RETAIN FOR FUTURE REFERENCE: READ CAREFULLY.
For Customer Service in mainland Europe:
E-mail: cs@lifetimeproducts.eu
NINGUNA GARANTÍA OFRECIDA POR EL FABRICANTE ES VÁLIDA EN MÉXICO