15
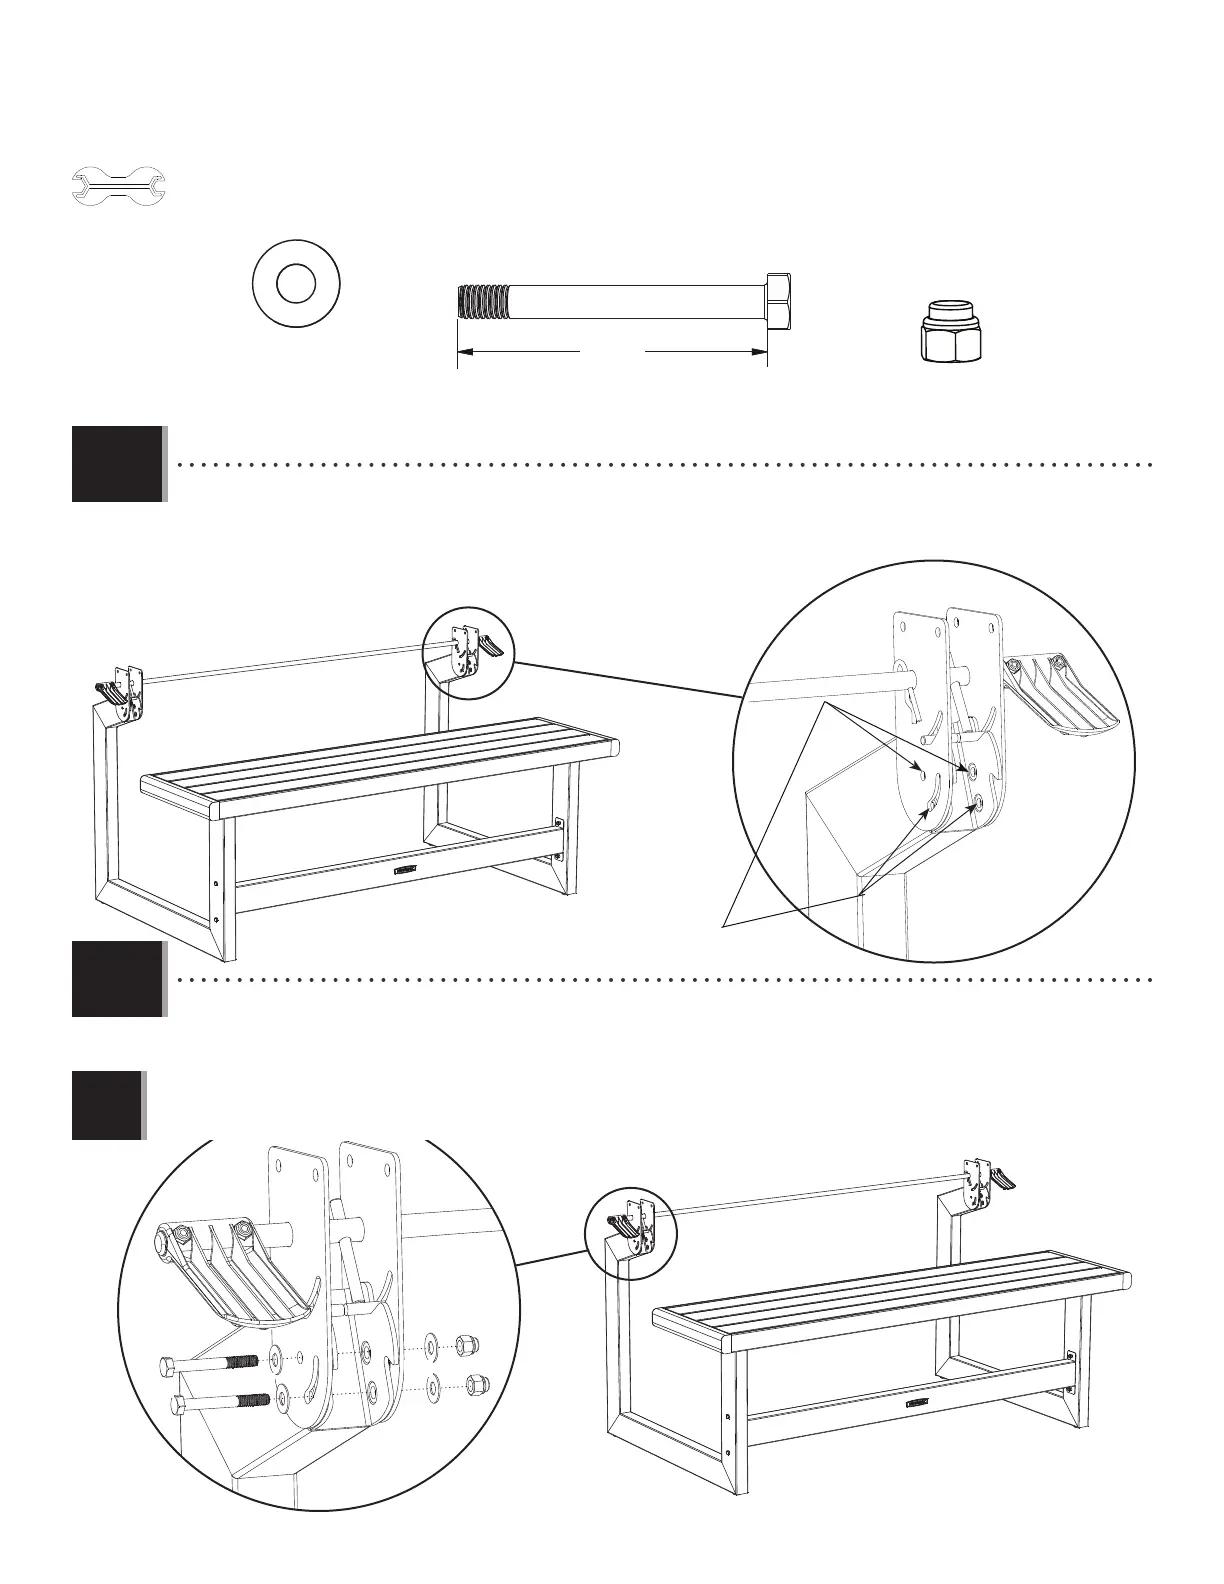
TOOLS AND HARDWARE REQUIRED / OUTILS ET QUINCAILLERIE REQUIS / INSTRUMENTAL Y HERRAJE REQUERIDOS
SECTION 2 (CONTINUED) / SECTION 2 (SUITE) / SECCIÓN 2 (CONTINUACIÓN)
Align these holes
Aligner ces trous
Alinear estos agujeros
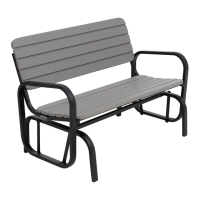
• Set the Hinge Assembly onto the back of the Legs, and align the holes as shown.
• Mettre l’assemblage du tube d’articulation sur la partie arrière des pieds, et aligner les trous comme indiqué
• Colocar el ensamble de la bisagra en la parte trasera de las patas, y alinear los agujeros como se muestra.
CTN (x8)
AON (x4)
CSJ (x4)
54 mm
10 mm (x2)
CSJ
CTN
CTN
AON
2.7
2.8
• Attach a Hinge Assembly to the Leg using the hardware included.
• Bien attacher une extrémité de l’assemblage du tube d’articulation à un pied à l’aide de la quincaillerie incluse.
• Sujetar un ensamble de la bisagra a las patas usando el herraje incluido.
Note: Repeat step 2.8 for the other side.
Remarque : Répéter l’étape 2.8 pour l’autre côté.
Nota: Repetir el paso 2.8 para el otro lado.
!