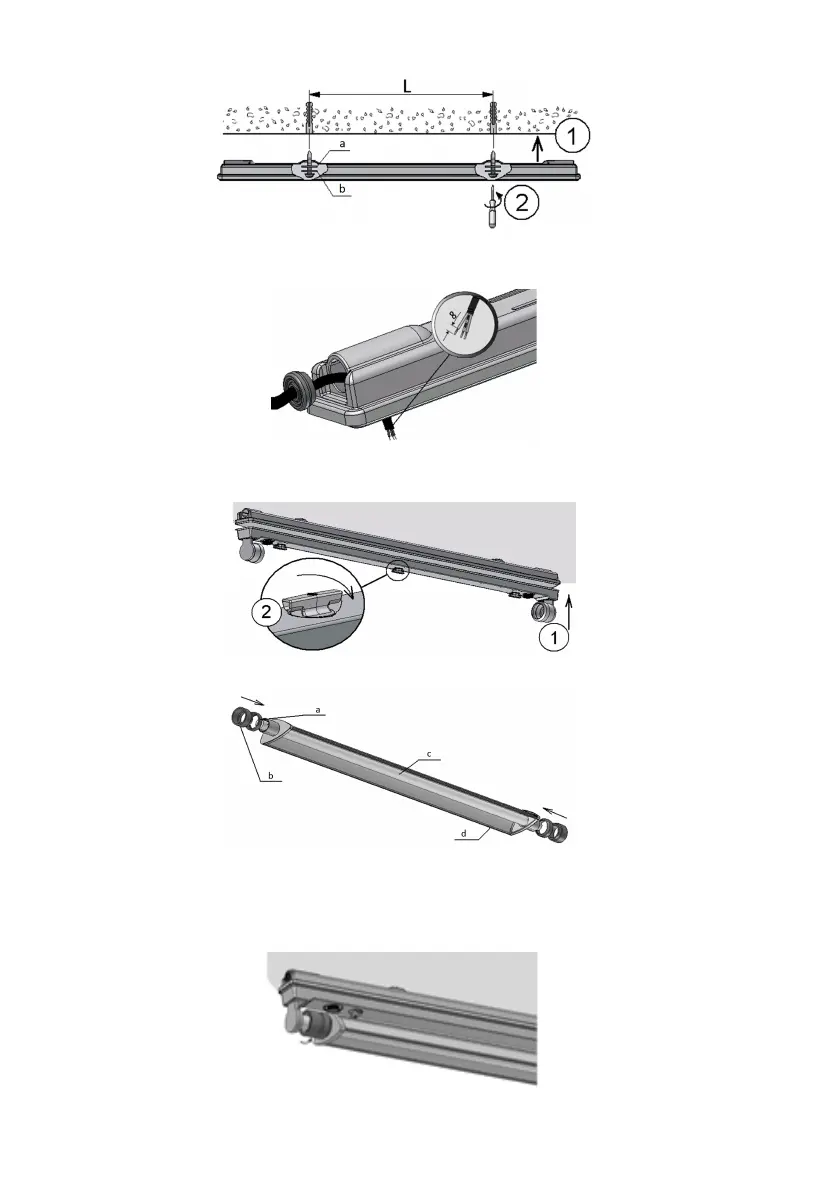
3. Place the luminaire’s body on bearing surface installation. (on fig. а – rubber washer; b -steel
washer).
4. Put mains cable through cable gland, which should have previously made hole with form of
mains cable profile and a bit less in size. Place the cable glands in appropriate holes in
luminaire’s body.
5. Connect mains cable to terminals on mounting panel according to polarity shown. To provide
electromagnetic compatibility the connection to functional grounding is a must.
6. Insert cover back into body and fix it with turn locks.
7. Install the reflector (if available), insert lamps: (on fig. a – threaded ring; b - coupling; c - lamp;
d - reflector).
7.1. For models with parabolic reflector.
7.1.1. Insert lamp into reflector.
7.1.2. Put on threaded rings and couplings on reflectors’ caps.
7.1.3. Fix the lamp with reflector on it into lampholders by turning on 90°.
7.1.4. Twist rings and couplings to lock the reflector position.