INSTALLATION LYTEMODE NETWORK POWERED HUB USER’S GUIDE
6
Installation
The Network Powered Hub can be wall-mounted or rack-mounted using the included mounting
brackets. Knock-out holes in the unit’s housing can be used to route power wiring and network cables
as required.
Installing the Unit
To install:
Step 1. Unpack unit and inspect for any signs of shipping damage.
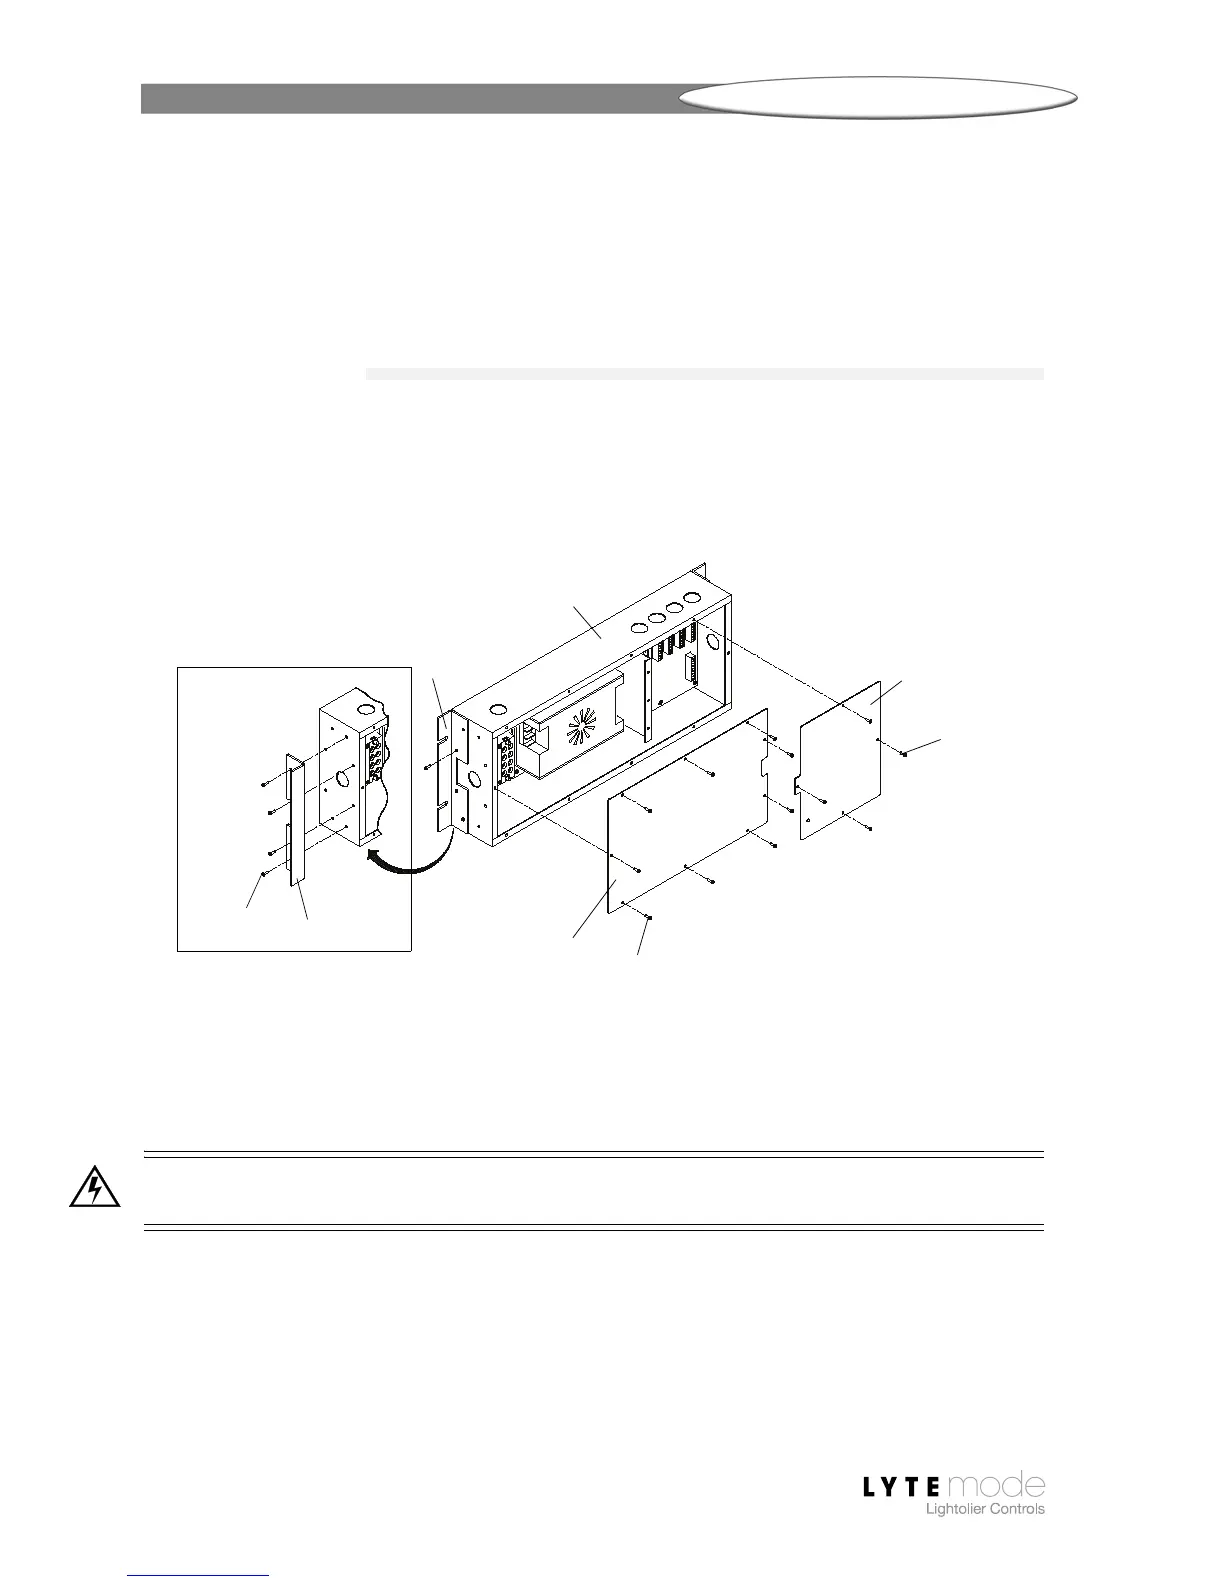
Step 2. If necessary, reconfigure mounting brackets (supplied) for wall or rack mounting
as shown in Figure 2.
Figure 2: Configuring Mounting Brackets & Removing Covers
Step 3. Install unit.
Step 4. Remove covers from High Voltage and Low Voltage compartments.
WARNING: Ensure that power is removed from house service before connecting any wiring or cables
to the Network Powered Hub.
Step 5. Remove power from house service.
Housing
Low Voltage
Compartment
High Voltage
Compartment
Mounting Bracket
CONFIGURATION 1
CONFIGURATION 2
Screw (4)
Screw (4)
Screw (9)
Cover
Mounting
Bracket
Cover