Suzhou Lily Tech. Co., Ltd.
Page 3, Total 4 Pages
Control
Cooling Control (U90 = C0)
Temperature control
If Troom ≥ Set-point + U22, and Temp. Output has been de-energized for U10, then Temp. Output energized;
If Troom ≤ Set-point, then Temp. Output de-energized.
Heating Control (U90 = HE)
Temperature control
If Troom ≤ Set-point - U22, then Temp. Output energized;
If Troom ≥ Set-point, then Temp. Output de-energized.
Temp. Output Load Delay Protection (only for cooling control)
After power supplied, Temp. Output could be energized after U10;
After Temp. Output de-energized, it could be energized again after U10.
Buzzer Function
Every key press, there will be a short beep. Every confirmation key press, there will be a long beep. Every error operation, there will
be three short beeps.
When there is failure, or external warning input: If U62 = 0, no buzzing warning. If U62 = 1, there will be continuous buzzing of
warning.
The waring will stop, if press〖P〗, or warning condition disappears.
Over Temperature Warning
When Troom ≥ SP + U54, or Troom ≤ SP – U55, display warning, and buzzing
External Warning Input
NO: normal open. If open, no warning; if closed, warning.
NC: normal close. If closed, no warning; if open, warning.
Locked: Warning keeps after the external warning disappeared. Press〖P〗 to stop warning.
Unlocked: Warning stops after the external warning disappeared.
Note: When there is external warning, the output(s) will be de-energized.
Sensor Fail
R1 stop energized.
Sensor Calibration
The sensor can be calibrated by U20.
Restore to Factory Default Settings
Keep〖P〗and〖▲〗depressed simultaneously for 5 sec, there will be a beep, and “UnL” displays.
Press〖▼〗twice, there will be a beep, all settings will be restored to factory default settings.
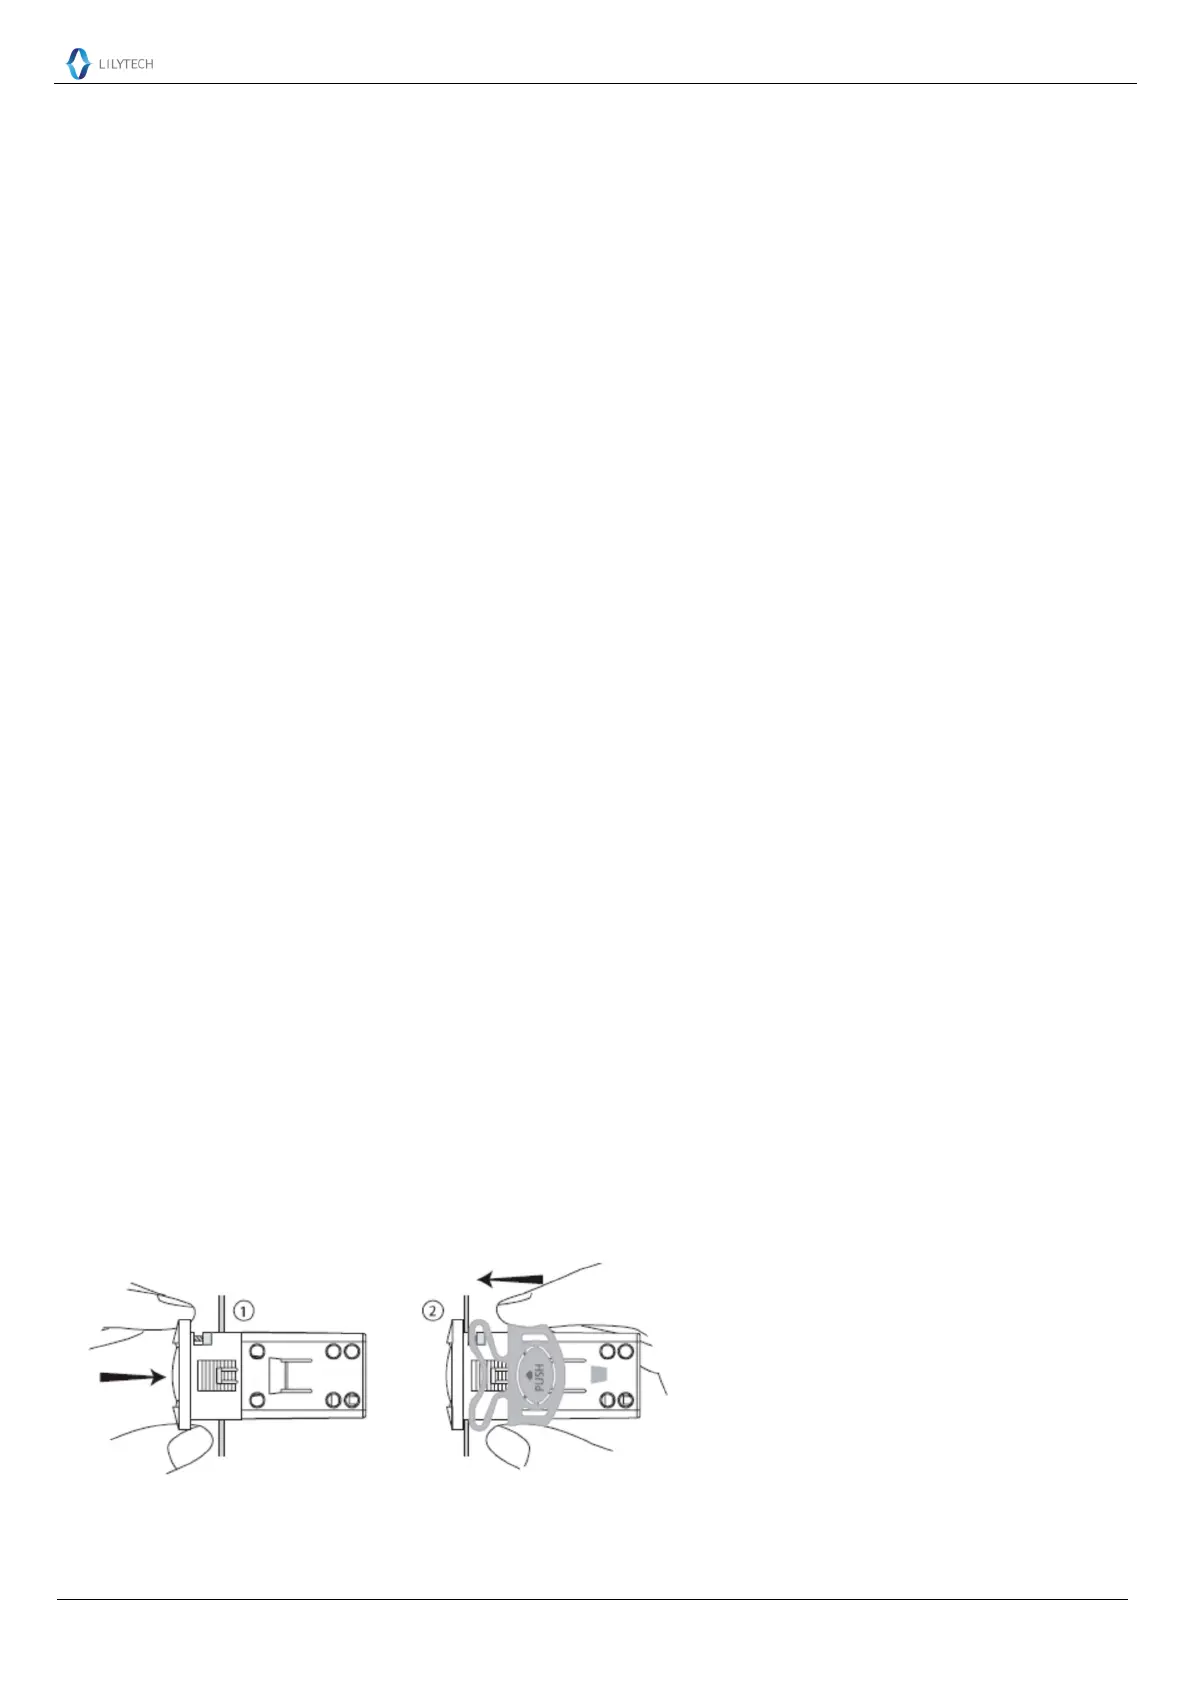
Installation
1st: Insert into drilling hole 2nd: Clamp
 Loading...