Assembly
Mount the dampers according to “Assembly Instructions Lindab Safe” to meet with the requirements for tightness class
C.
Consider required straight distance after or before disturbance, as mentioned on the card attached to the measurement
nozzles, to obtain accurate flow measurement. Dampers with dimension 400, 500 and 630 are provided with transport
protections. Remove these before assembly.
The damper may not be loaded with weight from connected ducts, specially when assembled vertically.
Measuring
Measurement accuracy
Consider required straight distance after or before disturbance, as mentioned on the card attached to the measurement
nozzles, to obtain accurate flow measurement.
Balancing
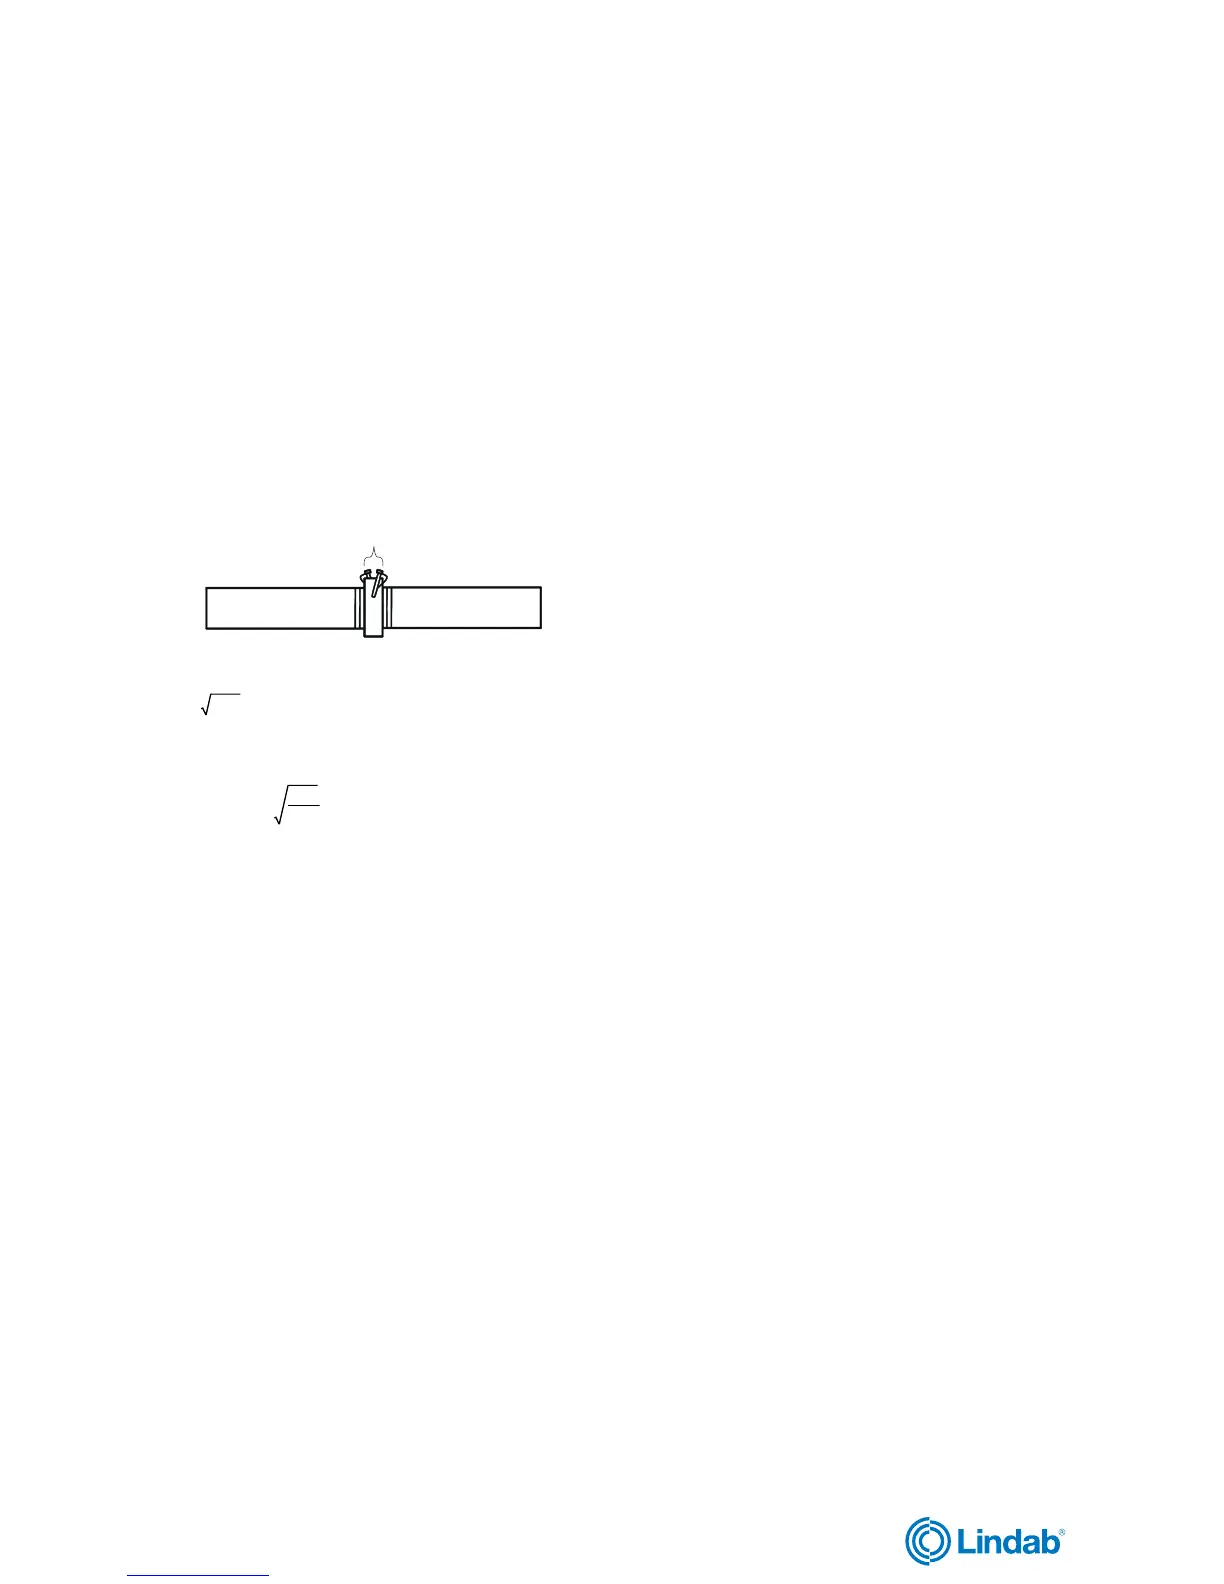
Connect the measuring hoses to the damper measuring nozzles.
Loosen the locking screws (3), which have Philips slot no.1. adjust the handle so that requisited pressure drop recei-
ves. Fasten the screws (3) and remount the tightness screws (2), so that the slot gets airtight.
For dimension 400,500 and 630 - remove the tightness screws (2). Then loosen the locking screws (3), which have
Philips slot no. 2. Adjust the handle so that requisited pressure drop receives. Fasten the screws (3) and remount the
tightness screws (2), so that the slot gets airtight.
Disconnect the hoses and plug the nozzles.
Maintenance
The product normally doesn't requires any maintenance.
Cleaning
By fully open the damper, one get access to the duct. Do not forget to readjust the damper after cleaning.
The balancing graphs show the flow, q, as a function of the measured pressure, ∆p
m
, in the measure nozzles.
 Loading...