2
1
Before starting the physical installa-
tion, note the PrintServer’s Default
Name on the bottom of the Print-
Server for future use.
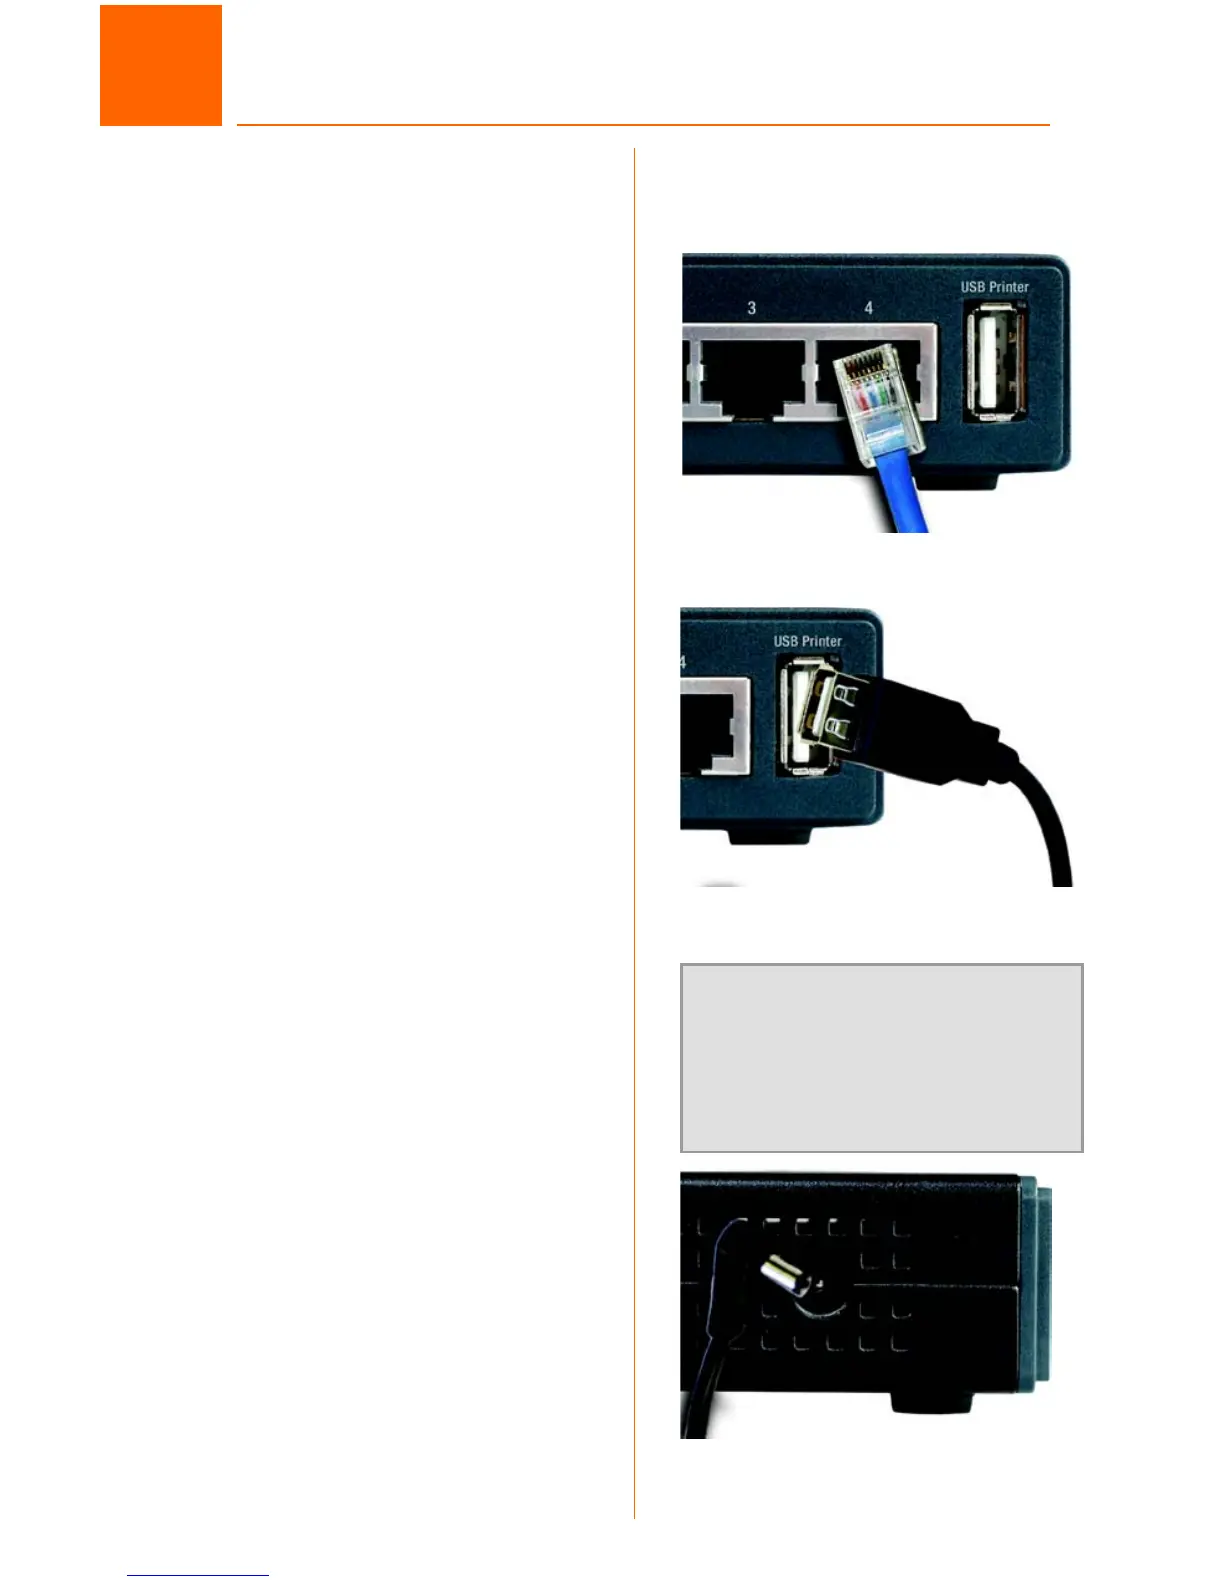
A Plug one end of the Ethernet
network cable into one of the
PrintServer’s LAN Ports (1-4).
(See Figure A.)
B Connect the other end of the
cable into your networked hub,
switch, or router. The distance
between the PrintServer and
the other device should not
exceed 328 feet (100 meters).
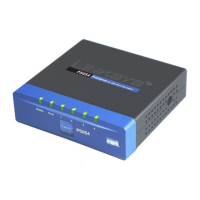
C Use the USB cable to connect
your printer to the PrintServer’s
USB port. Plug the Type A con-
nector end into the PrintServer
(Figure D) and the Type B con-
nector end into the printer.
D Power on your printer.
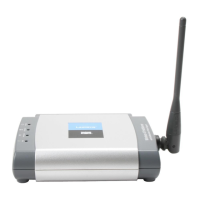
E Plug the power adapter cord
into the PrintServer’s Power port,
which is located on the right
side of the PrintServer. (See Fig-
ure F.)
F Plug the power adapter into
an electrical outlet.
The PrintServer connection is com-
plete. Go to Step 2.
Connecting the PrintServer
A
IMPORTANT: Make sure to use
the power adapter that is sup-
plied with the PrintServer. Use of
a different power adapter could
damage the PrintServer.
C
E