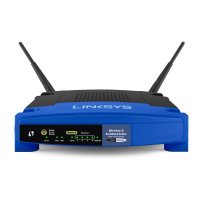
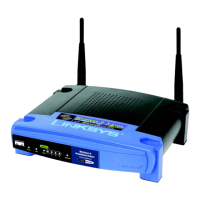
G Make sure the Power, Internet,
and at least one of the
numbered LEDs on the Router
light up. If they do not light up,
make sure the cables are
securely connected.
The Power LED will flash for a
few seconds while the Router
goes through its self-
diagnostics test. This LED will be
solidly lit when the self-test is
complete. If it does not stop
flashing, refer to “Appendix A:
Troubleshooting” in the user
guide on the CD-ROM.
Click Next.
H Follow the on-screen
instructions to complete the
setup and configuration.
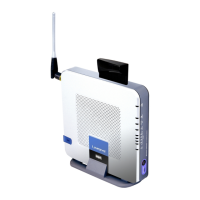
A Click the Broadband WAN and
Mobile Broaband radio button
to configure the Router for both
broadband WAN and mobile
broadband service.
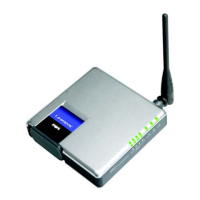
B Make sure the Router is
powered off. Insert your mobile
broadband data card into the
Router’s Data Card Slot on the
top panel of the Router. Then
Click Next.
C Disconnect the Ethernet
network cable from your
computer. (This is the cable
that connects the computer to
your modem.) Then Click Next.
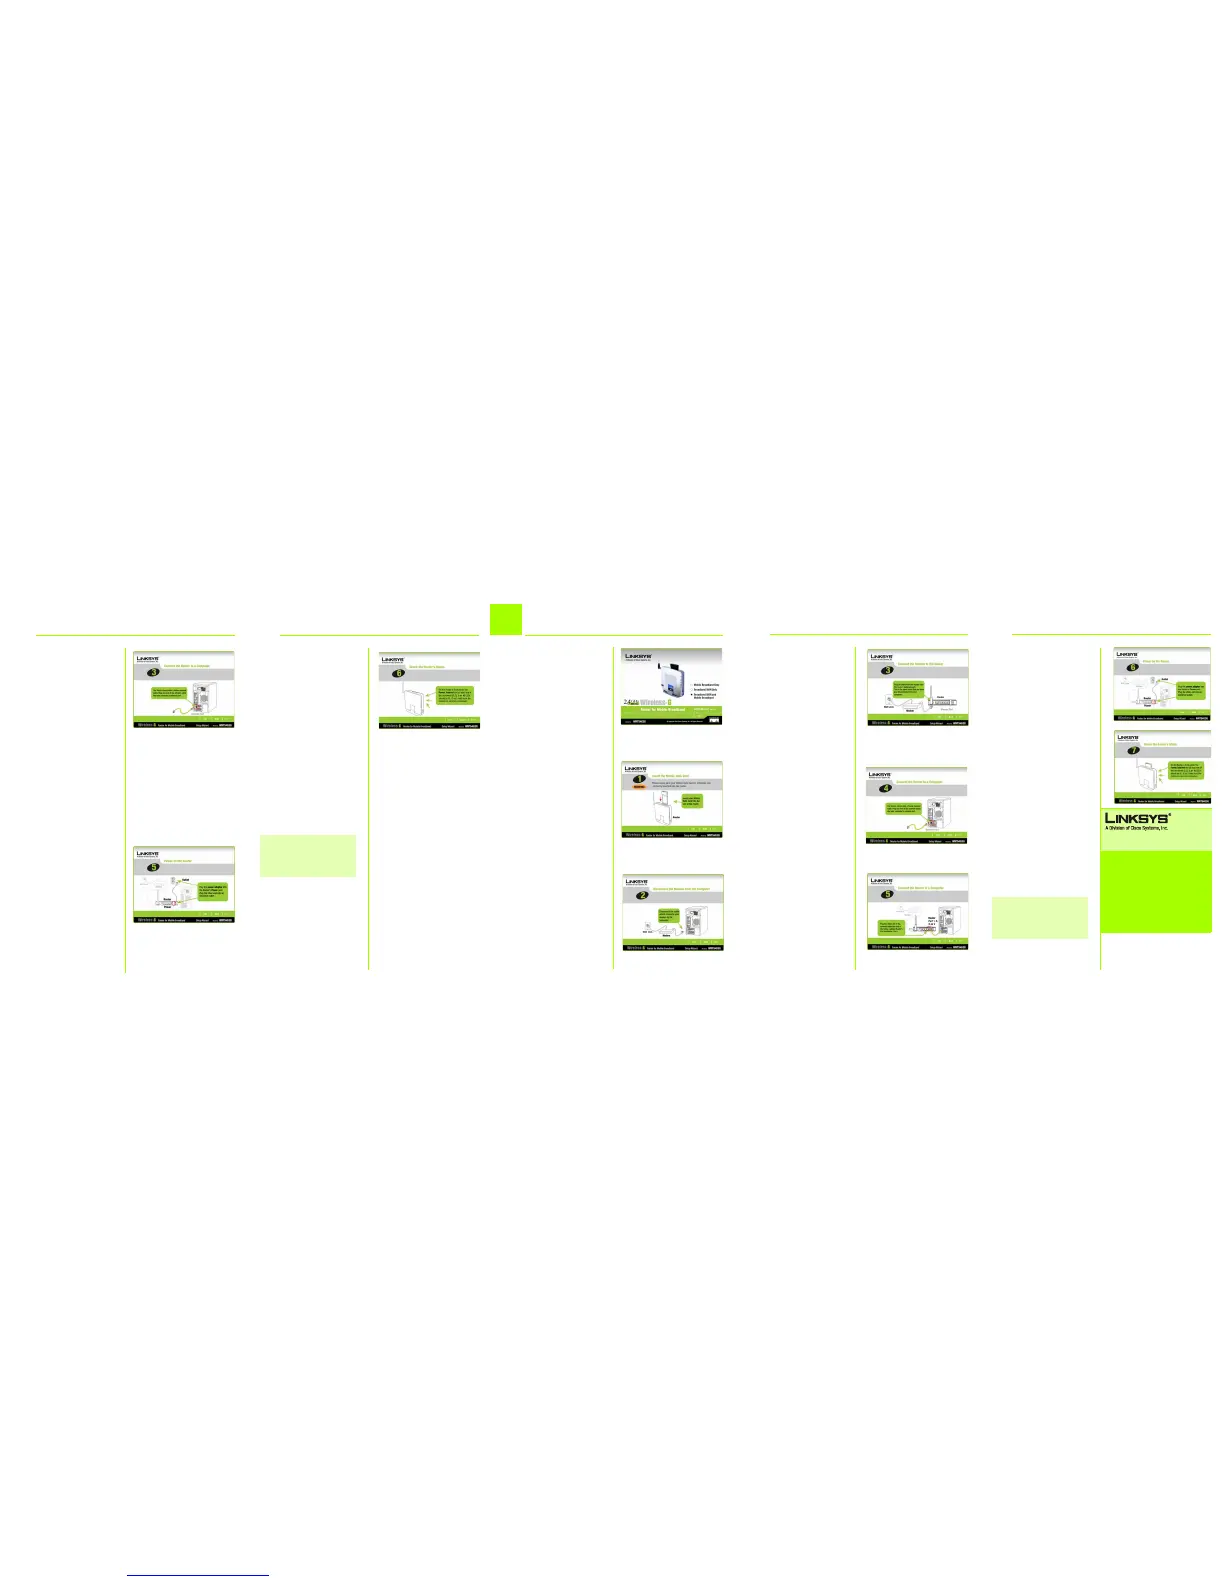
For additional information or troubleshooting help,
refer to the User Guide on the Setup CD-ROM.
Website
http://www.sprint.com or
SPRINT TECHNICAL SUPPORT AT
1-888-211-4727
Be sure to have the Sprint phone number of your
mobile broadband connection card ready before
calling.
To get the phone number, start the Sprint PCS
Connection Manager, then click on Menu, Device
Info & Diagnostics.
Linksys is a registered trademark or trademark of
Cisco Systems, Inc. and/or its affiliates in the U.S.
and certain other countries. Copyright © 2006
Cisco Systems, Inc. All rights reserved.
WRT54G3G-ST-QI-61120NC BW
D Connect the cable from the
modem to the Internet port on
the Router. (This is the same
cable that you just
disconnected from your
computer.)
Click Next.
E Connect the included yellow
Ethernet network cable to the
Ethernet network port of your
computer.
Click Next.
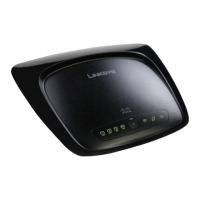
F Connect the other end of the
cable to one of the yellow
Ethernet ports labeled 1-4 on
the side panel of the Router.
Connect additional computers
or other devices to the Router.
Click Next.
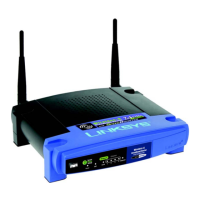
G Connect the power adapter to
the Router’s Power port. Plug
the other end into an electrical
outlet.
Click Next.
H Make sure the Power, Internet,
and at least one of the
numbered LEDs on the Router
light up. If they do not light up,
make sure the cables are
securely connected.
The Power LED will flash for a
few seconds while the Router
goes through its self-
diagnostics test. This LED will be
solidly lit when the self-test is
complete. If it does not stop
flashing, refer to “Appendix A:
Troubleshooting” in the user
guide on the CD-ROM.
Click Next.
I Follow the on-screen
instructions to complete the
setup and configuration.
3
Setting Up the Router for Braodband
WAN and Mobile Broadband Service
NOTE: If you want to make advanced
configuration changes, refer to “Chapter
8: Configuring the Wireless-G Router for
Mobile Broadband” in the user guide on
the CD-ROM.
D Connect the included yellow
Ethernet network cable to the
Ethernet network port of your
computer. Click Next.
E Connect the other end of the
cable to one of the yellow
Ethernet ports labeled 1-4 on
the side panel of the Router.
If necessary, connect any
additional computers or other
devices to the Router. Click
Next.
F Connect the power adapter to
the Router’s Power port. Plug
the other end into an electrical
outlet. Click Next.
F
D
F
E
D
C
B
A
G
G
H
NOTE: If you want to make advanced
configuration changes, refer to “Chapter
8: Configuring the Wireless-G Router for
Mobile Broadband” in the user guide on
the CD-ROM.
 Loading...