11. Your mark should be just a fraction above center point so the RP-SMA adapter will clear the board.
<<Very important IF YOU DRILL TOO LOW THE BOARD WON’T CLEAR
12. Drill a smaller hole first with a smaller bit and then go ahead and finish the drilling with the 1/4" drill
bit.
13. You may want to get someone to help you hold the unit in place as you drill. Hold the unit vertically
on a solid service before drilling. Take your time. No hurry!
14. After drilling there will be a little plastic left around the inside hole that will need removing. Just use
a kitchen knife or other small knife to remove the plastic.
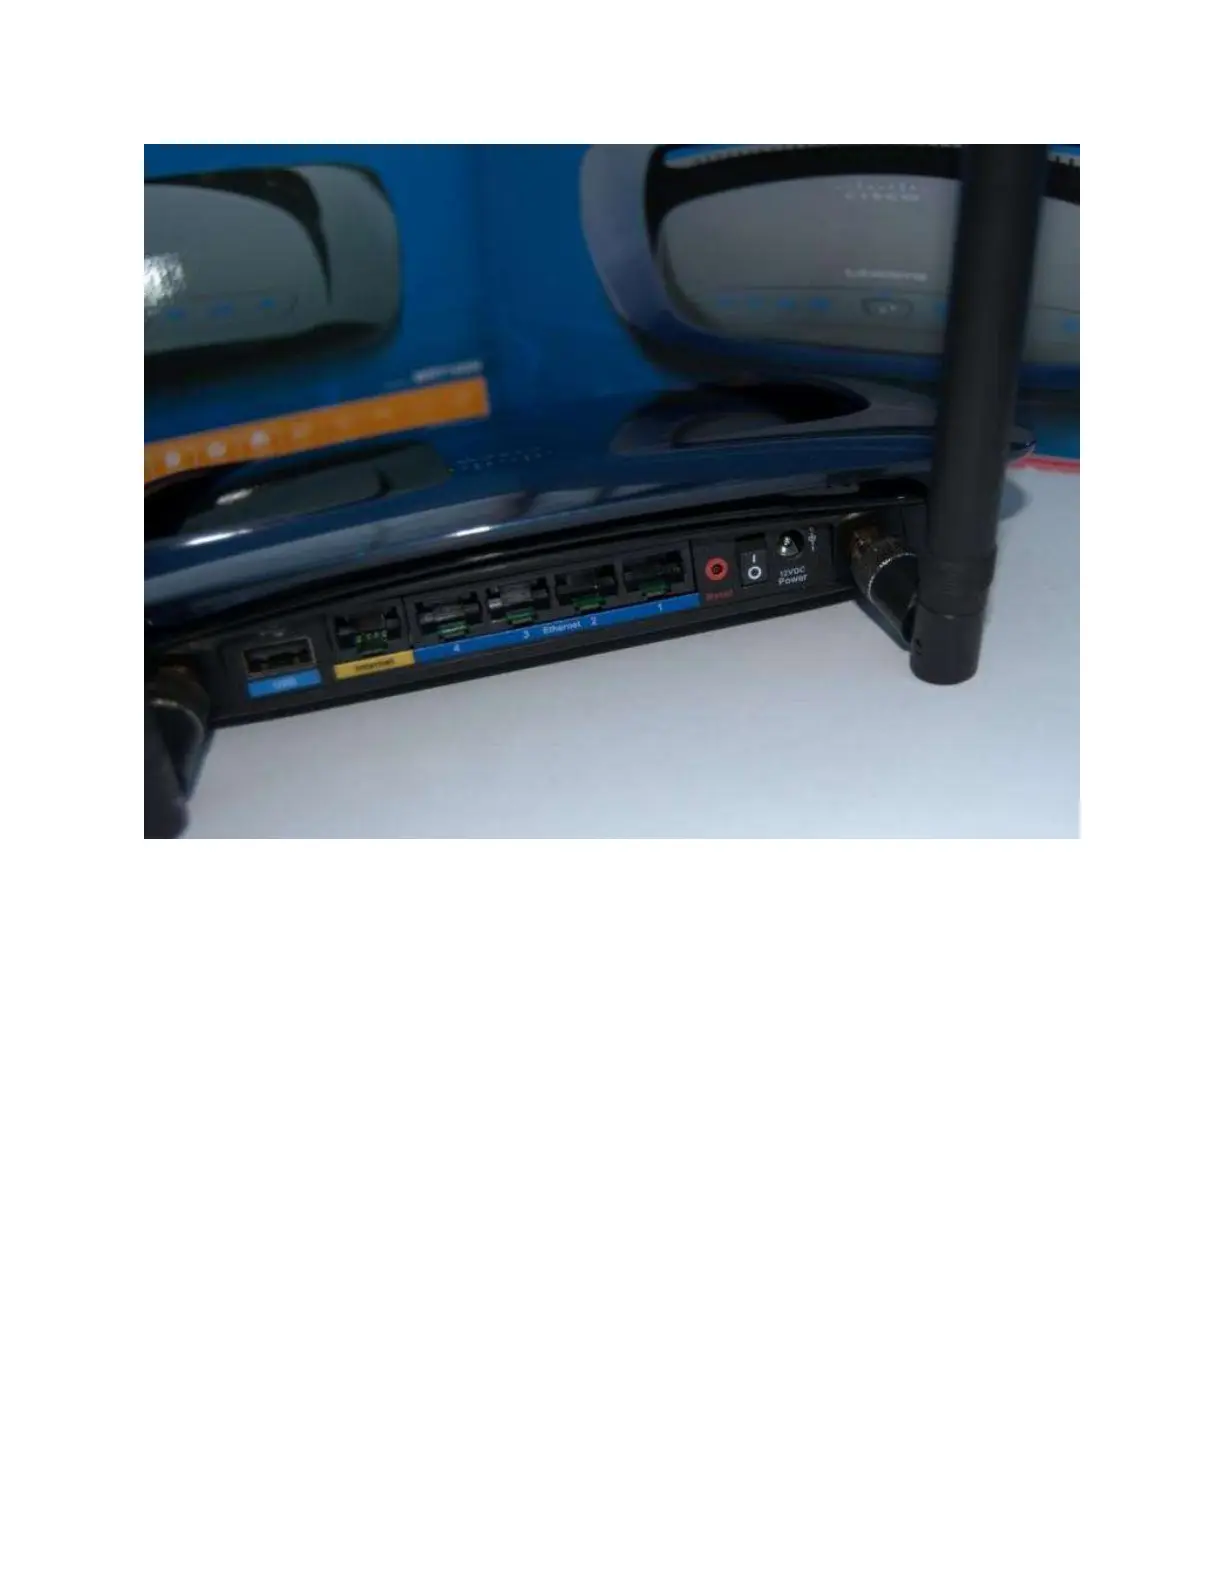
15. Attach the UFL cables and the RP-SMA Plugs and of course the 6dBi Antennas and you are set to go.
Do not remove any built in antennas.
Be sure the nut on the RP-SMA plug is nice and tight, otherwise your antennas will flop.
NOTE: When putting the case back together make sure none of the cables get pinched with screws.
You
can secure them in place by using clear tape.
Enjoy
 Loading...