‑ 6 ‑EN
• The product must be kept away from re and sources of heat.
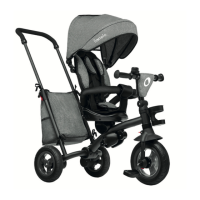
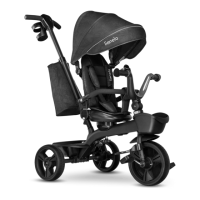
• The maximum shopping basket capacity is 1kg
• The product should be used on a straight road away from trac.
• Smaller children may use the tricycle only if accompanied by an adult.
•
Be careful when using the bicycle. The child should be trained to use the
bicycle and have skills to eecvely avoid falling, collision and injury to the
child or other people.
• Brake by stopping pedaling.
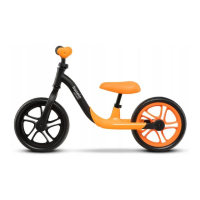
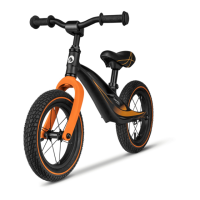
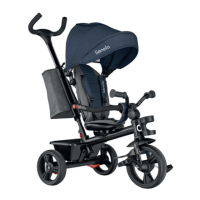
Descripon (1, 2):
A. peak
B. parent handle
C. bail
D. seat
E. basket
F. rear wheel
G. footrest
H. pedal
I. front wheel
J. fender
K. cup holder
L. steering wheel
M. steering wheel handle
N. frame
O. seat base
P. seat pin
Q. securing element on the back of
the frame
R. bag
How to assemble the tricycle
1.
Assemble rear wheels in dedicated spots at the back of the frame. If you can
hear a „click”, it means they have been xed properly. Make sure the wheels
are secured properly – try to push them out (Fig. 4).
2.
Slide the front wheel into the front of the frame (Fig. 4), then put the steering
wheel on the protruding stem and ghten it with a screwdriver (Fig. 5, 6).
3. Fix the mug holder at the front of the frame.Place the saddle on the frame
– pull a metal shank through it.
4.
Screw in the shank on the other side of the frame with the use of black
nut (Fig. 9).
5. Place the seat base on the frame (g. 7) Put the belt cushion through a bow
and join it together (Fig. 8, 9).
6. Fix the sunshade on the saddle brackets which sck out on both sides. In
order to adjust the inclinaon of the sunshade, pull evenly the brackets to
 Loading...