Do you have a question about the Little Tikes Waterfall Island Water Table and is the answer not in the manual?
| Material | Plastic |
|---|---|
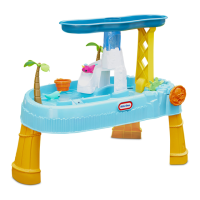
| Product Type | Water Table |
| Assembly Required | Yes |
| Color | Multicolor |
| Recommended Age | 2+ years |
| Included Components | Water table, accessories |
Essential tips for a smooth and safe assembly and usage experience.
Critical safety precautions for adult assembly and child supervision.
Guidelines for safely disassembling and disposing of the equipment.
Verify all parts and tools are ready before beginning assembly.
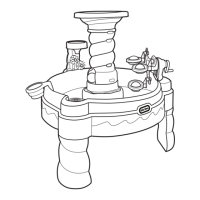
Visual guide to identify each component of the water table.
Properly insert and secure the drain plug into the table top.
Connect the three table legs securely to the table top.
Install and secure the basin support structure to the table.
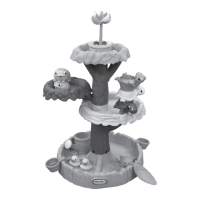
Assemble and attach the palm tree components to the table.
Assemble the waterfall tubes and attach them to the base supports.
Connect the slide parts and attach the slide assembly to the waterfall.
Securely attach the combined waterfall and slide structure to the table.
Place and secure the basin onto the waterfall and support structure.
Assemble the paddle and squid cap onto the axle.
Install the paddle cover over the spinner assembly.
Instructions for filling, playing, and proper storage of the water table.
Contact details and resources for customer support inquiries.
Information regarding the product's warranty coverage and terms.