AI RUNNER REV. REGLER AI RUNNER REV. SPEEDO
EINBAUTIPPS INSTALLATION TIPS
- Befestigen Sie den Regler mit beigelegtem, doppelseitigem Klebeband.
- Sorgen Sie für ausreichende Kühlöffnungen in der Karosserie; dies erhöht die Leistungsfähigkeit und Lebensdauer aller elektronischen Komponenten.
- Platzieren Sie den Regler an einer crashgeschützten Stelle.
- Der Regler sollte so eingebaut werden, dass ein leichter Zugang zu den Steckern gewährleistet ist.
- Affix the speed-control using the supplied doubled-sided adhesive tape.
- Make sure there are enough cooling slits in the body. This will increase the performance and life of all the electronic components.
- Position the speed-control where it is protected in the event of a crash.
- Install the speed-control so that you have easy access to the plugs.
INSTALLATION INSTALLATION TIPS
- Befestigen Sie den Regler im Modell.
- Verbinden Sie den Regler mit dem Empfänger (Throttle).
- Verbinden Sie den Regler mit dem Motor, mit Hilfe des gelben/orangen (+) und des blauen/schwarzen (-) Kabels
- Prüfen Sie abschließend alle Verbindungen, bevor Sie den Regler an einen Akku anschließen.
ACHTUNG: Ein falscher Anschluß zerstört Ihren Regler.
- Der Regler ist jetzt bereit für die Inbetriebnahme.
- Attach the speed-control to the model.
- Connect the speed-control to the receiver (Throttle).
- Connect the speed-control to the motor, using yellow/orange (+) and the blue/black (-) wires.
- Then check all connections before connecting the speed-control to a battery.
CAUTION: If a connection is incorrect, it will destroy the speed-control.
- The speed-control is now ready to start.
TECHNISCHE DATEN TECHNICAL DATA
Produkt Product A.I.Runner A.I.Runner
Best.Nr.. Order No. 83060 83060
Vowärts/Bremse/Rückwärts Forward/Brake/Reverse ja yes
Gehäusegröße Case size 26.0x26.0x15.7mm 26.0x26.0x15.7mm
Gewicht (ohne Kabel) Weight (excl. wires) 19.0g 19.0g
Spannungsbereich Voltage Input 4.8-7.4V 4.8-7.4V
Typischer Spannungsabfall* Typical Voltage Drop* 0.320V@20A 0.320V@20A
Strombelastbarkeit* Rated Current* 60A 60A
Empf. Motorlimit** Rec. Motor Limit** Über 18 Turns** Over 18 Turns**
Empfängerspannung B.E.C. 5.0V 5.0V
Hochfrequenz High Frequency ja yes
Fail-Safe-System Fail-Safe-System ja yes
Multi-Protection-System Multi-Protection-System ja yes
Stecksystem Connectors Standard Tamiya Style Standard Tamiya Style
Einstellvorgang Setup Procedure Automatic Automatic
* Transistorangaben bei 25°C. Änderungen der Spezifikation vorbehalten.
** @ 6 Zellen (7.2V) beim Einsatz eines Motors
* Transistors rating at 25°C junction temperature. Specifications subject to change without notice.
** @6cells (7.2V). using single motor
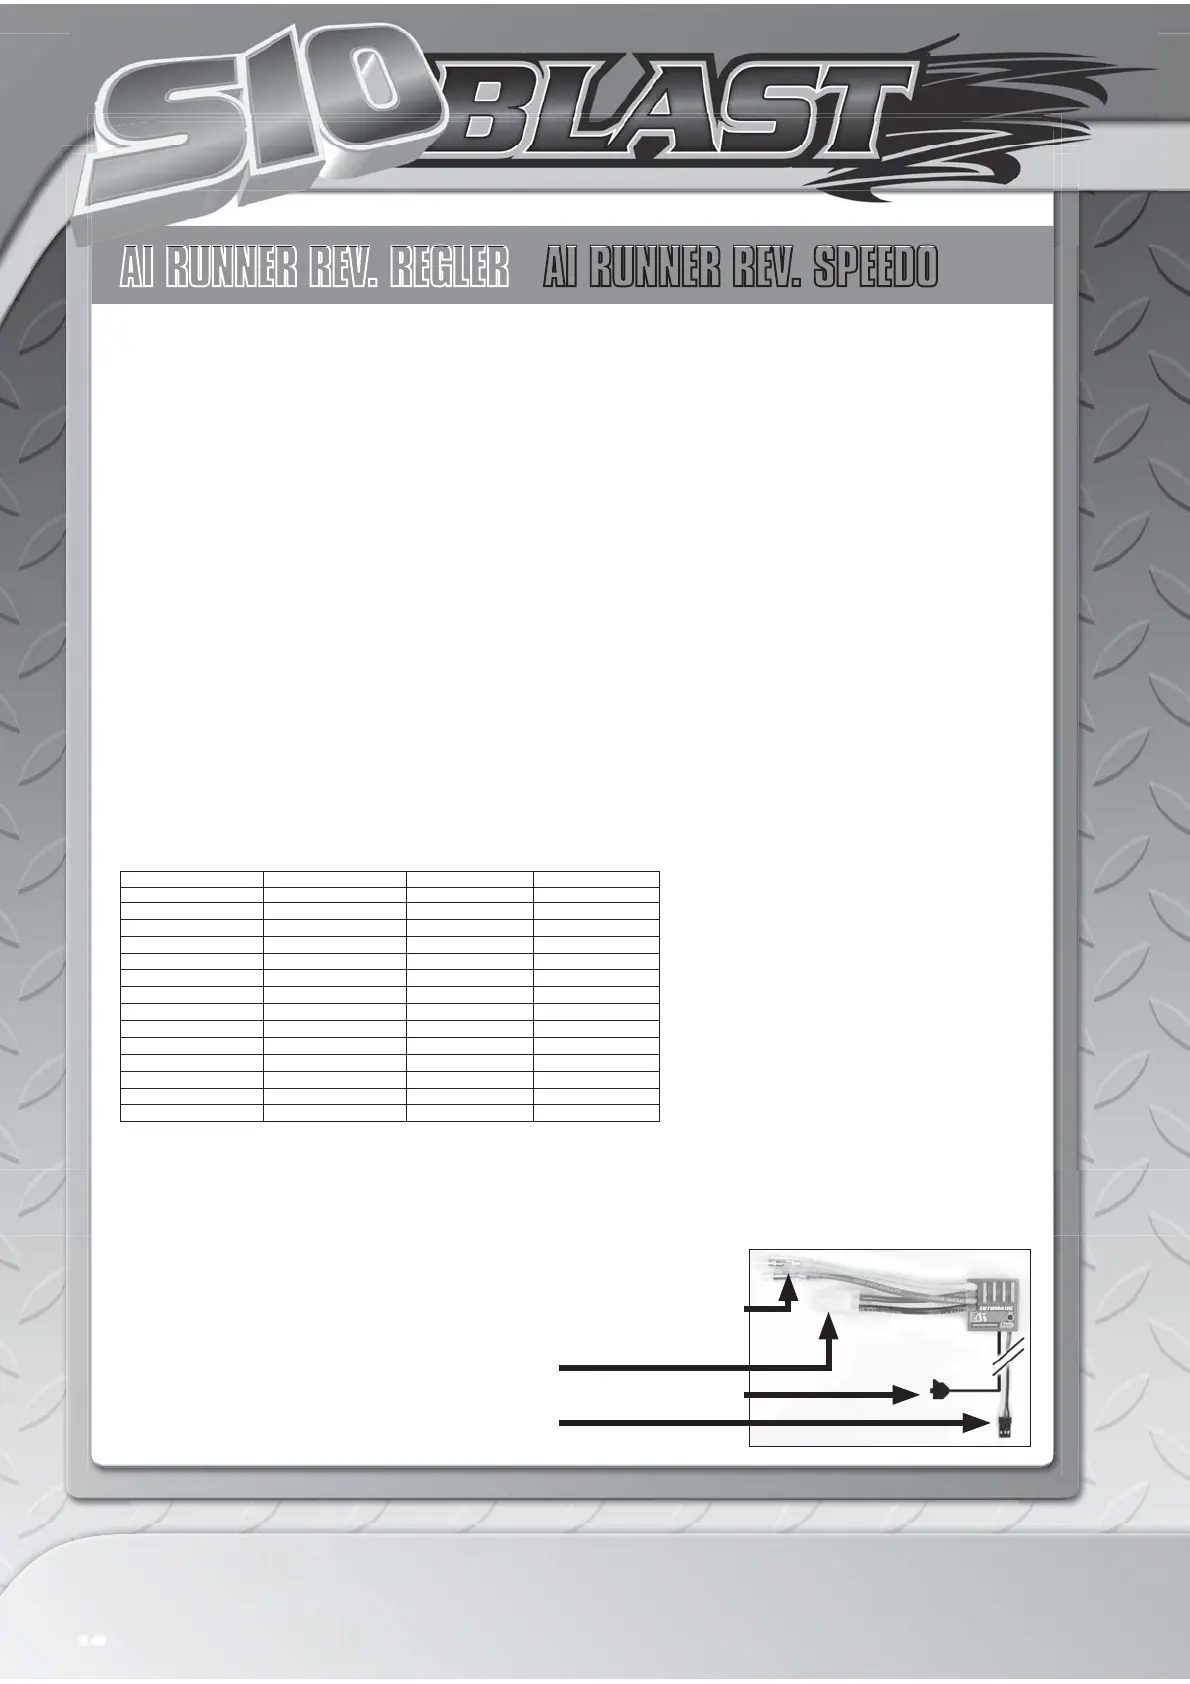
ANSCHLÜSSE CONNECTIONS
Tamiya Stecker (Akku)
Tamiya Connector (Battery)
Motor Anschlußkabel (gelb/orange = plus) (blau/schwarz = minus)
Motor Connector (yellow/orange = plus) (blue/black = minus)
Empfängeranschlusskabel
Receiver Lead
An/Aus Schalter
On/Off Switch
P. 4 6


 To Next Page
 Loading...