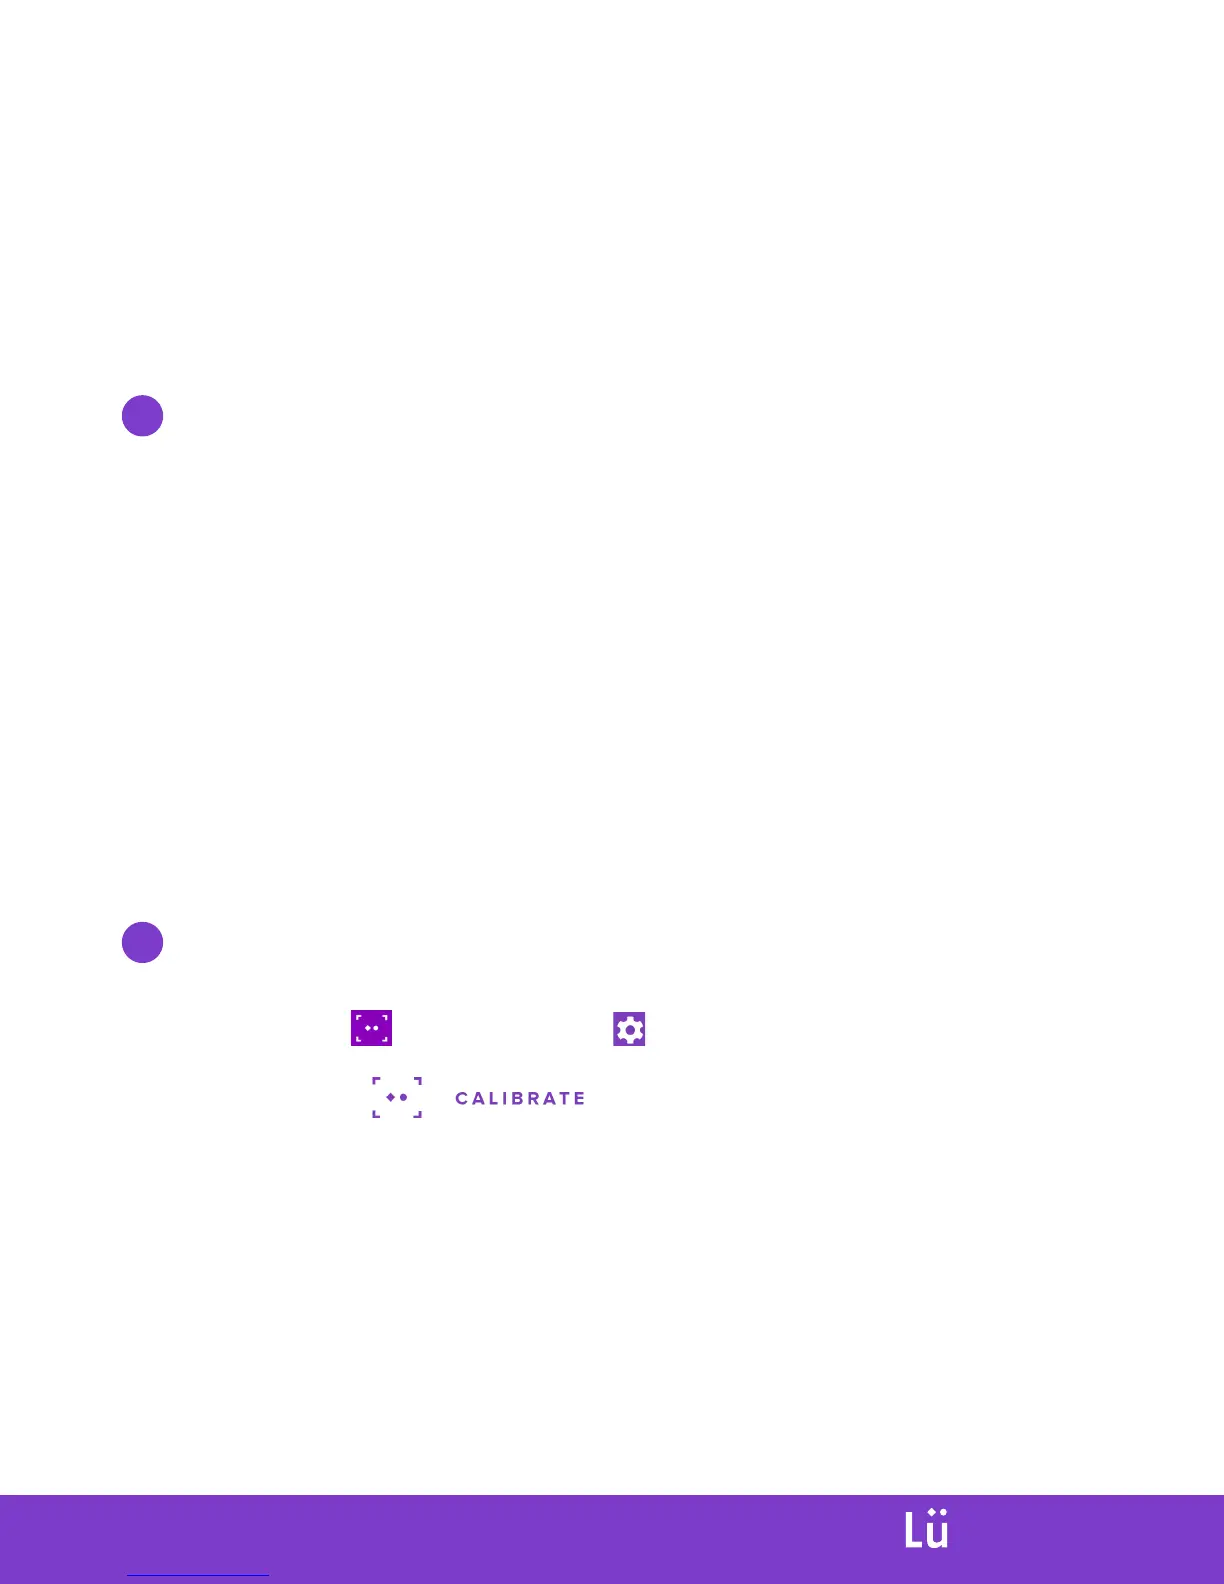
A. Select the button in the settings ( ) menu.
Operation
Projector and system calibration
Focus projector into position
A. Reset geometry settings from previous configurations
REMOTE CONTROL BUTTON
GEOMETRY
ESC (during 2sec)
B. Position image to cover the 4 markers on the wall LENS SHIFT
ARROWS
C. Fine-tune position of the 4 corners on your 4 markers GEOMETRY / QUICK CORNERS
TOP/LEFT
**Make sure the projector is turned on, on the right input (you should see Lü’s interface
from the computer), and the aspect ratio of the projector should be on FULL.
+
ARROWS
TOP/RIGHT
+
ARROWS
BOTTOM/LEFT
+
ARROWS
BOTTOM/RIGHT
+
ARROWS
Calibrate the camera
B. Click on the button.
C.
D. Press “Esc” and “Enter” to return to the homepage.
Throw a ball within the white section to confirm that the
contact of the ball on the wall is now adjusted.
While the system is calibrating, a calibration grid will appear and after a few
seconds the message “Calibration Successful” will display.
E.
INTERACTIVE
PLAYGROUND