LUVERNETRUCK.COM
•
NEED ASSISTANCE?
•
877.287. 8 63 4
•
570749-INS-RA
•
PAGE 2
5
5
6
1
8
7
6
2
8
2
7
1
4
4
3
3
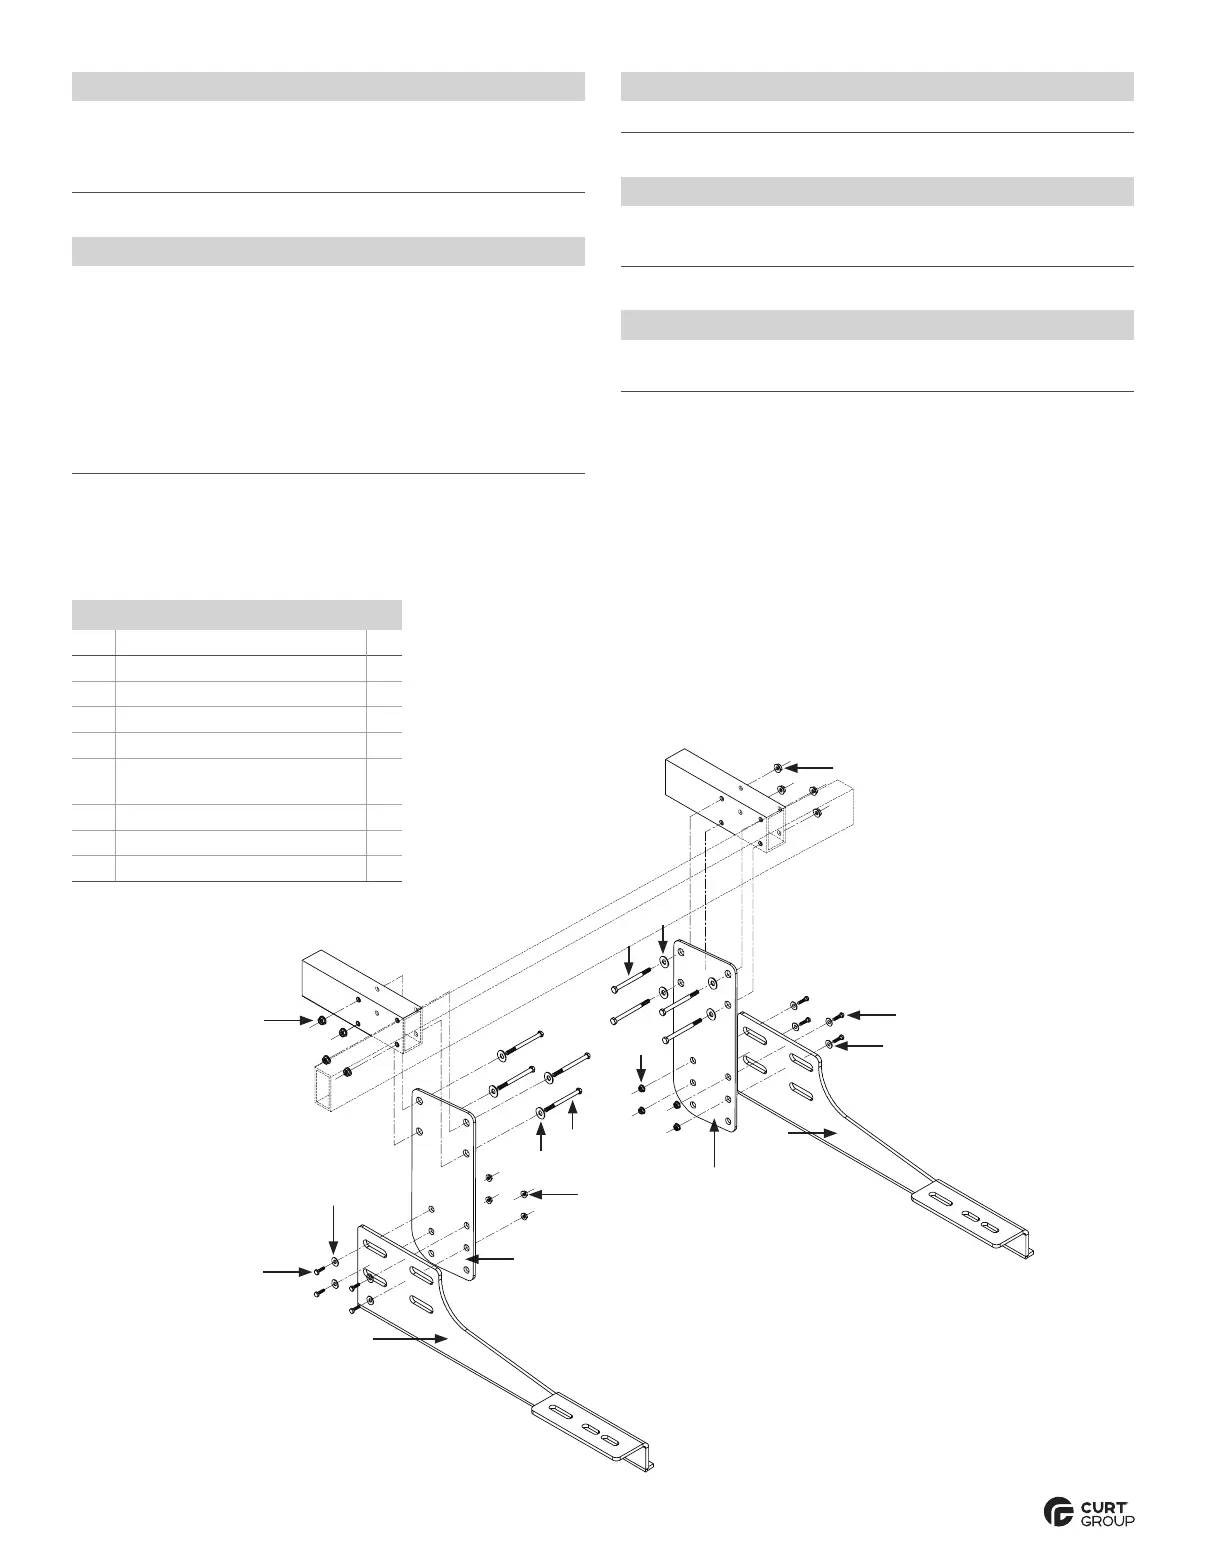
Step 1
On the driver side, locate the mounting holes on the rear frame.
Using four 7/16"-14 x 4" hex head screws (#3), four 7/16" flat
washers (#4) and four 7/16"-14 serrated flange nuts (#5), install
the upper mounting bracket (#2). Tighten all hardware to 19 ft-lbs.
Step 3
Repeat steps 1 – 3 for the passenger side of the vehicle.
Step 2
Using four 3/8"-16 x 1" hex head screws (#6),
four 3/8" flat washers (#7) and four 3/8"-16 serrated
flange hex nuts (#8), install the lower mounting bracket (#1).
Note: Snug the hardware, but do not fully tighten.
Note: When installing Grip Steps
™
, it is recommended that the lower
bracket is all the way out and mounted in the lower set of holes. When
installing MegaSteps
®
or O-Mega Steps
™
, it is recommended that the
lower bracket is slid all the way in and mounted in the upper set of holes.
Step 4
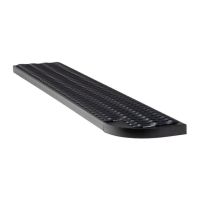
Attach the running board per the step board instructions.
Note: Snug the hardware, but do not fully tighten.
Step 5
Ensure that the step is level and positioned
correctly. Tighten all remaining bolts to 19 ft-lbs.
Parts List
Qty Description #
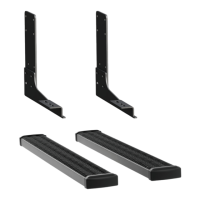
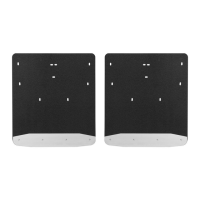
2 Mounting bracket, lower 1
2 Mounting bracket, upper 2
8 Hex head screw, 7/16"-14 x 4" 3
8 Flat washer, 7/16" 4
8 Hex nut,
serrated flange, 7/16"-14
5
8 Hex head screw, 3/8"-16 x 1" 6
8 Flat washer, 3/8" 7
8 Hex nut, serrated flange, 3/8"-16 8
ASSE MBLY