7
even pressure each time you trim a case, you should be able to achieve
clean consistent trim-to lengths.
SECTION 3
Operating Instructions
1. The Case Trim Xpress can be mounted to your reloading bench. There are
4 mounting holes that can be used to directly mount the trimmer. The trim-
mer can also be used unmounted and hand held against the bench. The
trimmer is equipped with non-slip rubber feet that will help prevent the trim-
mer from sliding when in use.
TRIMMING TIP: You can use your hand to hold the rear of the unit as you are
trimming for added stability.
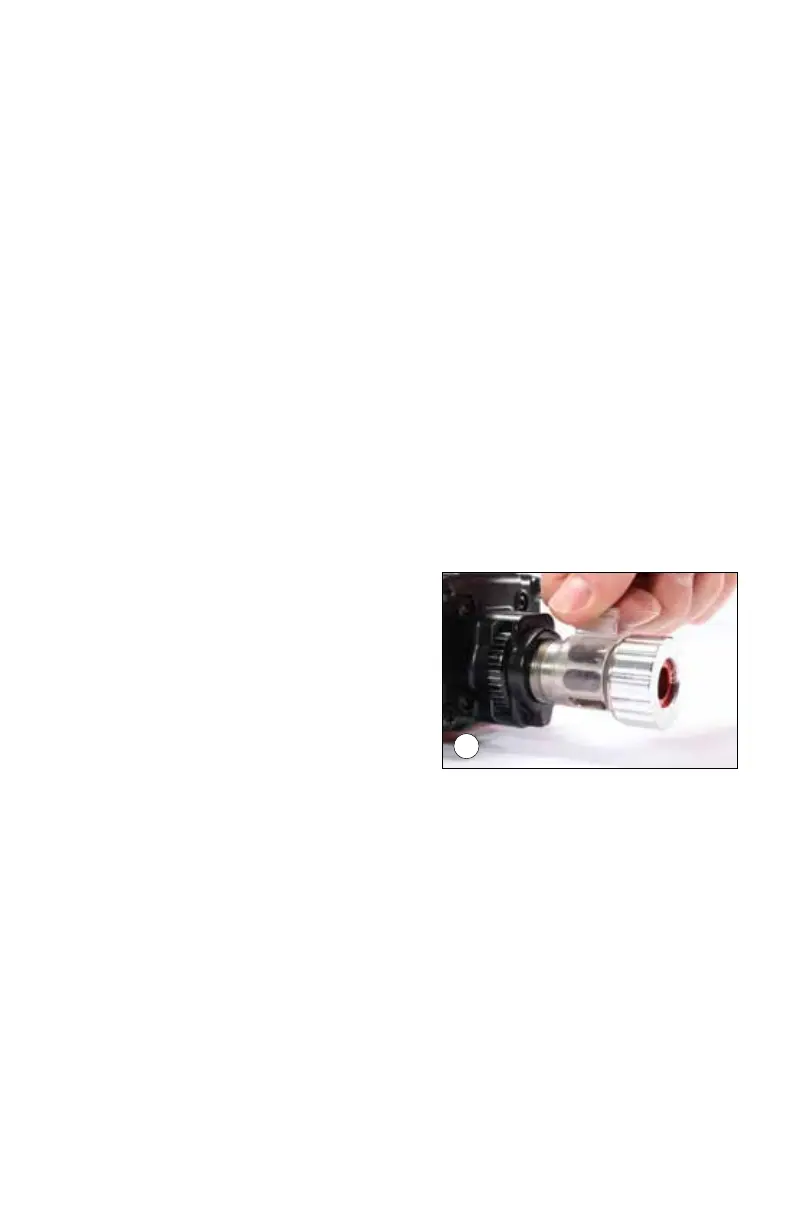
2. Verify that you have set your trim length, as described in Section 2.
3. Prior to operating your trimmer, the Chip Guard should be installed. With
the Chip Guard installed, it will allow the brass chips to collect in one area
keeping your bench clean.
To install the Chip Guard, place on top of
the Adjuster Barrel as shown and snap
into place. (pic 9)
4. Turn your trimmer on to the highest
RPM setting. Insert a sized case into
the Bushing. Using light, even pressure
move the case forward towards the cut-
ter. When the case makes contact with
the cutter, use firm pressure but do not “JAM” the case into the cutter. This
will cause rough, inconsistent cuts, which could damage the case or cutter
head.
TRIMMING TIP: Turn the case 180 degrees, and trim again to insure a clean
square cut.
5. Remove the case from the trimmer and measure your case again to ensure
proper trim length. It is recommended that you use an inside and an out-
side chamfer tool to remove any roughness on the case mouth.
9

 Loading...