Page 10
iii. If you are fitting the PIR in a corner, use mounting points ”A”, if you are fitting the detector on to
a flat surface use mounting points “B” – the mounting points are shown by indentations in the
plastic molding. Use a small drill to create two fixing holes at the mounting points (Illustration
11).
iv. Hold the base of the PIR in the chosen position, ensuring that the front of PIR will face towards
the centre of the protected area, and mark and drill two 5mm fixing holes in the wall. DO NOT
drill holes with the PIR in position – the resulting dust may damage the unit. Secure the PIR to the
wall using two screws (25mm countersink) and the wall plugs.
v. Replace the electronic module into the retaining clips, ensuring that it is correctly positioned and
firmly seated. Install the battery into the battery snap. Replace PIR cover and refit retaining screw.
3.6 Installing Battery in the Wireless Remote Control Key
Note: Do not install battery in the remote control key until you reach Step 3.7 in the “Programming
Wireless Remote Control Key into your System” section. Use only one 3Vdc CR2032 battery.
i. Slacken screw on the back of the remote control and open the cover.
ii. Remove and insert one 3Vdc CR2032 Lithium battery into the battery holder; taking cares to
observe correct polarity
3.7 Programming Wireless Remote Control Key into your system
a) The system can operate up to 4 remote controls, and 4 panic zones. In order to program a remote
control key to be both regular remote control and panic trigger, you should program it twice; one in
a slot, and the second in a slot.
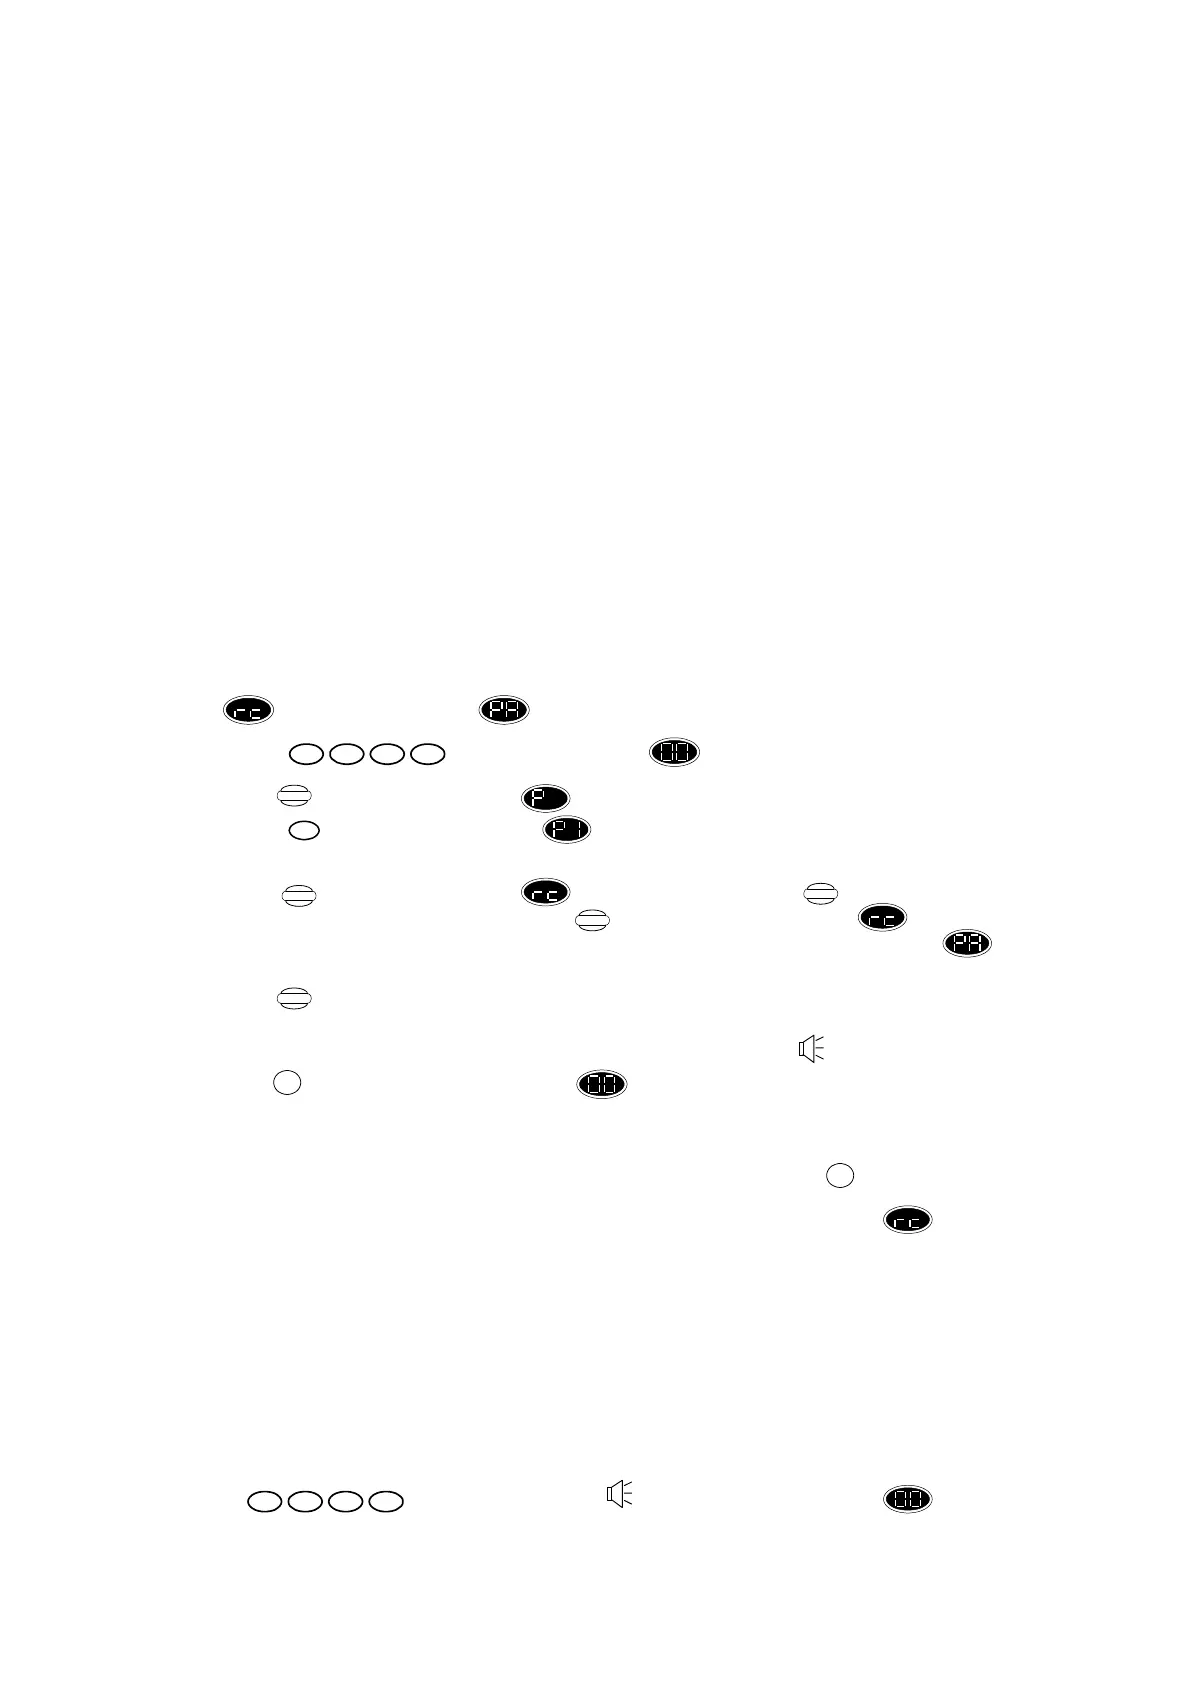
b) To learn a regular remote control, press keys as follows:
1. Press and display changes to flashing.
2. Press and display changes to .
3. Press and display changes to indicating that Control Unit is now in detector
programming mode.
4. Press until the required zone is displayed. If you press more than 24 times,
the detector zones will be indicated-press again until display returns to . (If you are
programming the remote control key to be panic trigger, press until the required zone is
displayed.).
5. Press and activate the detector you wish to assign to the chosen zone by removing and
inserting one 3Vdc CR2032 Lithium battery into the battery holder; taking cares to observe
correct polarity, then waiting for a few seconds until the confirmation beep sound is heard.
6. Press and check that the display shows .
Note that you can leave detector programming mode at any time by pressing the key.
To program the next wireless remote control, repeat the procedures as above using a zone for
each remote control. The zone learned before will blink to indicate it to be occupied.
c) To learn a remote control as panic trigger, use the same sequence as the above, only this time
program the remote control into the “PA” slots. Note that a remote control can be learned as a panic
trigger without being a regular function remote control.
3.8 Testing your Detectors
a. Make sure that there is no movement in the rooms where the PIRs are located and close all doors to
which the door/window contact detectors are fitted. Check that the covers of all detectors are fitted
and securely fastened.
b. Turn on mains power to Control Unit.
c. Enter , the Control Unit gives beep and display changes to flashing
– the Control Unit is now in walk test mode.
1432
Program
1
Display
Display
Display
Store
RESET
RESET
1432
 Loading...