UC3016-1DRW-RD/ UC3016-1DRW-BK/ UC3016-1DRW-BL/ UC3016-1DRW-LG/ UC3016-1DRW-OR
5 07/22/2020
ASSEMBLY INSTRUCTIONS
UC3016-1DRW-BK/UC3016-1DRW-BL
UC3016-1DRW-LG/UC3016-1DRW-OR
UC3016-1DRW-RD
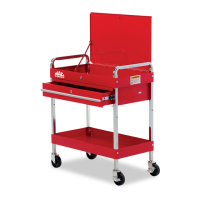
UTILITY CART WITH LOCKING LID
Step 9 Position the cart right side up and the front facing you. Your left is
the left side of the cart. Your right is the right side of the cart.
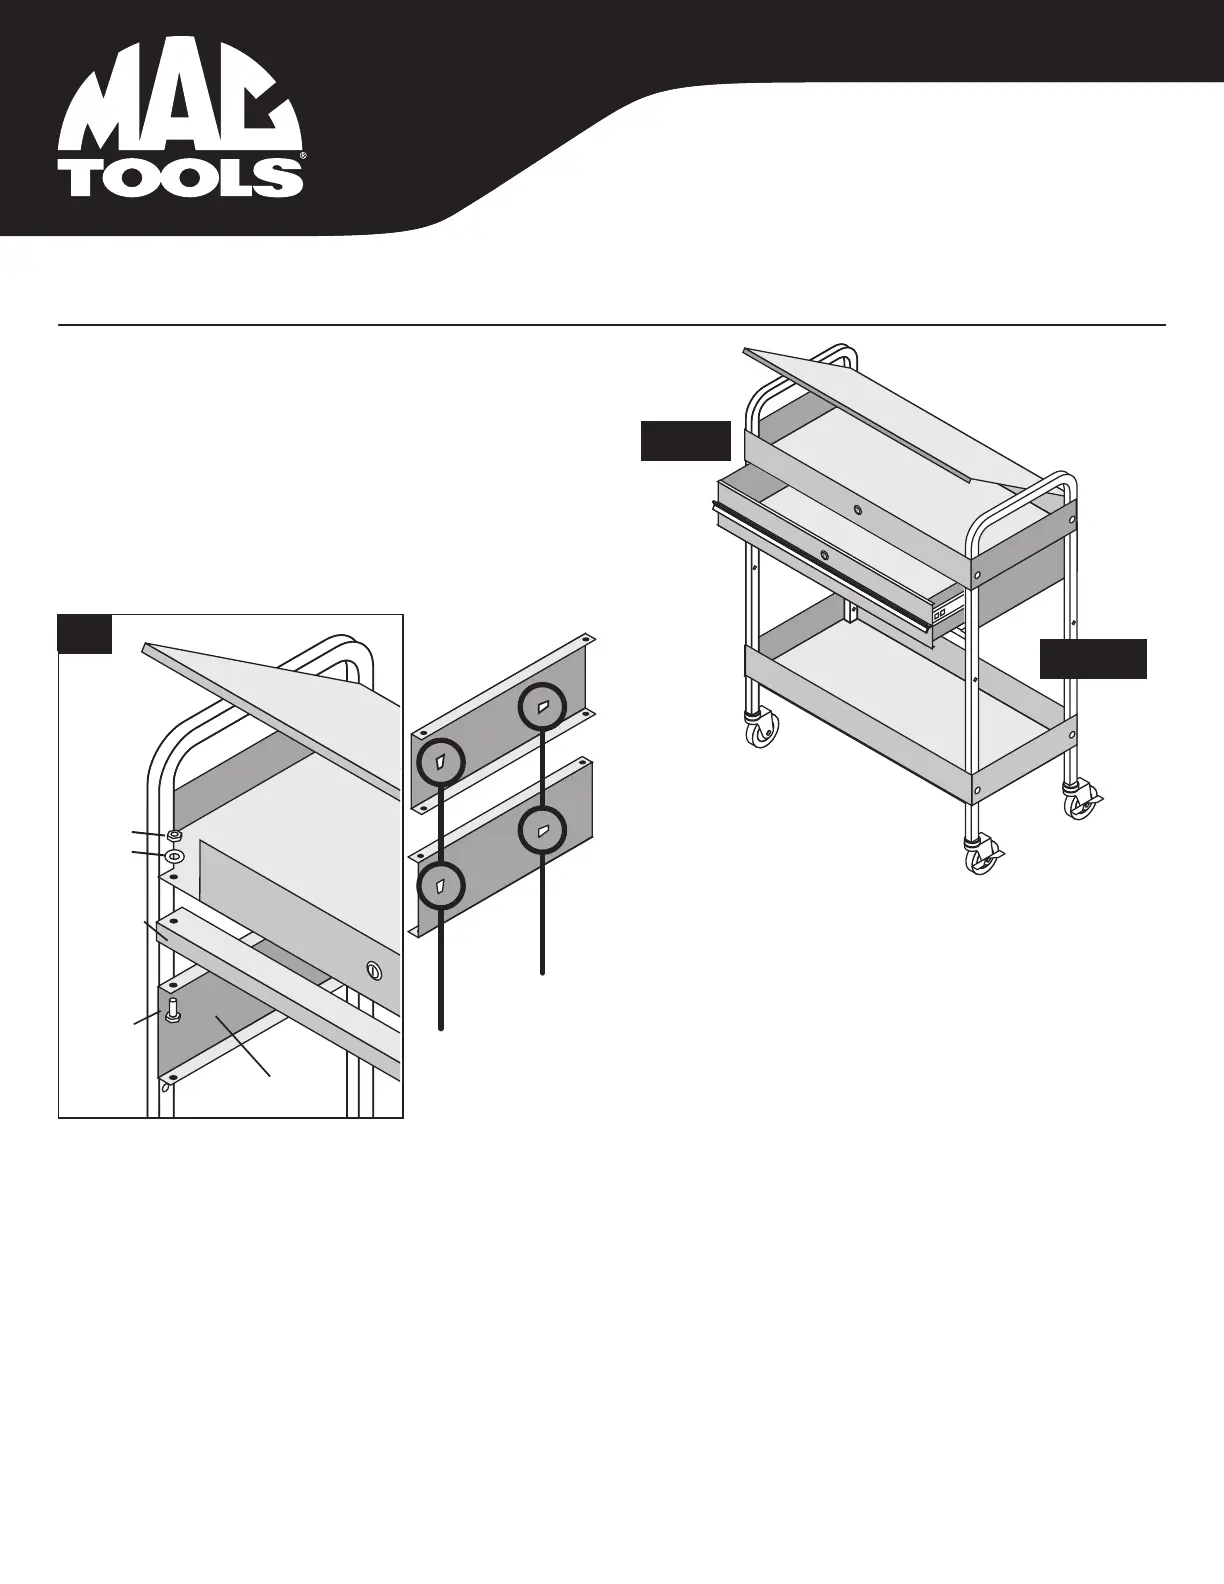
Step 10 INSTALLING THE DRAWER
Place the slide holding bracket (#19) with the "R" sticker into the
right side of the service cart. The "R" sticker should be near the
back of the cart. Place a washer (#15) onto round head bolt (#14)
and insert through the front right top bolt hole of the top shelf (#1)
and into the slide holding bracket right side (#19). Using the
washer (#15) and hex nut (#16) hand tighten the bolt assembly
to hang the bracket.
Step 12 Place the drawer back side bracket (#20) into the back side of the cart and align the bolt holes of the rear of the top shelf (#1) and the left & right
brackets (#18, #19). The upper lip of the bracket should be sandwhiched between the top shelf (#1) and the left & right brackets (#18, #19). Place
a washer (#12) onto the round head bolt (#11) and insert into rear left hole of the top shelf (#1) into the drawer back side bracket (#20) and into the
slide holding bracket, left side (#18). Place a washer (#15) and then a hex nut (#16) onto the bolt and tighten loosely. Repeat bolt assembly
process in the rear right side. Repeat the bolts assembly process in the bottom left & right of the rear bracket to the right & left slide brackets.
Leave all four bolt assemblies loosely tighetened so that the slide holding brackets can easily move.
LEFT
RIGHT
Sliding Drawer
Side Panels
Locking
Top Assy.
(#1)
Drawer
Spacer
#14
Be sure these
holes are at the
back of the cart
10
Side Panel Left
(#18)
Round Head Bolts (#14)
Washer (#15)
Hex Nut (#16)
#16
#15
Left (#18)
Right (#19)
Step 11 Place the slide holding bracket (#18) with the "L" sticker into the left side of the service cart.
The "L" sticker should be near the back of the cart. Place a washer (#15) onto round head bolt
(#14) and insert through the front left top bolt hole of the top shelf (#1) and into the slide
holding bracket left side (#18). Using the washer (#15) and hex nut (#16) hand tighten the
bolt assembly to hang the bracket.
Be sure these rhombi
are as shown with
max width at the top.
 Loading...