UC3919-3DRW-BK/ UC3919-3DRW-BL/ UC3919-3DRW-LG/ UC3919-3DRW-OR/ UC3919-3DRW-RD
2 REV: 03/01/19
ASSEMBLY INSTRUCTIONS
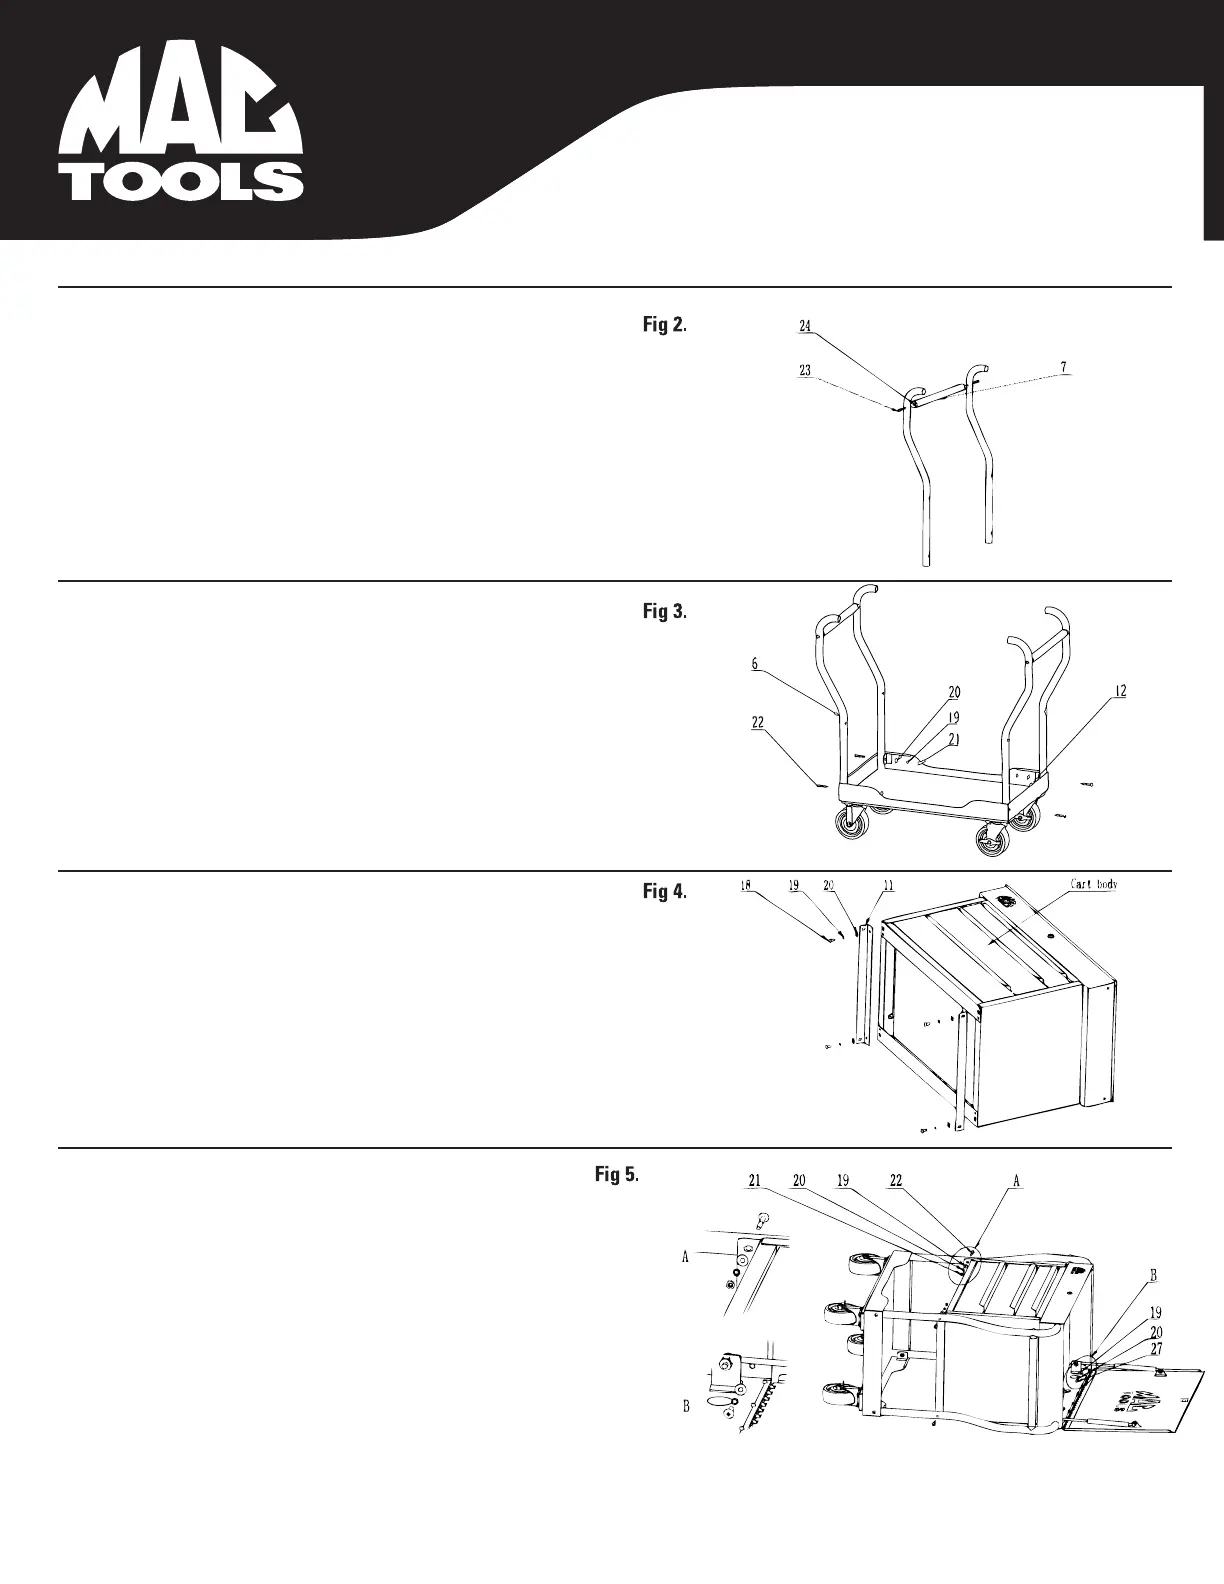
STEP 2: MOUNT PUSH HANDLE ONTO TUBE LEG
Install the Push Handle (#7) onto 2pc Tube Legs (#6) with 2pc
Screws (#23)
Note: Plastic Cover (#24) comes factory installed on the push
handle (#7).
TOOL NEEDED: 5mm Hex Key
ASSEMBLY INSTRUCTIONS
STEP 3: MOUNT TUBE LEGS ONTO BOTTOM TRAY
(a) Put left/right assembled legs (#6) on the bottom tray (#12)
(b) Attach the legs (#6) to bottom tray (#12) using M6 Bolt/Nut (#22/21/20/19)
TOOLS NEEDED: Screwdriver & 10mm combination wrench
ASSEMBLY INSTRUCTIONS
ASSEMBLY INSTRUCTIONS
STEP 4: MOUNT SUPPORT BEAM
Mounting the Support Beam (#11) to cart body with M6 Screws (#18/19/20)
TOOL NEEDED: Screwdriver
STEP 5: MOUNT CART BODY
(a) Turn over the assembled frame (Step 4)
(b) Lift and move the cart body to the installing position - Fig 5.
(c) Fasten the Tube leg(#6) and the cart body with M6 x 25 bolts
(#27/#20#19)
(d) Fasten the Tube leg (#6) and support beams (#11) with M6 x 12 bolts
(#22/#21/#20/#19)
TOOLS NEEDED: 5mm Hex Key, 10mm combination wrench and
Screwdriver
UC3919-3DRW-BK/UC3919-3DRW-BL
UC3919-3DRW-LG/UC3919-3DRW-OR
UC3919-3DRW-RD
-BK, -BL, -LG, -OR, -RD
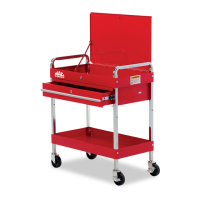
3 DRAWER UTILITY CART