Thank you for purchasing a Mini Maglite® flashlight. If you have questions, comments, or
need assistance call toll free (800) 283-5562. To register your new Mag® flashlight visit our
website at www.maglite.com, from our home page just go to “Register Your Flashlight”. To
view the entire product line click on “The Maglite® flashlight”. Please review all the
information contained in this pamphlet.
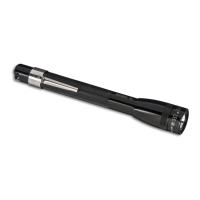
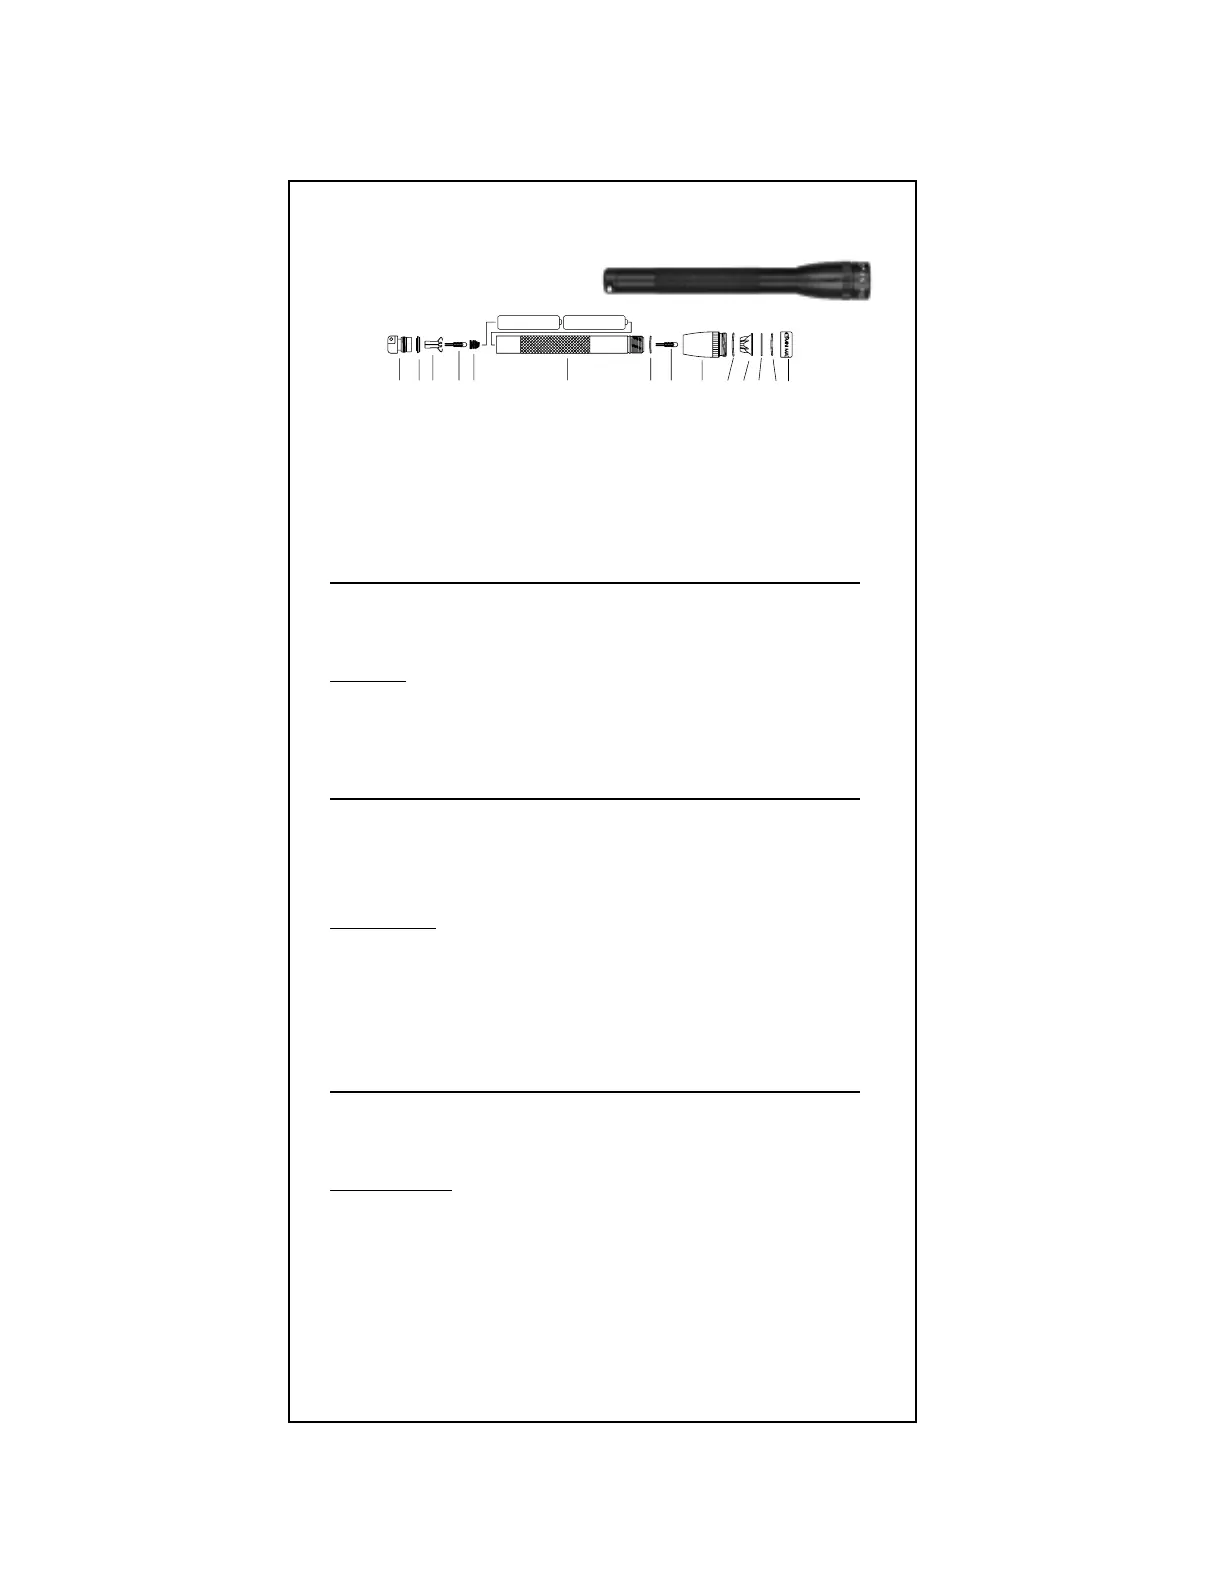
OPERATION: Large end of battery spring must be snapped into tail cap. Always install
batteries with the “+” end facing the head end of the flashlight and the “-” end facing the
tail cap end of the flashlight. Switch -
Twist head. Flood To Spot - Rotate head of flashlight
to adjust from a wide flood beam to an intense spotlight. Reverse to shut off.
Candle Mode -
Unscrew head of flashlight. Invert head and place tail end of flashlight into the inverted head.
Flashlight will act as a candle.
Changing The Lamp - Unscrew the entire head assembly and
gently pull lamp from socket. Make sure new lamp pins are straight; insert into socket. There
is a spare lamp in tail cap.
Merci d'avoir acheté une lampe de poche Mini Maglite®. Si vous avez des questions, des
commentaires, ou si vous avez besoin d'aide, composez le numéro gratuit (800) 283-5562.
Pour faire enregistrer votre nouvelle lampe de poche Mag® flashlight, allez à la page
d'accueil de notre site web www.maglite.com. Passez ensuite à « Register Your Flashlight »
(« Faites enregistrer votre lampe de poche »). Pour afficher toute notre gamme de produits,
cliquez sur « The Mag-Lite® flashlight » (« La lampe de poche Mag-Lite® »). Veuillez lire ce
dépliant au complet.
MODE D’EMPLOI:
Le bout large du ressort de la pile doit être inséré et fixé dans le
capuchon d’assemblage. Toujours installer les piles avec le côté <<+>> vers la tête de la
lampe torche et le côté <<->> vers le capuchon à vis de la lampe torche. Poussez le bouton -
Dévissez la tête de la lampe. Eclairage ambiance à éclairage spot - Tourner la tête de la
torche afin de passer d’un faisceau ambiance grand diamètre à un faisceau spot concentré.
Tourner dans le sens inverse pour éteindre.
Eclairage vertical de type bougie - Dévisser la
tête de la lampe torche. Retourner la tête et insérer l’arrière de la lampe torche à l’intérieur de
la tête retournée. La lampe torche se transforme en bougie.
Pour changer l’ampoule -
Dévisser la tête et tirer doucement sur l’ampoule pour l’extraire de la douille. Vérifier que les
fils externes de l’ampoule de rechange sont bien droits. Insérer dans la douille. Une lampe de
rechange se trouve à l’intérieur du capuchon d’assemblage.
Gracias por comprar una linterna de Mini Maglite®. Si tiene preguntas o comentarios o si
necesita ayuda, favor de llamar gratuitamente al (800) 283-5562. Para registrar su nueva
linterna Mag® visite nuestra página de Internet en www.maglite.com. En nuestra página
inicial solamente tiene que ir a “Registre su linterna”. Para ver toda la línea de productos, dé
un clic en “The Maglite® flashlight”. Por favor revise toda la información de este panfleto.
FUNCIONAMIENTO: La parte más grande del resorte de la pila debe introducirse en la
tapa posterior. Instale siempre las pilas con el extremo ”+“ apuntando hacia la cabeza de
la linterna y el extremo ”-“ apuntando hacia la tapa posterior de la linterna. Interruptor –
Haga girar la cabeza de la linterna. IIluminación de proyección a iluminación puntual -
Haga girar la cabeza de la linterna para regular de un haz de luz ancho hasta una luz puntual
intensa. Invierta el movimiento para apagar la linterna.
Modalidad de vela - Retire la cabeza
de la linterna y pare la linterna sobre su tapa posterior para crear un efecto de vela.
Cambio
de bombilla -
Desenrosque el conjunto de la cabeza y desprenda suavemente la bombilla del
zócalo. Cerciórese de que las patillas de la bombilla nueva estén derechas; insértelas en el
zócalo. Hay una bombilla de repuesto en la tapa posterior.
 Loading...