12
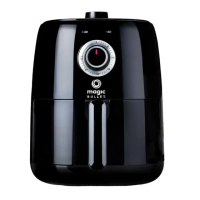
9 Once the Timer is set,
the two indicator lights
on the front of the unit
will illuminate.
green (left): Indicates
that the unit is heating
to the set temperature.
This light will turn o
once it has reached the
set temperature.
orange (right): Indicates
that the Timer is set
and the unit is running.
This light will remain on
throughout the duration
of cooking. It will turn
o when the Timer has
reached “0,” indicating
that the unit is no longer
running.
Turn timer clockwise to desired cooking time.
0
20
30
60
10 Turn the Timer clockwise
to your desired cooking
time. Cooking will now
begin.
Once the cooking time
has elapsed, the Timer
will automatically shut
o the unit.
Turn the Timer counter-
clockwise to reduce the
time remaining until
auto-shuto, or turn
it all the way counter-
clockwise to manually
shut o the unit.
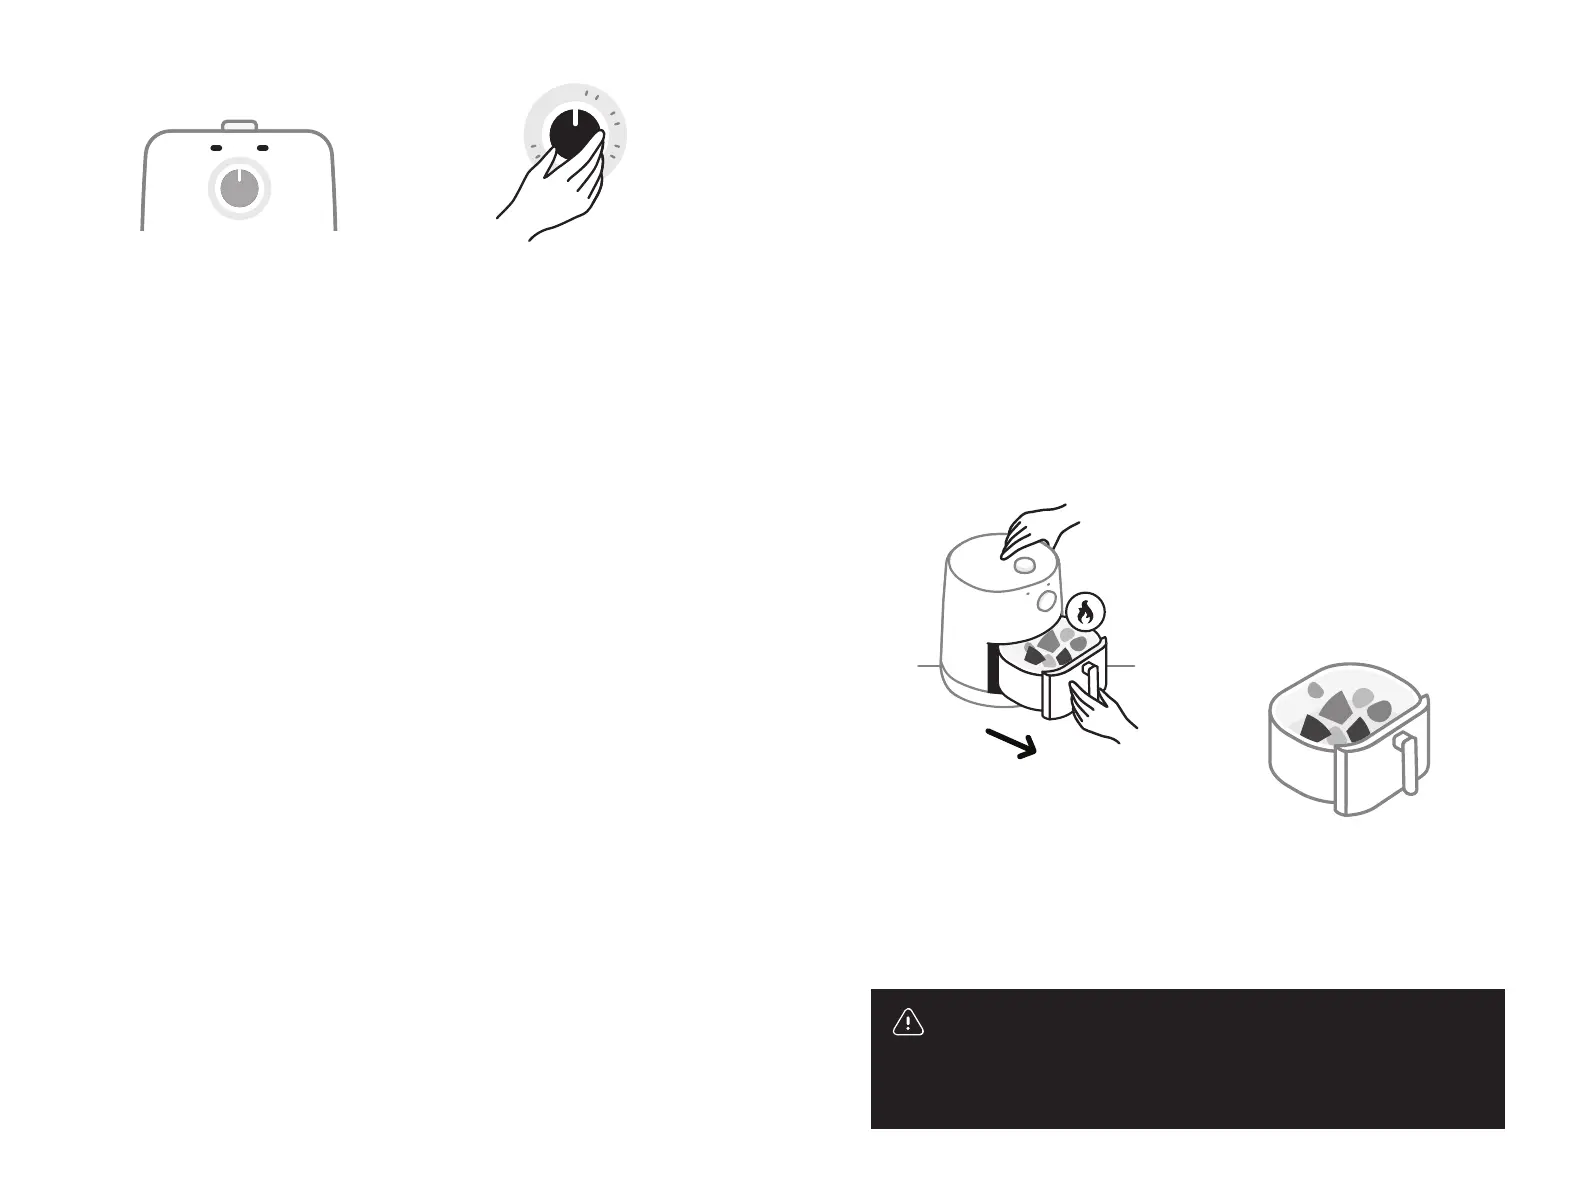
Holding down the base with one hand and firmly
grasping the handle with the other, pull on the handle
and remove the fry pot from the base.
12 Once you are done
cooking, wait a few
seconds so the frying
action can stop. If you
hear the sound of frying,
wait until that sound stops.
Removing the Fry Pot
too quickly may result
in splattering and could
potentially be dangerous.
Also, be careful when
opening the Fry Pot, as
hot steam may escape.
14 Remove food from the
Fry Pot using a utensil.
Never use your hands.
13 Holding down the Base
with one hand and firmly
grasping the handle with
the other, pull on the
handle and remove the
Fry Pot from the Base.
warning: Contents may be very hot. Keep your hands
and face away from the steam and from the air vents. Use
caution when removing the Fry Pot from the Base as there
may be hot steam.
11 Turn food during cooking:
Some recipes call for taking
the Fry Pot out during
cooking and turning your
food. If so, hold the handle
firmly to avoid spilling
hot food.
13
 Loading...