This document is a user manual for the Magic Chef Counter Top Ice Maker, model MCIM30SST. It provides instructions for safe operation, maintenance, and troubleshooting, along with product specifications and warranty information.
Function Description
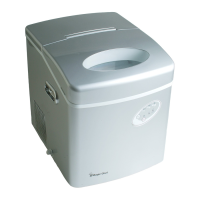
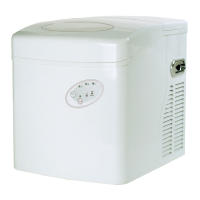
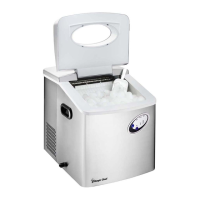
The Magic Chef Counter Top Ice Maker is designed to produce ice cubes for household use. It is a portable appliance that requires manual filling of water and offers a simple one-touch operation for ice making. The unit features a transparent lid for visibility of the interior and an ice sensor to detect when the ice basket is full, automatically stopping the ice-making process. It also includes indicators for low water levels and a selection for ice cube size.
Important Technical Specifications
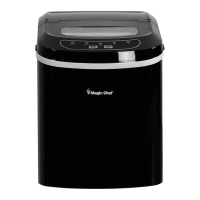
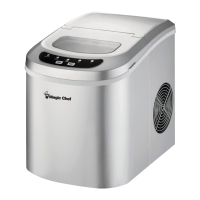
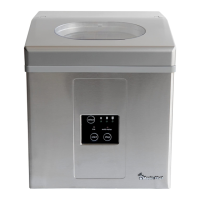
- Product Description: Stainless Steel Countertop Ice Maker
- Model No.: MCIM30SST
- Unit Dimensions (Inches):
- Width: 15.7"
- Height: 16.9"
- Depth: 14.0"
- Net Weight: 38 lbs
- Ice Making Capacity: Up to 30 lbs / 24hrs (for medium ice cubes)
- Electrical Requirements: Standard 115 volt, 60Hz electrical outlet with three-prong ground.
- Refrigerant Fluid: The manual mentions the presence of refrigerant fluid and warns against leakage or blockages in the cooling system.
- Ambient Temperature Range for Operation: The ice maker performs optimally between 45°F and 90°F. Operating outside this range, especially below 45°F or above 90°F, will hinder performance.
- Water Temperature for Operation: Recommended water temperature is between 45-90°F. Using water that is too cold or too warm can affect ice production.
- Ice Making Cycle Duration: 7 to 14 minutes, depending on ambient temperature and selected ice cube size.
Usage Features
- Transparent Lid: Allows users to view the ice-making process without opening the lid.
- Control Panel: Features easy-to-use, visible functions with a 1-touch display setting.
- Ice Cube Size Selection (A): Users can select the desired ice cube size. For ambient temperatures below 60°F, selecting small or medium size is recommended to prevent ice cubes from sticking together.
- Start Ice Making Cycle (B): Initiates the ice production.
- Stop Ice Making Cycle (C): Halts the ice production.
- Ice Basket: Removable for easy ice retrieval and cleaning.
- Ice Shovel: Included for scooping ice.
- Ice Sensor: Automatically stops ice production when the ice basket is full, indicated by the "Ice" light.
- "Add Water" Indicator: Illuminates when the water tank is low, prompting the user to refill. The unit will automatically resume operation once water is added.
- Automatic Operation: Once water is added and the unit is started, it operates automatically, stopping when the basket is full or water is low.
- Water Drain Cap: Located at the bottom for convenient draining of water from the reservoir.
- Placement Guidelines:
- Should be placed on a level surface.
- Requires at least 5 inches of space between the back and sides of the unit and the wall for proper ventilation.
- Should be protected from direct sunlight and other heat sources (e.g., stove, furnace, radiator).
- Not designed for outdoor installation, such as in a garage or porch.
- The appliance must be positioned so that the plug is accessible.
Maintenance Features
- Initial Setup: Before first use, the unit should stand upright for 4 hours to allow the cooling system to settle. It also requires thorough cleaning before use.
- Cleaning Instructions:
- Remove the ice basket.
- Turn the drain cap counter-clockwise to drain water.
- Clean the interior with diluted detergent, warm water, and a soft cloth.
- Clean the exterior regularly with a mild detergent solution and warm water.
- Dry the interior and exterior with a soft cloth.
- Close the drain cap.
- When not in use, open the water drain cap to completely drain water from the reservoir.
- Water Change Recommendation: Change water in the water reservoir every 24 hours to maintain hygiene.
- Storage: If the unit is not in use, drain all water from the tank reservoir.
- Ventilation: Adequate ventilation space (minimum 5 inches at the rear and sides, 8 inches at the top) is crucial for proper performance, heat dissipation, efficiency, and low power consumption.
- Power Cord Care: Do not modify the power cord. Ensure it does not come into proximity or direct contact with the compressor to avoid heat damage.
- Environmental Considerations: Avoid installing the ice maker in locations with water or moisture to minimize rusting, or near heat sources/direct sunlight.
- Troubleshooting Guide: The manual includes a section to help users diagnose and resolve common issues such as "Add water" indicator on, "Ice" indicator on, ice cubes sticking together, and no ice production. Solutions range from refilling water and removing ice to contacting a qualified technician for more complex problems like refrigerant leakage or blocked pipes.
- Warranty: The product comes with a one-year warranty for parts and labor, and a five-year warranty for the compressor (parts only). Service or assistance can be obtained by calling a dedicated customer service number or visiting the manufacturer's website. The warranty requires a dated sales receipt/invoice for service.