1. Introduction
Read this manual carefully and keep it with other warranty
documents. Connection must be carried out by a qualied installer in
accordance with local regulations. Before installing or disassembling
the thermostat, always switch o the electricity in the meter
cupboard. The MRC thermostat can be installed in a single ush-
mounting box 50 mm deep, according to standard DIN formats.
3. Assembly/Dismounting
Make sure the power is o. Remove the display by carefully inserting
a small at-blade screwdriver into the top recess of the black foam
(between the display housing and the cover frame). After this, the
display case can be released with a lever movement. This requires
some force.
4. Connection instructions
FLOOR SENSOR Floor sensor connection
HEATING L * Heating cable connecting wire
L Power supply (Phase)
HEATING N * Heating cable connecting wire
N Power supply (Neutral)
* Order HEATING L or HEATING N does not apply.
EARTH: Connect the earth of the heating cable and the earth of the
power supply outside the thermostat using the supplied terminal
block.
Bring the thermostat into position, mount and secure it in the ush-
mounting box using 2 screws. Place the cover frame and carefully
bring the display case back into position. Then press it rmly until
there is no more space between the display housing and cover frame.
5. Startup menu
Make sure that the on/o switch on the right side of the thermostat
is in the correct position. After connection to the mains, the startup
menu appears:
• Language > Year > Month > Day > Time
• Automatic Summer Winter Time
• Floor nish: Wood/other (tiled oor)
• Sensor type: 12K is supplied as standard
• Temp. registration: Room or Floor
• Desired comfort temperature
• Overview of pre-programmed times
• Slow start-up (Only for newly installed oors. See point 6.1)
• WiFi set up (See point 7)
6. Operation
You can easily operate the thermostat via the touchscreen.
The menu structure is structured as follows:
MENU
MODE SELECT POINT 6.1
AUTO MODE
MANUAL MODE
HOLIDAY MODE
FROST PROTECT
SLOW START
PROGRAM POINT 6.2
CONSUMPTION POINT 6.3
SETTING
DATE AND TIME
LANGUAGE
COMFORT TEMPERATURE
WIFI SET UP POINT 7
DISPLAY SETTINGS
COLOR THEME
BRIGHTNESS
BACKLIGHT DELAY
NIGHT SCREEN
2. Technical data
Volts 230V - 50/60 Hz
Max. Load max. 16 Amp. / 230V
Temp. range +5/+40ºC
Cover IP21
Color Polar white (RAL 9010)
Sensor incl. oor sensor and build in air sensor
Warranty 2 year manufacturer warranty
Approvals FI / CE
Manufacturer MAGNUM Heating Group B.V. Netherlands
86
86
59
51
52
249
12
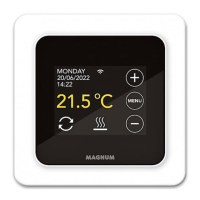
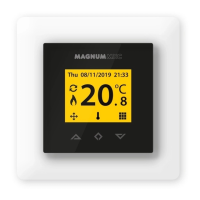
Smart WiFi Thermostat for electric
underoor heating systems.
ENG
Other languages are available on: www.magnumheating.com/mrc © MAGNUM Heating Group B.V. | V20.2