Do you have a question about the Mamas & Papas Ocean tallboy and is the answer not in the manual?
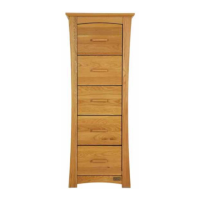
| Type | Tallboy |
|---|---|
| Collection | Ocean |
| Brand | Mamas & Papas |
| Material | Wood |
| Color | White |
| Number of Drawers | 5 |
Read all instructions carefully before assembly and retain for future reference.
This product requires two people for safe and proper assembly.
Lists all the main parts included in the product package.
Lists all the hardware and small parts required for assembly.
Attach ten drawer runners to the left and right side panels using runner screws.
Slot bolts through rail inserts into the bottom front rail and attach to side panel.
Attach one of the rails to the side panel using a bolt and rail insert.
Attach the top front rail to the side panel using a bolt and rail insert.
Attach rails to the side panel, ensuring groove alignment with the back panel leg.
Attach remaining rails to the side panel using bolts and rail inserts.
Slot the back panel into the grooves in the top and bottom back rail and side panel.
Attach the right side panel to the assembled section using bolts and rail inserts.
With assistance, lift the assembled tallboy frame into an upright position.
Screw four cam studs into the top panel using an X-head screwdriver.
Slot the top panel onto the frame and secure cams with a screwdriver.
Screw cam studs into the top drawer front and remaining drawer fronts.
Attach the handles to the drawer fronts using handle screws.
Slot drawer sides onto fronts and secure with cams.
Slot the five base panels into the grooves of the drawer sides and fronts.
Slot drawer backs onto the assembled sections and secure with long screws.
Slide the assembled drawers onto the runners inside the tallboy.
Attach the wall strap to the back of the top using a screw and washer.
Instructions for correctly fitting and using the supplied wall attachment strap.
Important safety warnings and cleaning advice for the tallboy.