Do you have a question about the Manhattan Comfort CITY 1.2 and is the answer not in the manual?
| Brand | Manhattan Comfort |
|---|---|
| Model | CITY 1.2 |
| Category | Indoor Furnishing |
| Language | English |
Prepare the room and ensure good working conditions before starting the assembly process.
Follow safety guidelines to prevent injuries and damage during assembly.
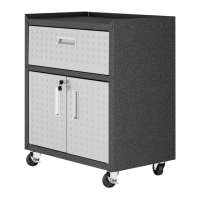
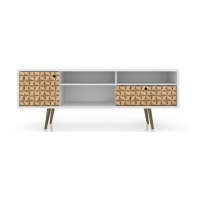
Locate and identify all parts using the provided part numbers and reference codes.
Understand the product dimensions and gather the necessary tools for assembly.
Attach 2x9070 and screw 6x3557 on Panel 10.
Assemble panels, insert dowels, and attach battens on the indicated panels.
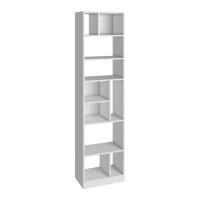
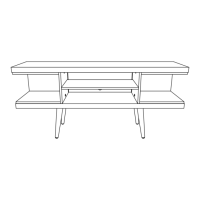
Integrate shelves and attach hardware to the main structure.
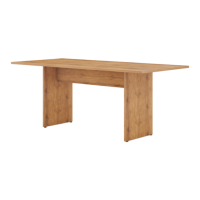
Attach central/bottom boards and internal dividers.
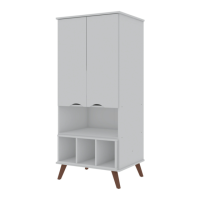
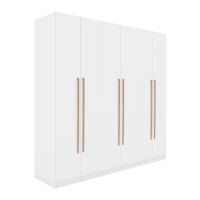
Attach side panels and install doors with hinges.
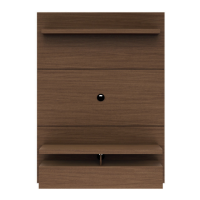
Attach back panel, dividers, and center board with stickers.
Install remaining hardware and apply stickers to assembled parts.
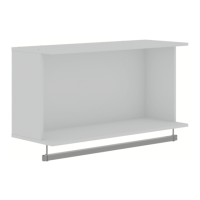
Secure the back panel and attach support battens.
Provides measurements for drilling the wall in millimeters.
Provides measurements for drilling the wall in inches.
Drill holes, level them, and fit wall plugs for secure mounting.
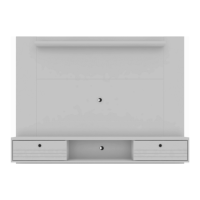
Secure the main unit to the wall using screws and stickers.
Hang the main panel onto the wall brackets.
Insert and attach the doors to the mounted unit.