3 - 30
E - EVERY 1000 HOURS SERVICE
Carry out the operations described previously as well as the following operations.
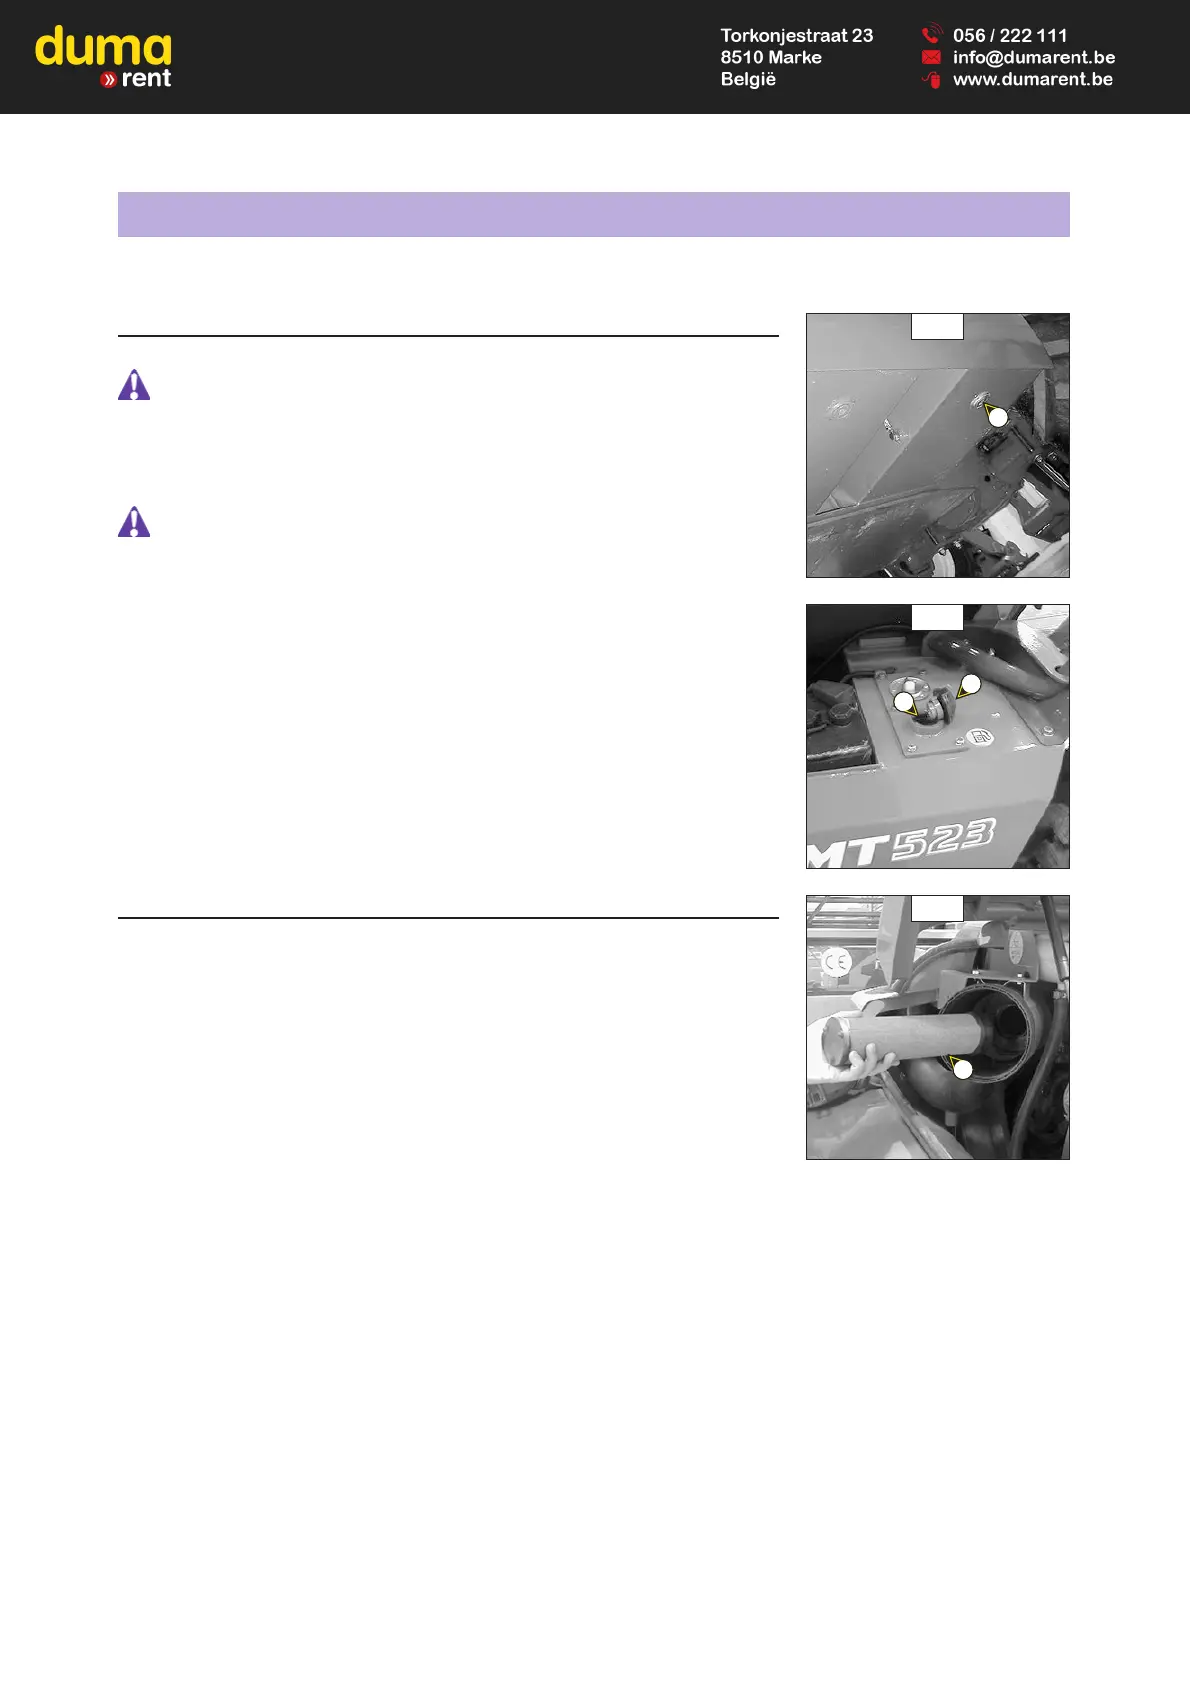
E1 - FUEL TANK
CLEAN
While carrying out these operations, do not smoke or work near a flame.
Place the lift truck on level ground with the I.C. engine stopped.
- Inspect the parts susceptible to leaks in the fuel circuit and in the tank.
- In the event of a leak, contact your dealer.
Never try to carry out a weld or any other operation by yourself, this could provoke an
explosion or a fire.
- Place a container under drain plug 1 (fig. E1/1) and unscrew the plug.
- Open the side bonnet.
- Remove cap 2 (fig. E1/2).
- Let the fuel flow and clean with 10 litres of clean fuel by filler port 3 (fig. E1/2).
- Refit and tighten drain plug 1 (fig. E1/1) (tightening torque 29 to 39 N.m).
- Fill the fuel tank with clean fuel (see: 3 - MAINTENANCE: LUBRICANTS AND FUEL) filtered
through a strainer or a clean, lint-free cloth and refit the filler plug 2 (fig. E1/2).
- Bleed the fuel system if necessary (see: 3 - MAINTENANCE: G1 - FUEL SYSTEM).
E2 - SAFETY DRY AIR FILTER CARTRIDGE
CHANGE
- For the disassembly and reassembly of the cartridge, see: 3 - MAINTENANCE: D3 - DRY
AIR FILTER CARTRIDGE.
- Gently remove the dry air filter safety cartridge 1 (fig. E2), taking care to avoid spilling the
dust.
- Clean the gasket surface on the filter with a damp, clean lint-free cloth.
- Before mounting check the state of the new safety cartridge (see: 3 - MAINTENANCE:
FILTERS CARTRIDGES AND BELTS).
- Introduce the cartridge into the filter axis and push it in, pressing the edges and not the
middle.
NOTE: The periodicity for changing the safety cartridge is given for information only. The
safety cartridge must be changed for every two changes of the air filter cartridge.
E1/1
E1/2
E2
2
1
1
3