–46–
NOTE: During cleaning, do not stretch, damage or
remove the spring from the plunger. If it is removed,
slide the spring’s flared end into the plunger’s slotted
top opening until the spring contacts the plunger
spring stop.
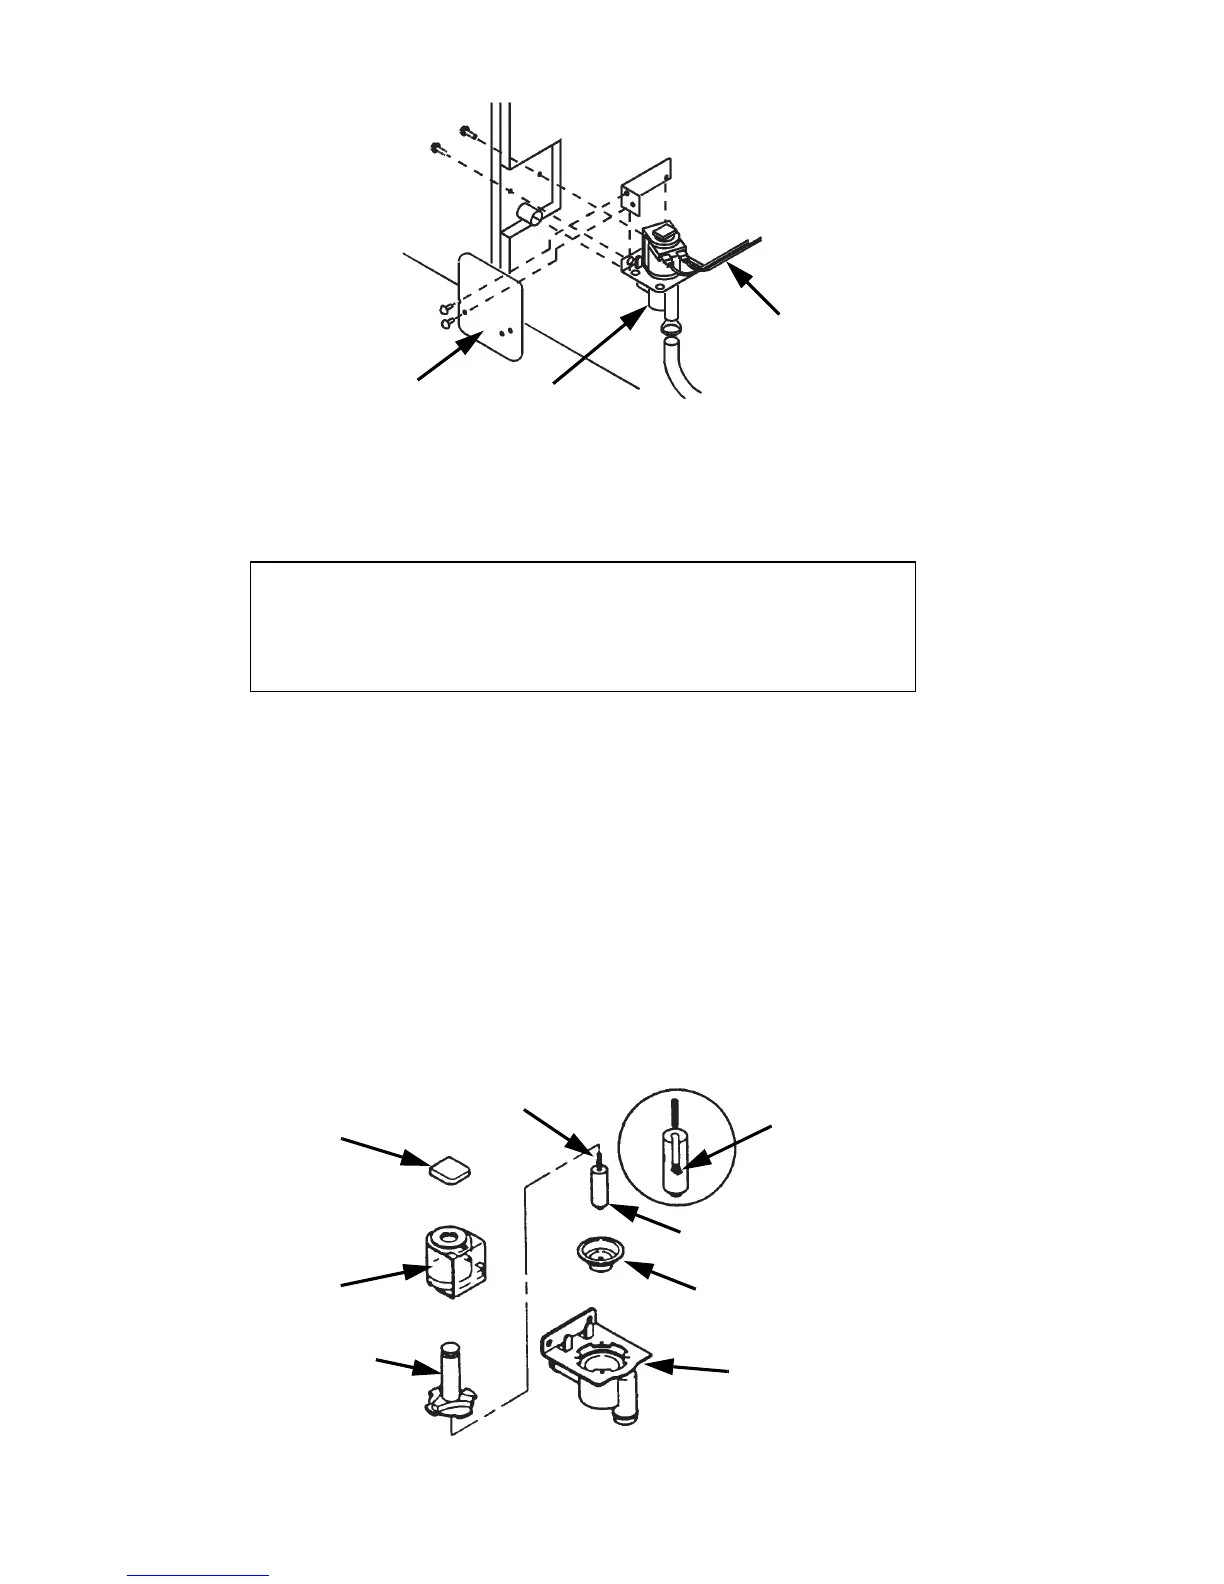
5. Remove the valve body.
6. Remove the tubing from the dump valve by twisting
the clamps off.
Remove the two screws securing the dump valve and
the mounting bracket.
Important
The plunger and the inside of the enclosing tube
must be completely dry before assembly.