Figure 1
Figure 2
Figure 3
Figure 4
-5- -6-
1. Place the unit on a clean dry flat surface.
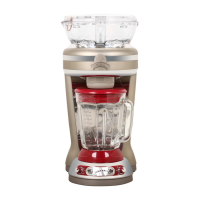
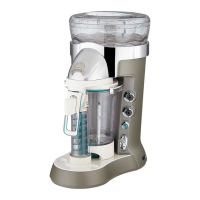
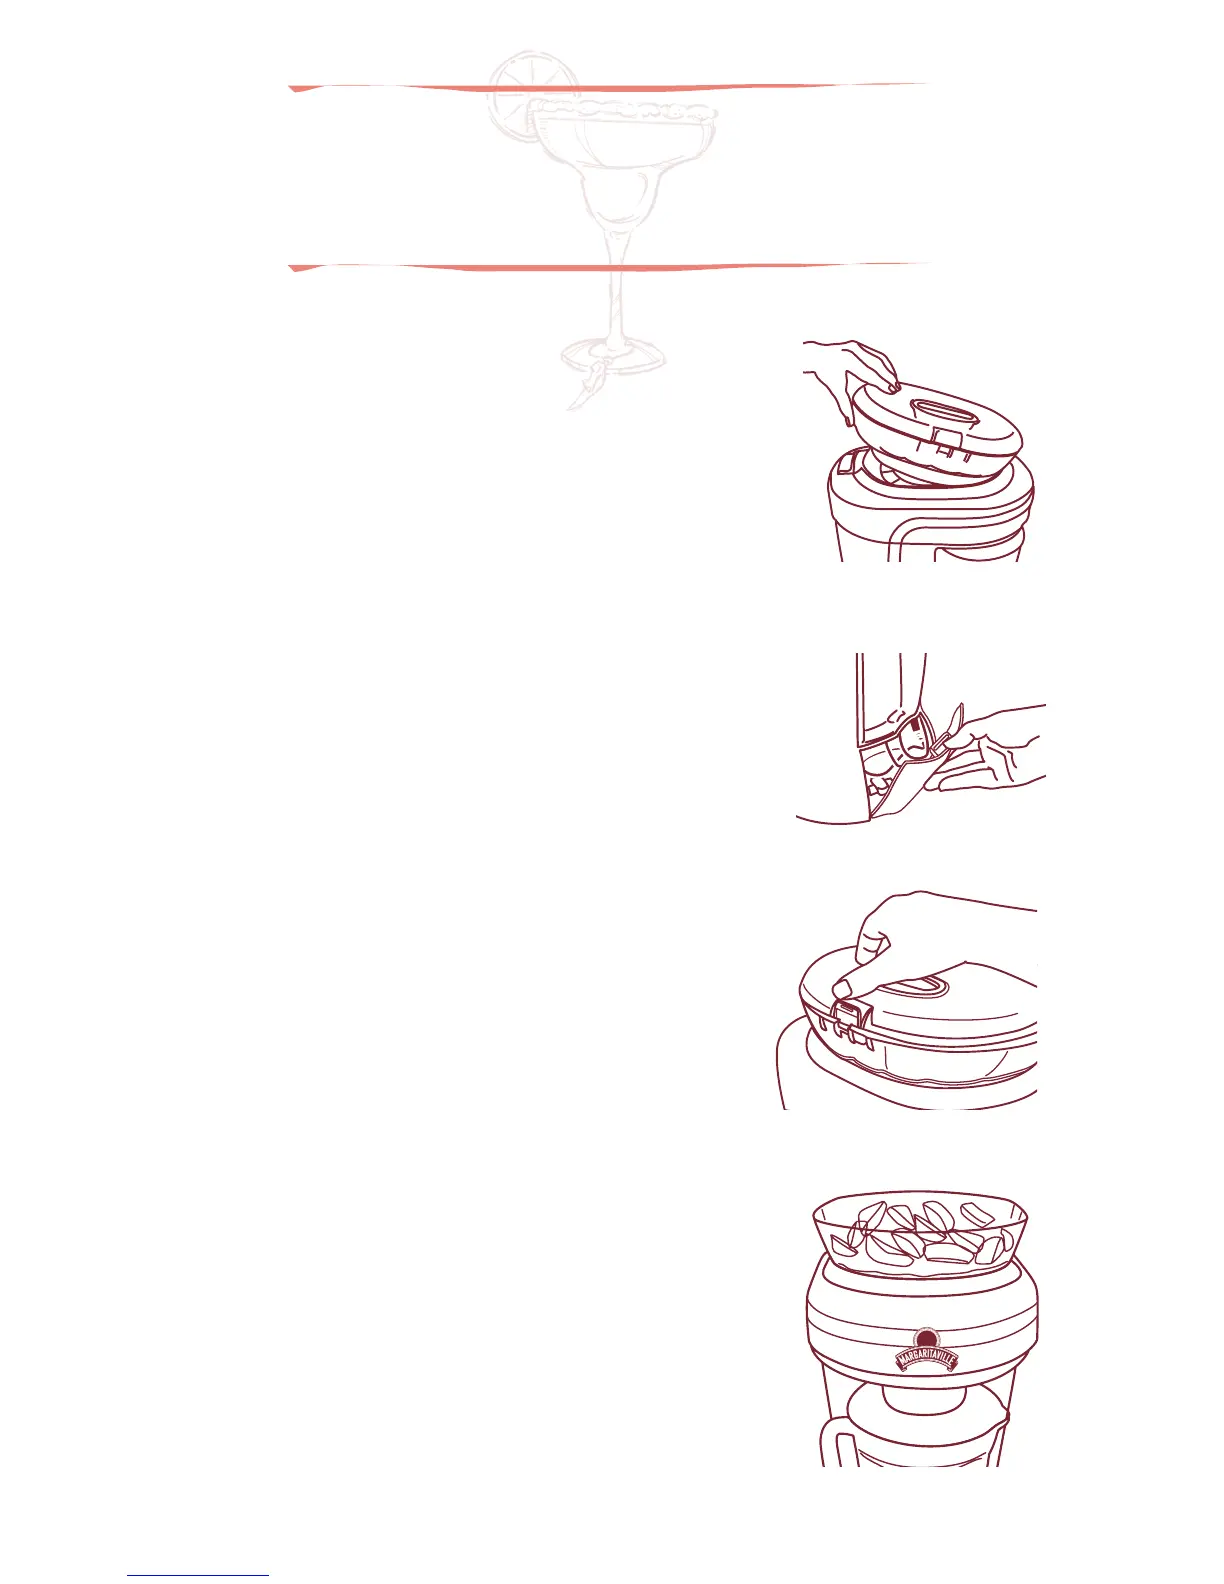
2. Place the Ice Reservoir on the unit front first, then
push down firmly on back. Reservoir must click
into place.
Figure 1
NOTE: IF ICE RESERVOIR IS NOT SEATED FIRMLY
IN PLACE THE UNIT WILL NOT OPERATE.
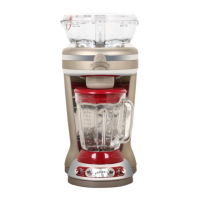
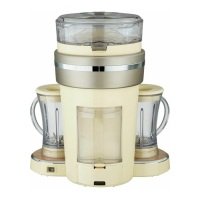
3. Remove the Cord Storage Door by pushing down on
the release tab located on the Cord Storage Door.
Remove the power cord and plug the unit into a
standard 120 Volt wall socket. Replace the cord
storage door and position the power cord in the slot
below the cord storage release tab.
Figure 2
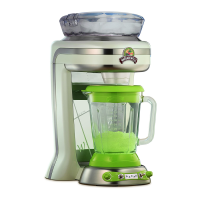
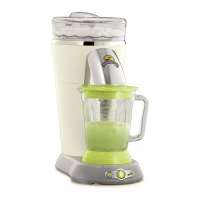
4. Remove the Ice Reservoir Lid using the Release Button
located on the top of the Ice Reservoir.
Figure 3
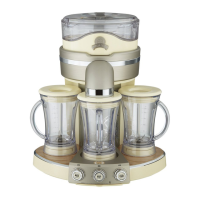
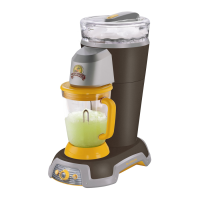
NOTE: NEVER PUT ANYTHING BUT ICE IN
THE ICE RESERVOIR.
5. Fill the Ice Reservoir with ice cubes. Figure 4
6. Replace the Ice Reservoir Lid and snap closed.
7. Lift and remove the Blending Jar. The Ice Chute is
spring-loaded and can be pushed up.
8. Remove Blending Jar Lid.
9. Add appropriate amount of ingredients to the
Blending Jar for the number of drinks being made
(1, 2 or 3).
Making frozen
drinks
Control Panel
1 Drink Selector Rotary Switch – Selects
from 4 different types of drinks.
•
Ritas – liquid ingredients only
•
Daiquiris – liquid ingredients
+ frozen fruit
•
Slides– liquid ingredients
+ ice cream
•
Smoothies – liquid ingredients
+ fresh fruit
2 Shave ’n Blend™ Toggle Switch – Used
to select automatic Shave ’n Blend
™
cycle.
3 Power Indicator Light – Blinks when
unit is plugged in to indicate ready
for use. Avoid contact with blades or
moveable parts.
4 Progress Indicator Lights – Shows
status of Shave ’n Blend
™
cycle.
5 Blend Only/Shave Only Toggle Switch –
Used to manually operate ice shaver
and blender.
6 Number of Drinks Rotary Switch – used
to select 1, 2 or 3 twelve oz. frozen drinks.
1
2
3 4 5 6
DM2000-033_12EFM1.indd 5-6 7/19/12 9:41 AM