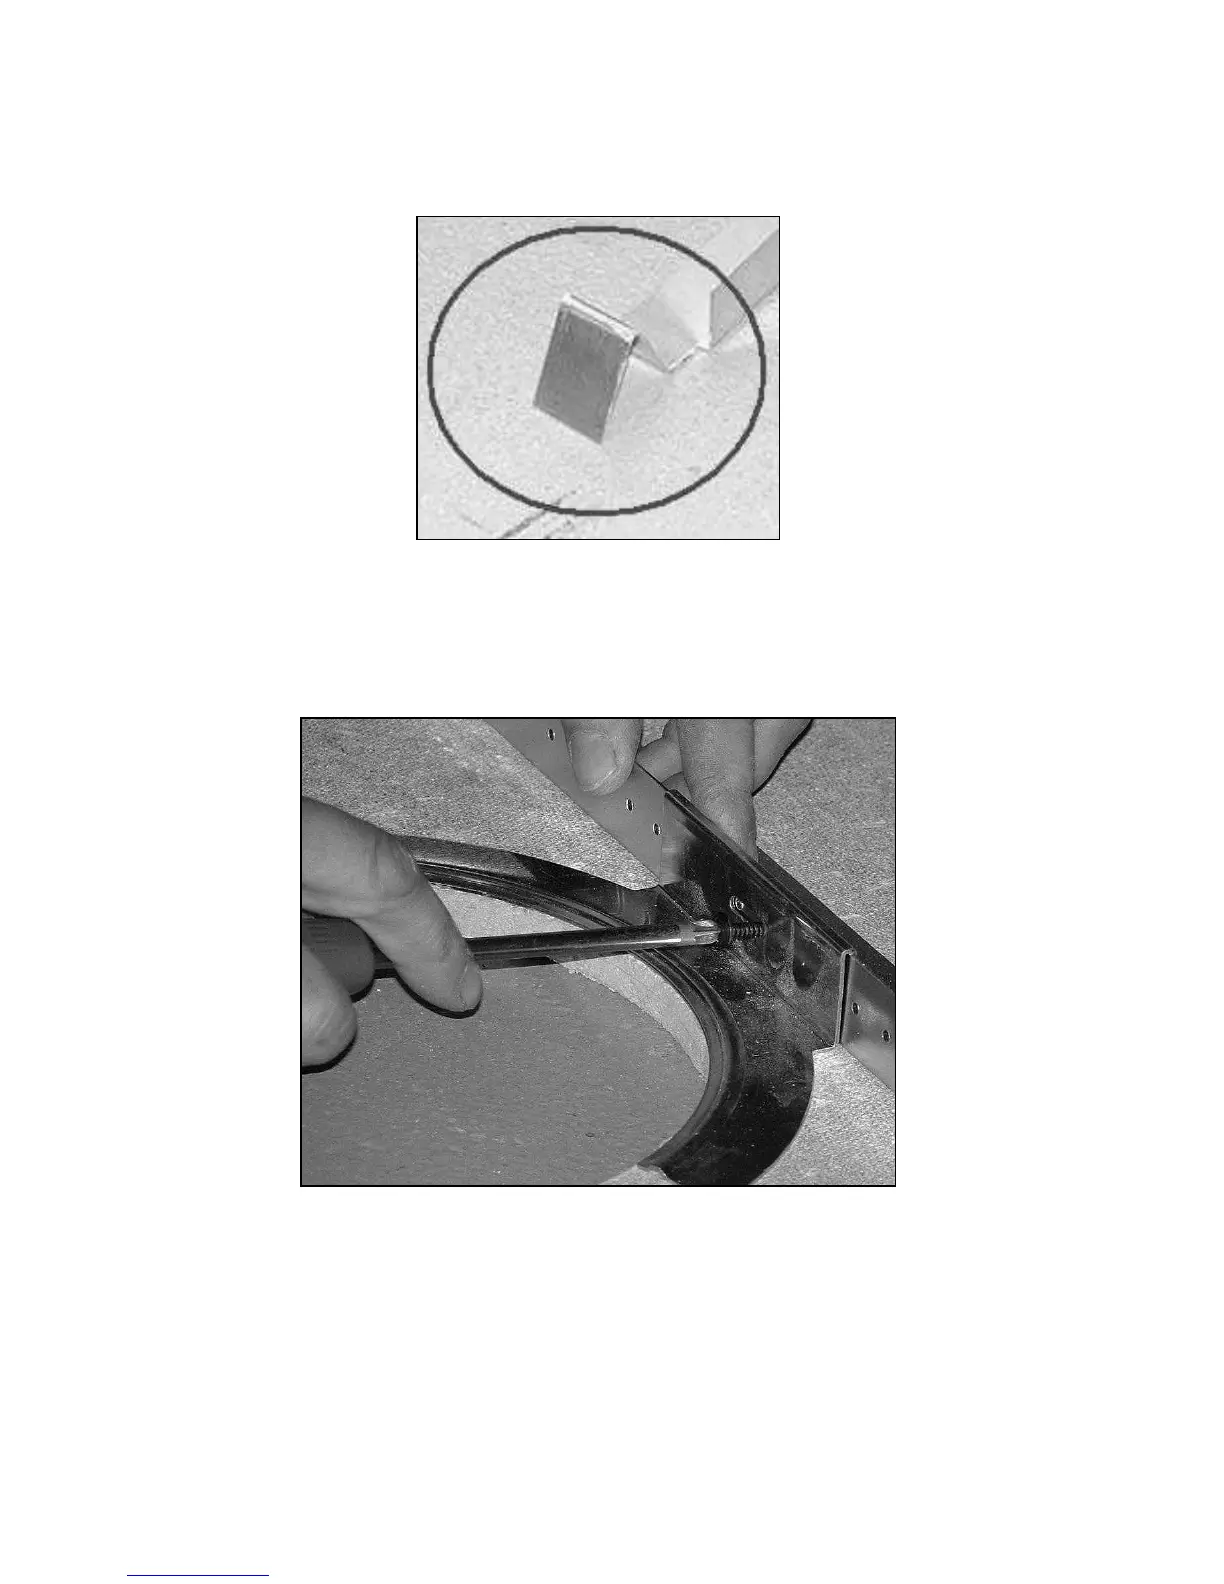
Note that the tile rail ends may be reshaped to suit your particular
ceiling structure.
Tile rail end
Step 3
Screw the C-bracket to the tile rails with the screws provided.
C-bracket screwed to tile rail
Step 4
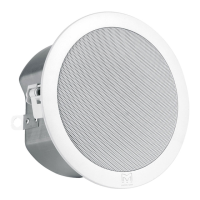
Place the loudspeaker into the ceiling hole (and through the centre of
the C-bracket) from the underside. Align the loudspeaker so that an
imaginary line between the woofer and tweeter runs along the
corridor or concourse. This provides the smoothest sound coverage.
 Loading...