TROUBLESHOOTING - FOR TRAINED MARTIN GARAGE DOOR SERVICE TECHNICIANS
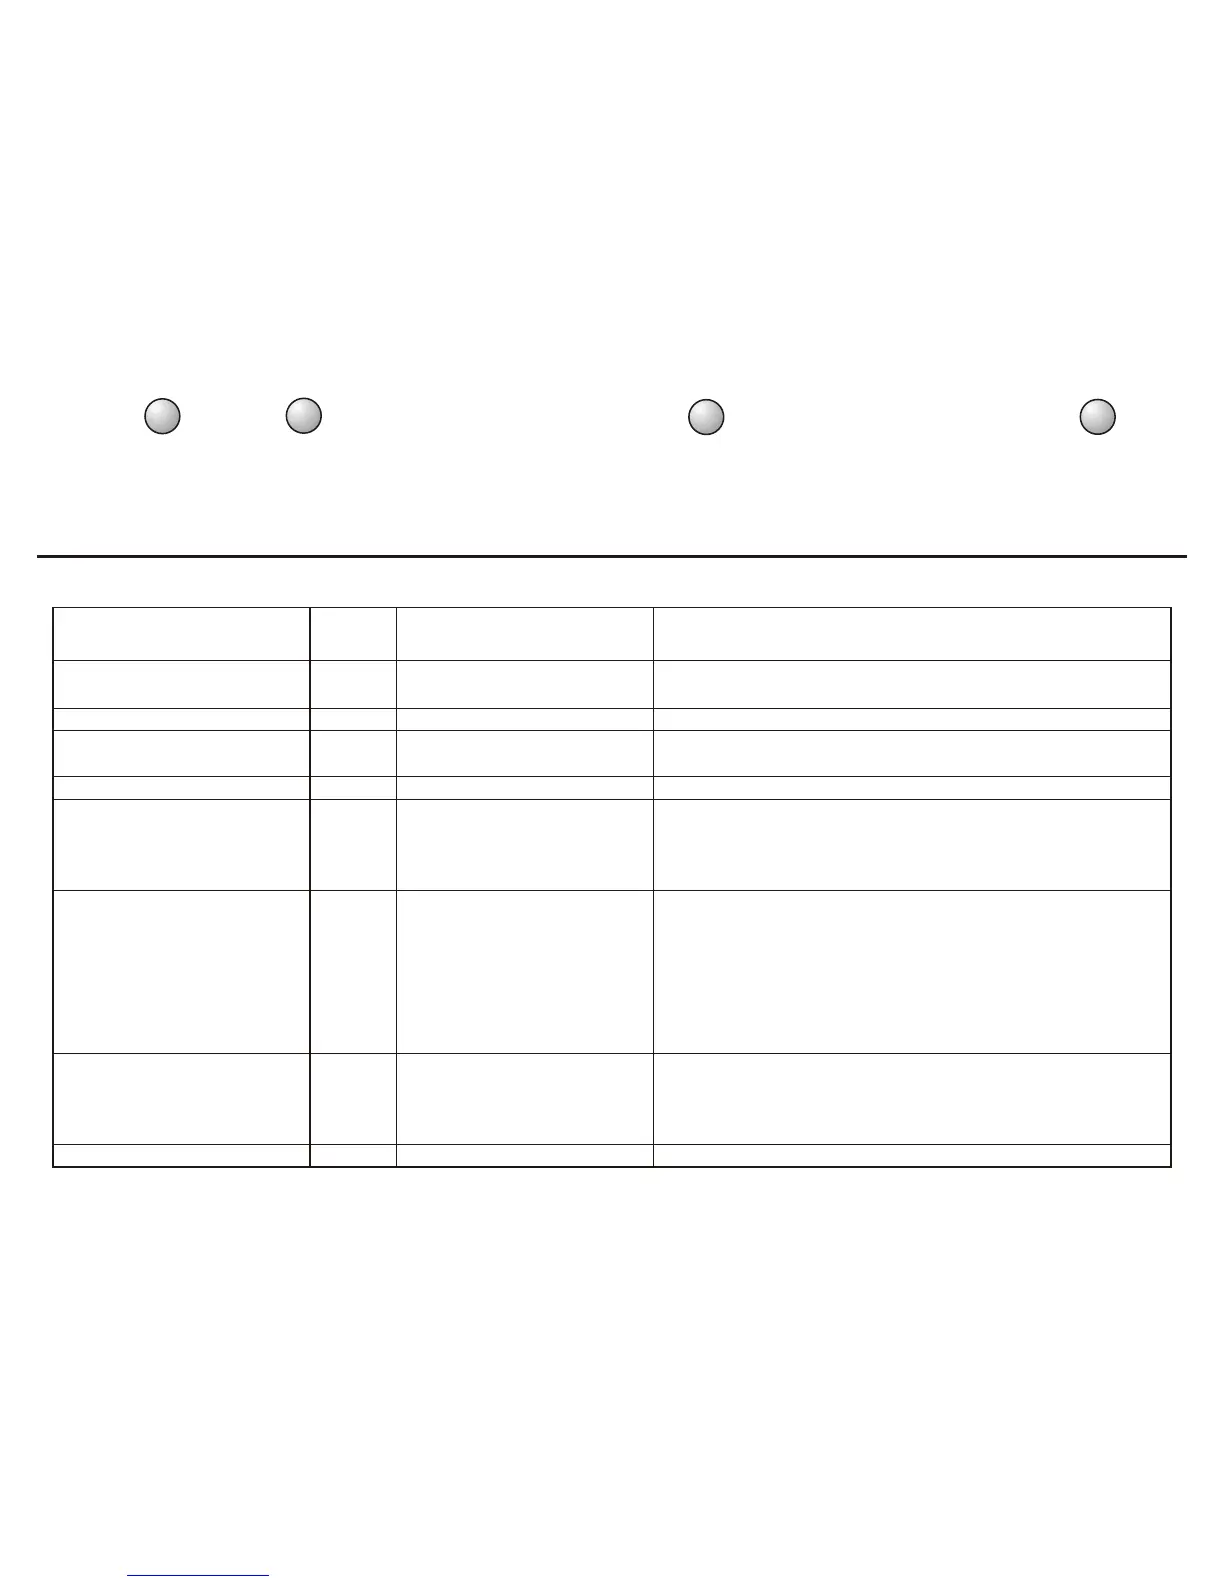
USEFUL LED STATUS INFORMATION
Illuminates when
door is in fully
opened position.
Illuminates when
door is in fully
closed position.
Illuminates when opener is receiving signal from wall control button.
Blinks rapidly when opener is receiving a signal from transmitter or keyless entry.
Blinks slowly after activating vacation lock on wall control button
Illuminates for 2 seconds each time the position tab activates the reference switch as the
door opens or closes.
Blinks when an obstruction is detected, door reverses, or other problem occurs.
Illuminates
when power
is on.
COPYRIGHT © 2003 MARTIN DOOR
23
1
3
4
2
Adjustments setting interrupted
before completion
Defective Reference Switch.
Photo eyes became obstructed
during downward door travel
Defective RPM sensor.
Force required to move door
exceeded set force level
Opener exceeded maximum run
time limit (45 seconds) for
safety reverse
Photo eyes not connected properly
Photo eyes are dirty.
Photo eyes not aligned.
Other photo eyes fault.
Force watchdog circuit found error
Power limit (RTS) sensitivity
exceeded.
Self-Learned force limit exceeded
Internal control error
LED DISPLAY AFTER
PRESSING “P”
CODE PROBLEM SOLUTION
8
10# 1,#2, # 3, # 4 Blinking
# 1, # 3, # 4 Blinking
4
5
7# 3, # 4 Blinking
# 1, # 4 Blinking
# 4 Blinking
Door can be operated normally. Recheck adjustments if adjustment
settings were not completed. See STEP 11.
Have opener serviced. Replace reference Switch.
Remove obstruction from path of door. Clean photo eyes or realign
photo eyes. See STEP 13
Replace RPM sensor
Check door for obstructions, proper manual operation, proper balance,
or broken springs. Clear obstructions.
If door is OK, increase force setting. After adjustment is made, repeat
reversal test. See STEP 11.
Make sure rail assembly is connected to power head and belt or chain
is moving.
Check photo eyes wiring and connections. See STEP 7.
Clean photo eyes.
Realign photo eyes.
Replace photo eyes.
Check door for obstructions, proper manual operation, proper balance,
or broken springs. Clear obstructions.
Readjust force and run opener up and down twice. After adjustment is
made, repeat reversal test. See STEP 12.
Replace defective parts.
3# 3 Blinking
1# 1 Blinking
# 2 Blinking 2