CARE AND CLEANING
Condenser
The condenser tubing inside the cabinet does not require
frequent cleaning; however, satisfactory cooling depends
on adequate ventilation over the coils. Be sure that noth-
ing obstructs the required air flow openings in front of the
cabinet. At least once or twice a year, brush or vacuum lint
and dirt from the front grille area (see page 3).
Cabinet
The stainless steel cabinet can be washed with either a
stainless steel cleaner or a mild soap and water and thor-
oughly rinsed with clear water. NEVER use abrasive scour-
ing cleaners. Painted surfaces can be cleaned with mild
soap and water.
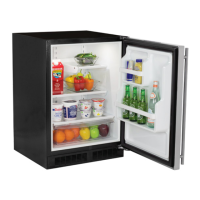
Interior
Wash interior compartment with mild soap and water. Do
NOT use an abrasive cleaner, solvent, polish cleaner or
undiluted detergent.
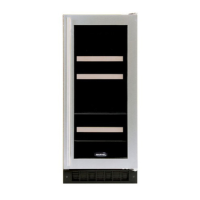
Wine Shelves
Tha racks may be cleaned with mild soap and water and a
soft cloth. Do NOT use any abrasive cleaners. See below
for instructions for removing the wine shelves.
Door Gasket
The vinyl gasket may be cleaned with mild soap and water,
a baking soda solution or a mild scouring powder.
21
Removing the Wine Shelves.
Model 6SDZE (Dual Zone Wine Cellar): Unload wine from
the shelf to be removed. Pull the shelf all the way out until
it stops. Lift up on the front of the shelf so the wheel on the
shelf clears the track fastened to the liner and pull the shelf
the rest of the way out.
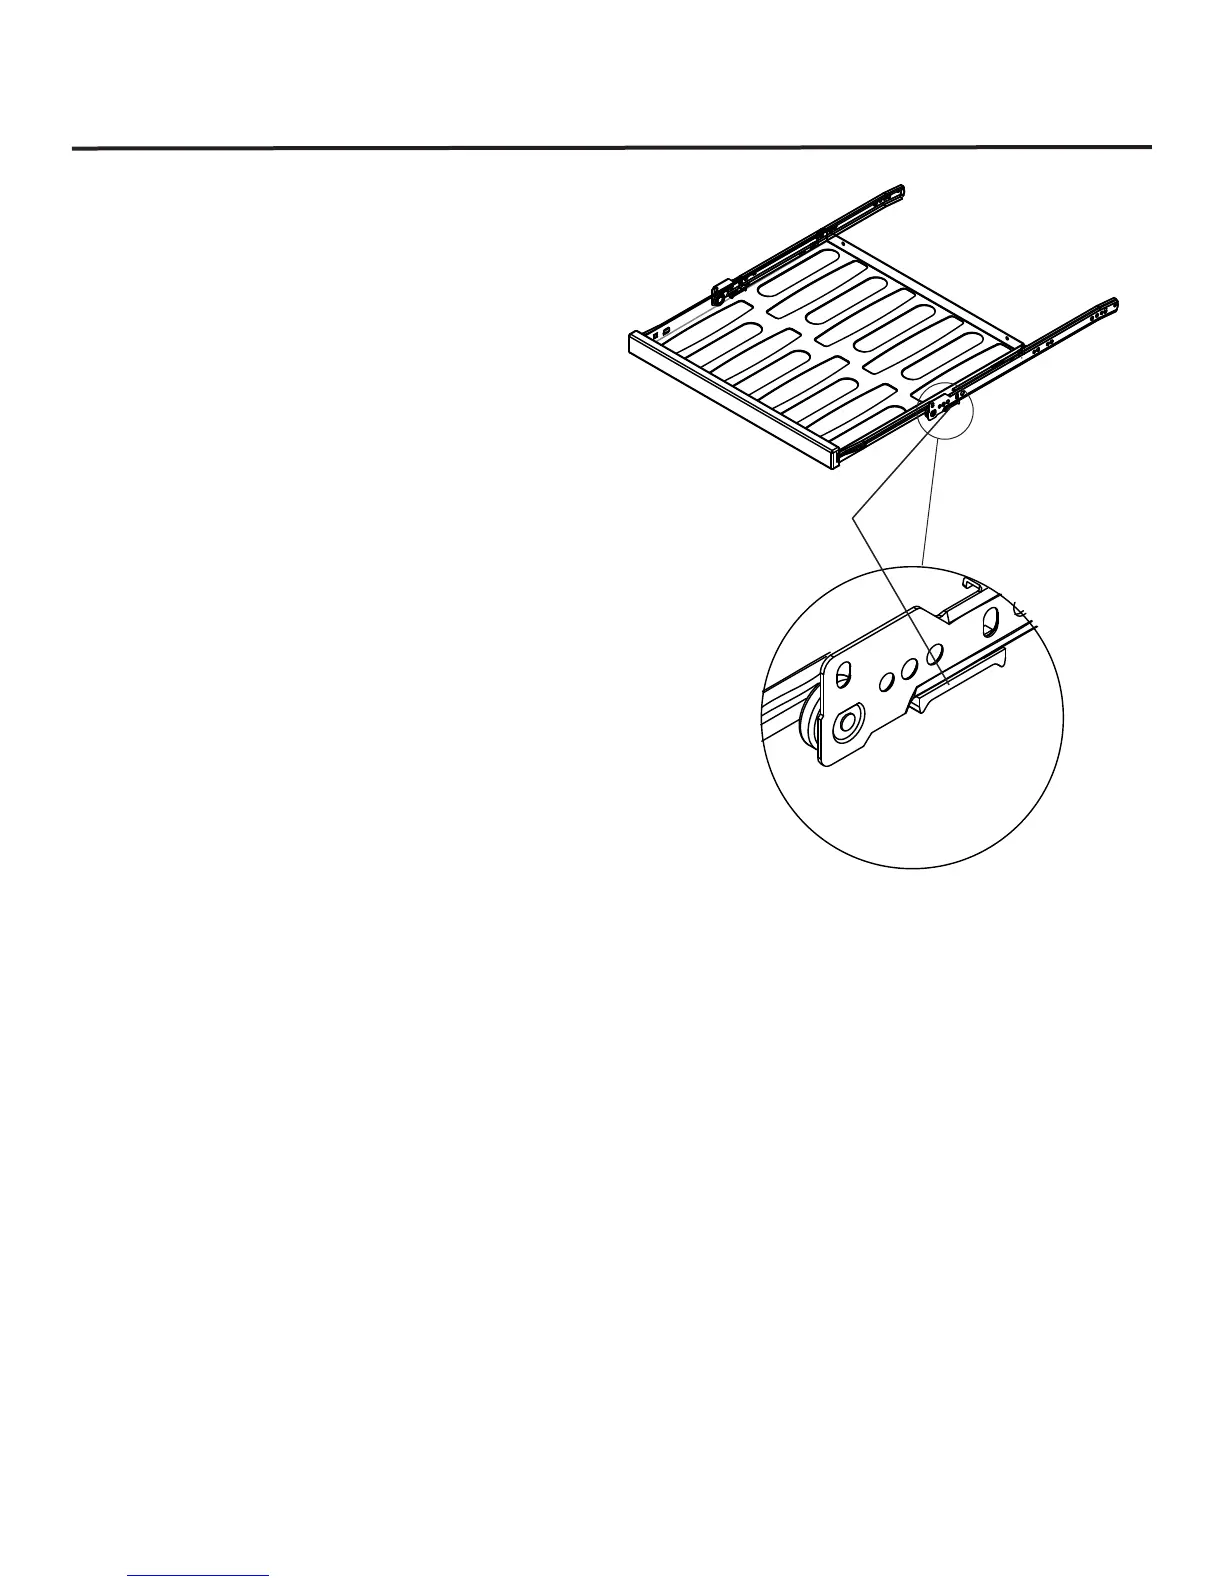
All other models: Unload wine from the shelf to be re-
moved. Pull the shelf all the way out until it stops. At the
front of the drawer slide just under the shelf there is a
plastic block (see Figure 17). Push this block to the rear to
release the slide. Repeat on other side of the shelf. Lift the
front of the shelf and pull away from the slides to remove
the shelf.
Reverse this procedure to install the shelf. Be sure to move
the plastic block to the forward position after installing the
shelf.
Figure 17
Plastic Block on
bottom front of slide