4/27/20 2 Ultimate Glider WOCD
19916116 Field Applied Instructions
Table 1: Field-applied WOCD kit details
Field-Applied Install Process
Inspect all fabrication jigs before and after each use. Ensure steel inserts are not loose and do not show heavy wear.
Contact Customer Support if a replacement is needed.
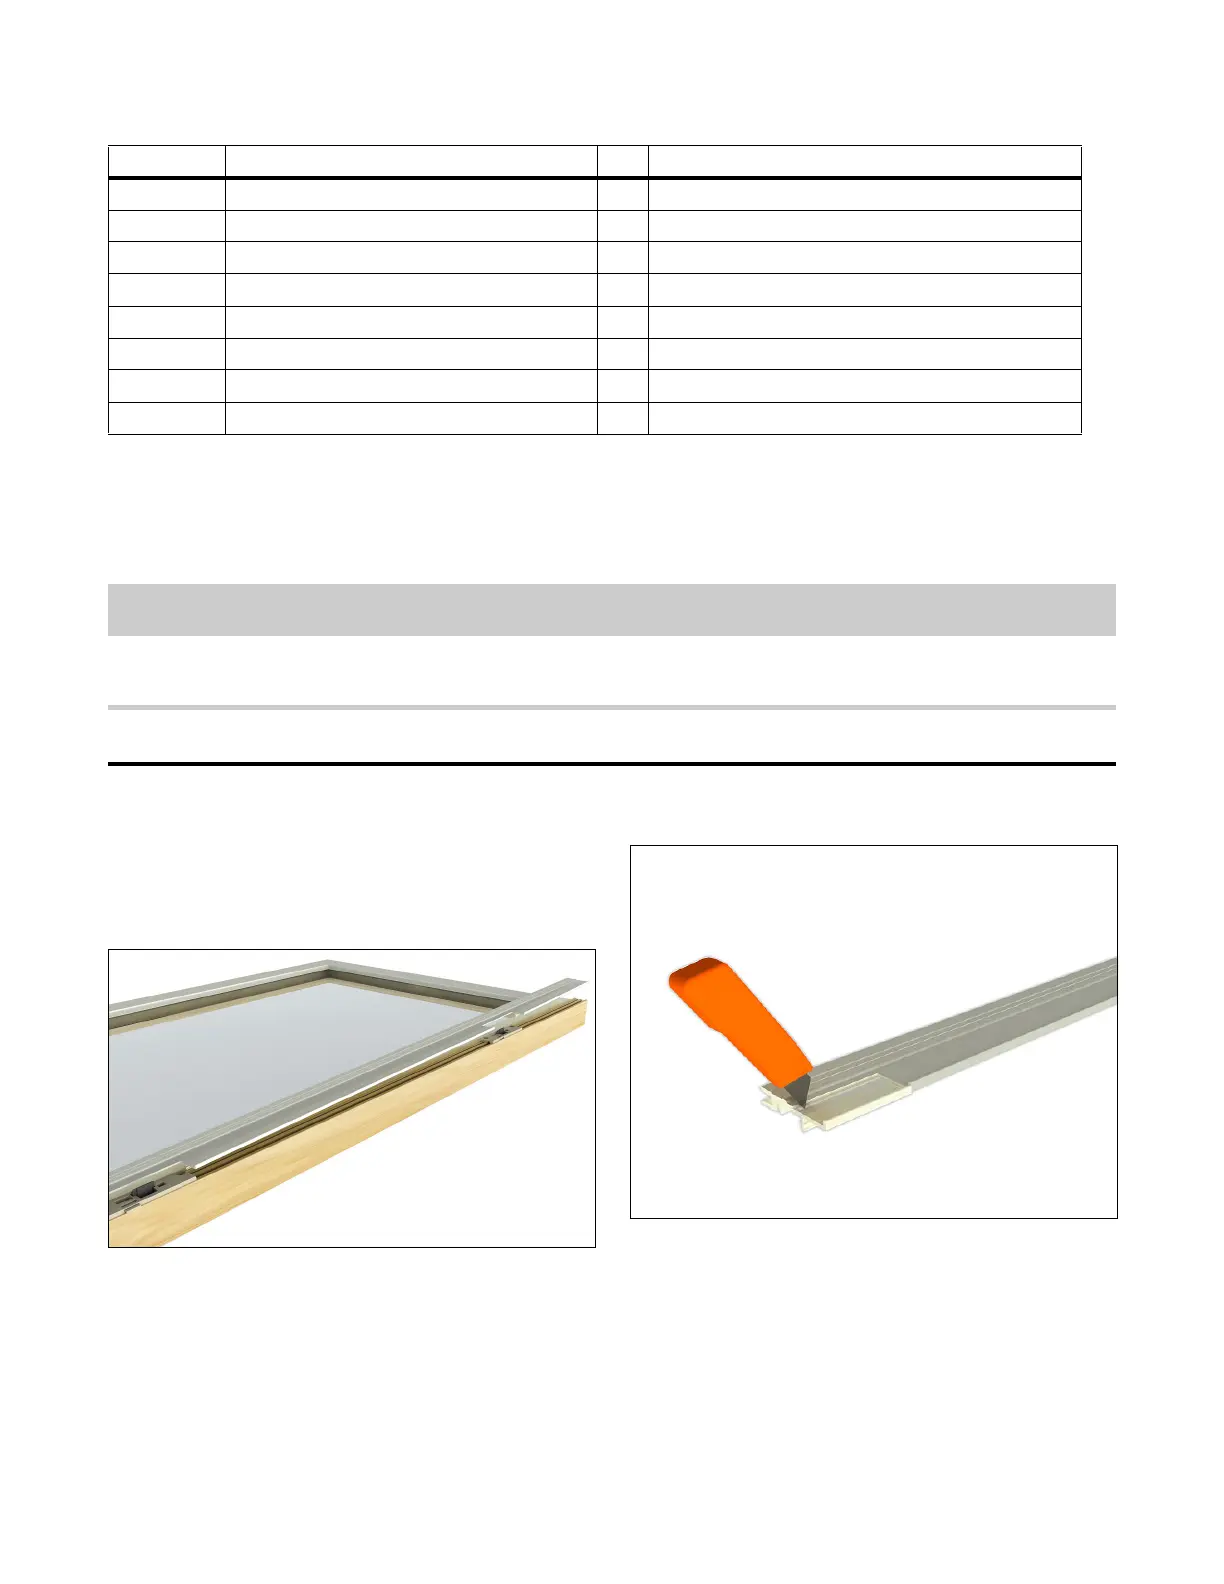
Primary Sash
NOTE: Lay sash on a flat surface and secure with a
clamp before performing the following steps.
1. Remove screws from interlock. See Figure 1.
Figure 1
2. Using a square and pencil, mark the 1 1/2" x 3/4"
notch and remove material. See Figure 2.
Figure 2
3. Install the window opening control bumper at the
bottom of the sash and fasten with 1" screw. See
Figure 3.
Part No. Description Qty Notes
19916116 Field Installation Instructions 1
19916102 Hang Tag 1
19915447 Safety and Operating Information 1 One for owner, copy for occupant
11718011 WOCD Sticker 1
See notes WOCD Assembly 1 part number depends on finish color
See notes WOCD Assembly Screws 2 part number depends on finish color
See notes WOCD Bumper 1 part number depends on finish color
11805150 WOCD Bumper Screw 1
 Loading...