EasyManua.ls Logo

Master MFG 12 VOLT SPOT SPRAYER - User Manual

Master MFG 12 VOLT SPOT SPRAYER
12 pages
Print Icon
To Next Page IconTo Next Page
Loading...
320.340.6464
INSTRUCTIONS FOR ASSEMBLY, OPERATION, SERVICING & STORAGE
12 VOLT SPOT SPRAYERS
12VSPT-M

Questions and Answers

  • P
    Phillip EdwardsAug 1, 2025
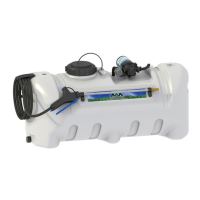
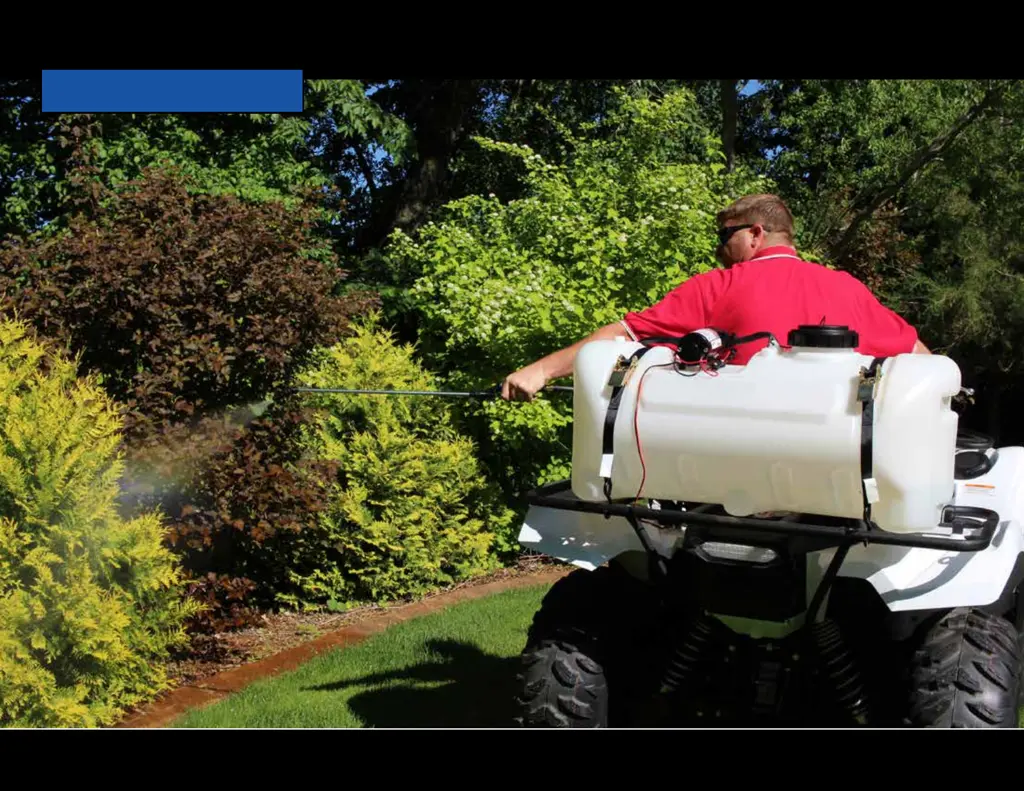
    How to fix Master MFG 12 VOLT SPOT SPRAYER pump that will not turn on?
    • D
      David JacksonAug 1, 2025
      If the Master MFG Paint Sprayer pump won't turn on, begin by inspecting the battery connections for any issues. Then, check the fuse and replace it if it's blown. Examine the wires for shorts and verify the voltage. If these steps don't resolve the issue, the drive might be locked, requiring replacement of the diaphragm assembly, or the pressure switch could be faulty, necessitating its replacement.
  • K
    Kevin PotterAug 5, 2025
    Why is the pressure low on my Master MFG 12 VOLT SPOT SPRAYER Paint Sprayer?
    • K
      kylebradleyAug 6, 2025
      If you're experiencing low pressure or flow with your Master MFG Paint Sprayer, the issue could stem from several causes. Start by checking for worn spray gun or boom nozzles and replace them if necessary. Also, inspect the wobble plate or diaphragm for wear and replace the diaphragm assembly if needed. A worn pressure switch could also be the culprit, requiring replacement. Additionally, check for inlet air leaks, obstructions in the inlet/outlet tubes, or a clogged intake valve, addressing each accordingly. Finally, ensure that the voltage is at the required level.
  • G
    Gary HumphreyAug 10, 2025
    What to do if Master MFG 12 VOLT SPOT SPRAYER pump will not prime?
    • Q
      qperezAug 10, 2025
      If your Master MFG Paint Sprayer pump won't prime, first ensure that the supply container is full of product. Next, check for any inlet air leaks and tighten the fittings or replace cracked ones. Also, inspect the inlet and outlet tubes for obstructions and remove any that you find. A clogged intake valve could also be the problem, so remove any obstructions there as well. Finally, check the voltage to ensure it's sufficient.
  • J
    Joanna JacksonAug 14, 2025
    Why does my Master MFG 12 VOLT SPOT SPRAYER keep cycling?
    • C
      Colton AndersonAug 14, 2025
      If the Master MFG Paint Sprayer pump cycles even when you're not spraying, it might be due to a leak in the system. Try tightening any leaking hose clamps or fittings, or replace the spray gun if necessary. A faulty pressure switch could also cause this issue, requiring replacement. Low voltage or trapped air in the system are other potential causes; check the voltage and purge any trapped air.
  • T
    Traci OlsonAug 18, 2025
    How to improve spray distribution of Master MFG 12 VOLT SPOT SPRAYER Paint Sprayer?
    • H
      Harry GonzalezAug 18, 2025
      If you're experiencing poor spray distribution with your Master MFG Paint Sprayer, start by checking the intake tube for clogs and remove any obstructions. Also, inspect the suction strainer and clean it if it's clogged. A worn spray gun nozzle could also be the cause, so consider replacing it.
  • J
    jeffrey57Aug 23, 2025
    Why is my Master MFG Paint Sprayer pump leaking?
    • J
      Jonathan AndersonAug 23, 2025
      If your Master MFG Paint Sprayer pump is leaking, check for loose fasteners and tighten them. If the pump seals are degraded, replace the pump head assembly. Also, inspect the diaphragm for leaks and replace the diaphragm assembly if necessary.
  • J
    James BanksAug 27, 2025
    Why is my Master MFG 12 VOLT SPOT SPRAYER operating roughly?
    • J
      Jonathan AdamsAug 27, 2025
      If the Master MFG Paint Sprayer is operating roughly, ensure the pump is mounted on a rigid surface. If the pump head is loose, tighten the fasteners. If the base feet are compressed, decompress them. Finally, if the plumbing is rigid, replumb the pump with flexible plumbing.

Summary

Introduction and Warranty Information

Product Introduction

Details the sprayer's purpose and intended use with agricultural chemicals.

Warranty Coverage

Explains the two-year warranty for defects in workmanship and material.

Tools and Components Overview

Required Tools for Assembly

Lists necessary tools like Phillips screwdriver, pliers, and Teflon tape.

Included Hardware and Parts

Details hardware and components included with the sprayer, some shipped inside the tank.

Spot Sprayer Assembly - Steps 1-4

Drain Cap Assembly

Assemble the drain cap with gasket and tether.

Attach Drain Cap to Tank Port

Connect the assembled drain cap to the sprayer tank drain outlet.

Tank Lid Assembly

Assemble the tank lid with its tether.

Attach Tank Lid to Tank

Secure the tank lid assembly onto the sprayer tank.

Spot Sprayer Assembly - Steps 5-8

Install Gun Clips

Attach gun clips to the front of the sprayer tank.

Connect Spray Gun Assembly to Pump

Connect the spray gun hose to the 12V diaphragm pump.

Install Pressure Regulator Assembly

Connect the pressure regulator assembly to the diaphragm pump.

Connect Spray Gun to Regulator

Connect the spray gun hose to the pressure regulator assembly.

Spot Sprayer Assembly - Steps 9-10

Install Pressure Gauge

Screw the pressure gauge into the top of the pressure regulator assembly.

Connect Wire Harness to Battery

Connect the wire harness to the pump and battery terminals.

Operation Safety Information

Important Safety Alerts

Highlights safety alerts and warnings regarding personal safety and property damage.

General Chemical Safety

Provides guidance on handling hazardous chemicals, including warnings and precautions.

Pre-Spraying Procedures

Before Spraying Checklist

Ensures sprayer is prepared, area is clear, and conditions are suitable before spraying.

Chemical and Legal Compliance

Emphasizes adherence to chemical labels, state/federal laws, and avoiding specific chemical types.

During Spraying Guidelines

Safe Spraying Practices

Covers avoiding over-application, keeping spray away from people/pets, and not spraying near heat.

Handling Sprayer While Unattended

Instructs to turn off the vehicle, set brakes, and relieve pressure before leaving unattended.

Post-Spraying Procedures

Sprayer Cleaning and Decontamination

Details immediate cleaning of the sprayer and personal decontamination after use.

Chemical Disposal and Health Monitoring

Covers proper chemical disposal and monitoring operator health.

Preparing and Using the Sprayer

Sprayer Preparation Checklist

Review safety, ensure attachment, empty tank, clean strainer, and inspect for leaks.

Using the Sprayer Safely

Wear protective equipment, assess conditions, and ensure power is off before filling.

Filling the Sprayer Tank

Add chemical/water ratios, mix thoroughly, and secure the tank lid.

Spraying Techniques

Spot Spraying

Pull the gun trigger to spot spray, adjust nozzle for desired spray pattern.

Broadcast Spraying

Open boom valve, ensure correct pattern, and turn switch to 'ON' for spraying.

Cleaning, Decontaminating, and Storage

Cleaning and Decontaminating Sprayer

Drain tank, store/dispose of unused chemical, flush sprayer, and decontaminate self.

Sprayer Storage Preparation

Run RV anti-freeze through the system to lubricate and protect against freezing.

Removing Sprayer from Storage

Drain anti-freeze, flush system with water, and dispose of fluids properly.

Troubleshooting Common Issues

Troubleshooting Table

Provides a table of common problems, their causes, and solutions for sprayer issues.

Before Attempting Service

Safety precautions before servicing, including PPE, emptying tank, and relieving pressure.

Sprayer Breakdowns and Parts

Traditional Spot Sprayer Components

Diagram and parts list for the Traditional Spot Sprayer.

Deluxe Spot Sprayer Components

Diagram and parts list for the Deluxe Spot Sprayer.

Master MFG 12 VOLT SPOT SPRAYER Specifications

General IconGeneral
BrandMaster MFG
Model12 VOLT SPOT SPRAYER
CategoryPaint Sprayer
LanguageEnglish

Related product manuals