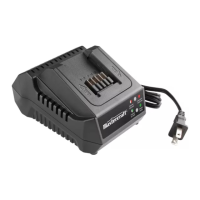
20V max* LITHIUM-ION BATTERY CHARGER - 054-3126-620V max* LITHIUM-ION BATTERY CHARGER - 054-3126-6
9 10
When to charge the battery pack
The Lithium-Ion battery pack can be charged at any time and will not develop a “memory” when charged
after only a partial discharge. It is not necessary to run down the battery pack charge before recharging.
Remove the battery pack from the tool and recharge it when it is convenient for you and your job.
• You can “top-off” your battery pack’s charge before starting a big job or a long period of use.
• Due to Lithium-Ion’s fade-free properties, the only time it is necessary to charge the Lithium-Ion
battery pack is when the pack has reached the end of its charge. To signal the end of charge, power
to the tool will drop quickly. Charge the battery pack as needed.
How to charge the battery pack (fig 1)
A fully discharged battery pack will charge in
about 60-120 minutes, depending on the battery,
at a temperature between 5-40°C (41-104°F).
1. Charge the battery pack with the correct charger.
2. Connect the charger to a power supply.
3. Attach the battery pack to the charger by
aligning the raised ribs of the battery pack
with the slot in the charger. Slide the battery
pack onto the charger (fig 1).
4. The charger will communicate with the battery
pack circuitry to evaluate the condition of the battery pack.
5. The green LED light will flash continuously during normal charging.
6. After charging is complete, the green LED on the charger will remain on.
7. The battery pack will fully charge, but will not overcharge, if left on the charger.
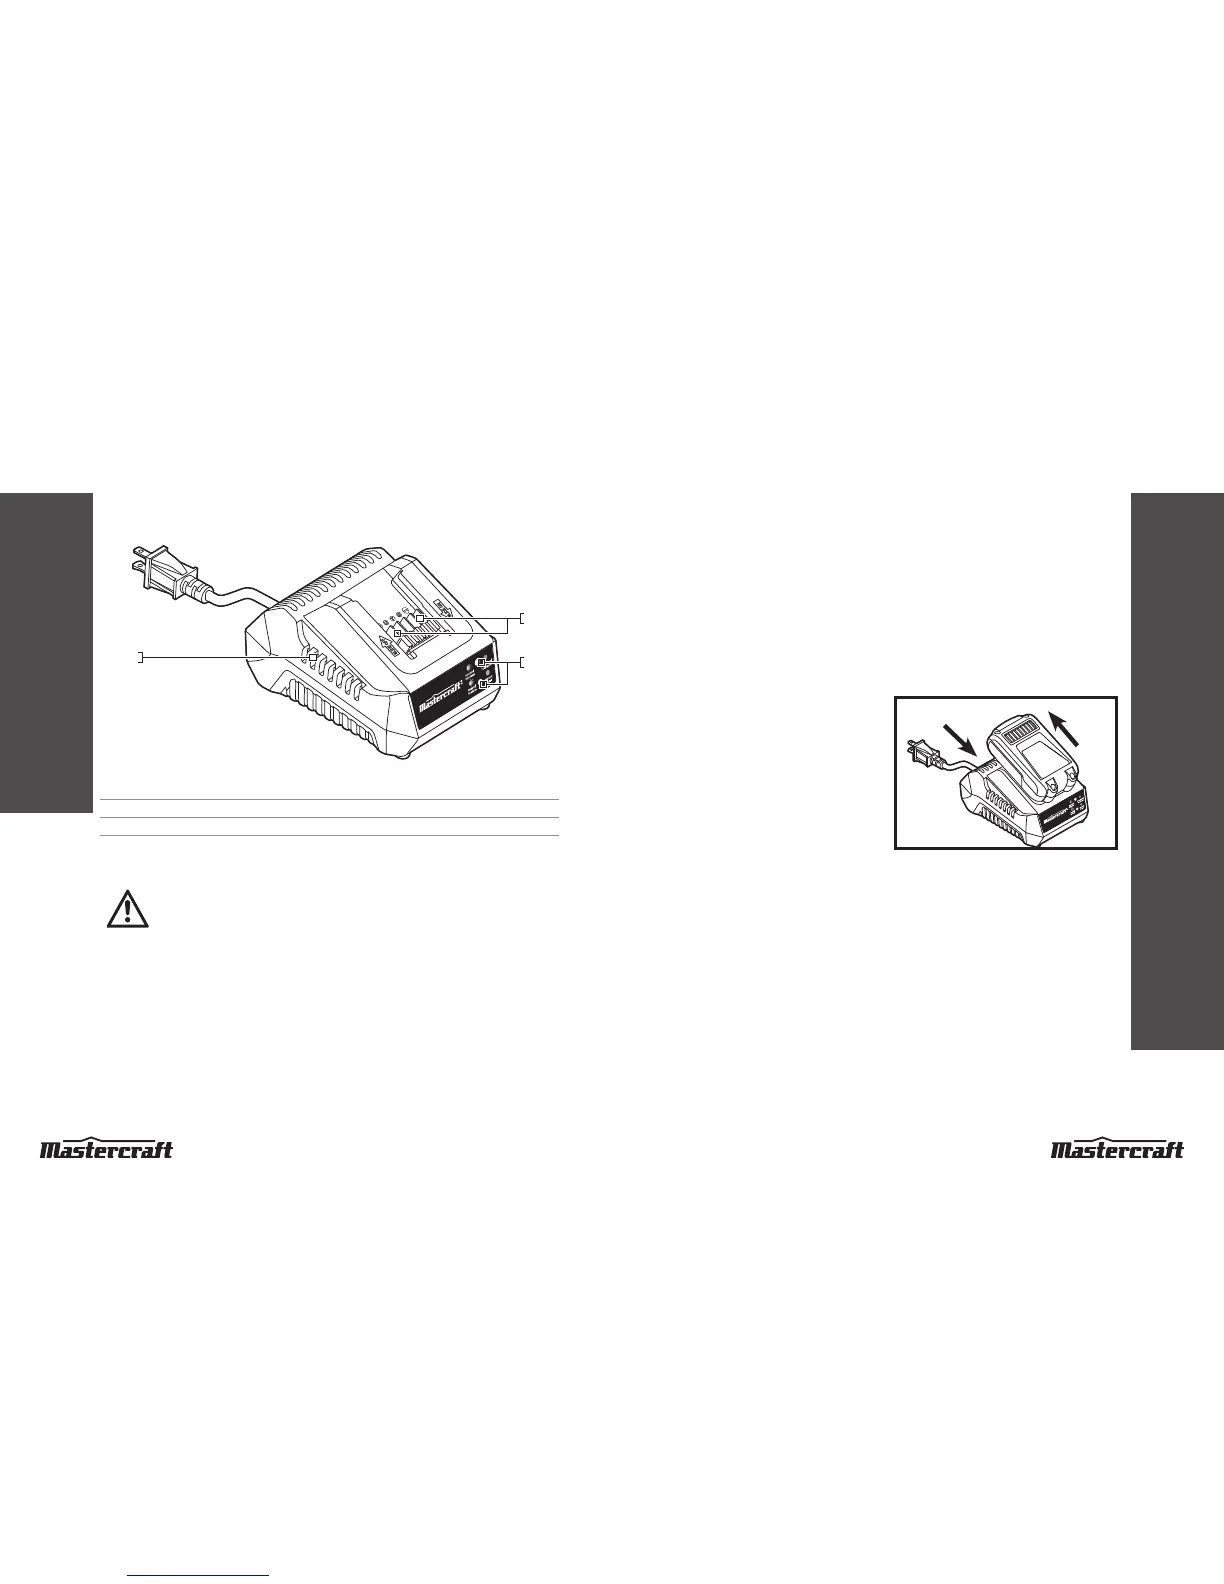
Know your 20V max* lithium-ion battery charger
3
1
2
No. Description No. Description
1 LED lights 3 Air vents
2 Electric contacts
Before attempting to use the charger, familiarize yourself with all of its operating features and safety
requirements.
WARNING!
Do not allow familiarity with the charger to cause carelessness. Remember that one
careless moment is enough to cause severe injury. Before attempting to use any tool, be
sure to become familiar with all of the operating features and safety instructions.
DESCRIPTION
OPERATING INSTRUCTIONS
fig 1
Attach Detach
 Loading...