293
/
2023 OWNER’S MANUAL
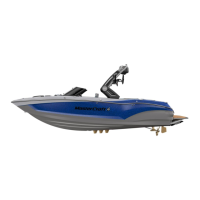
2. Notice that the side pole is divided into two sections and that a
loose pin is attached to each section. Drive the pins into the stops
along the surface of the pole while driving the two halves together.
Connect them and lock the side pole in place.
3. An extendable center support pole is connected to the middle of the
side pole. Prior to installation, make sure the stops along the side of
the center support pole are facing downward.
4. Make sure the center support pole is drawn all the way out. This
is accomplished by holding the trigger on the side of the pole and
simultaneously drawing the pole outwards.
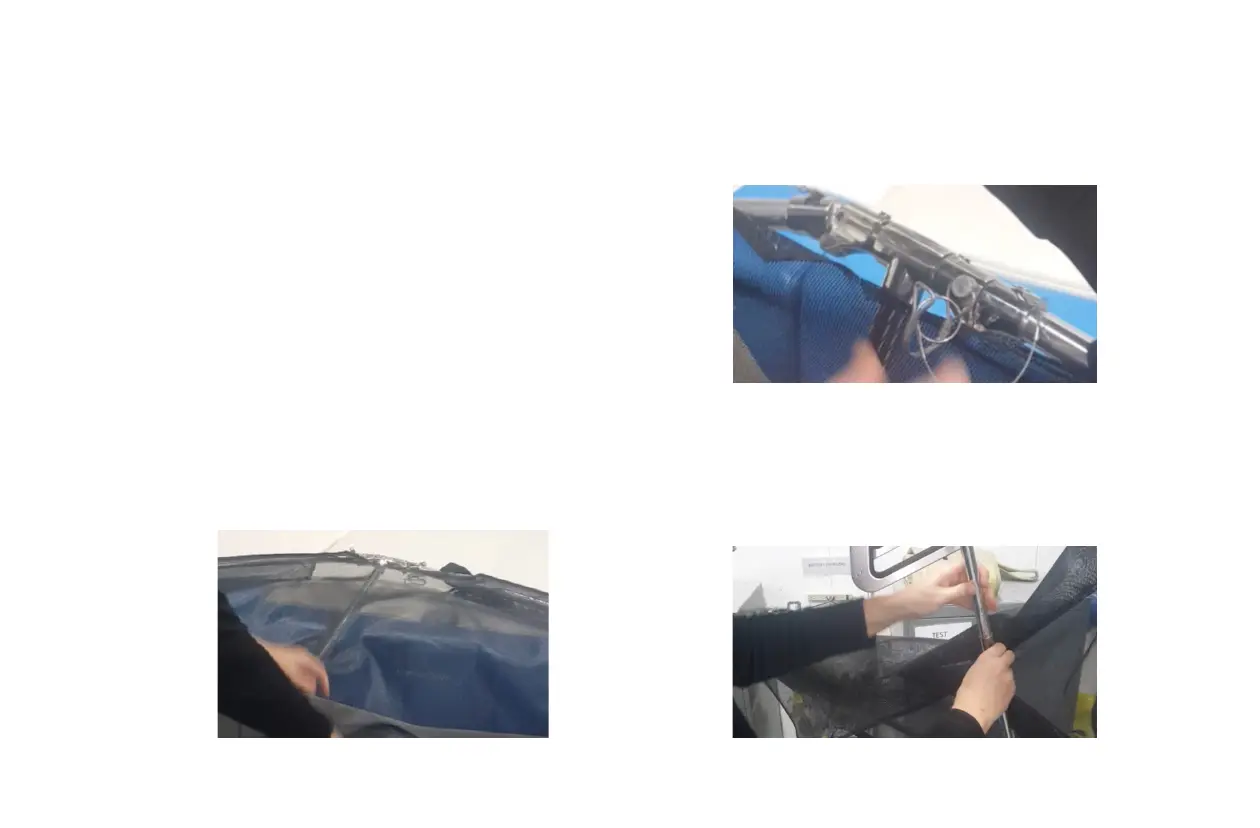
Location
Once installed, the bimini side shades attach to the sides of the
canvas top and extend over the port and starboard sides of the
boat to provide cockpit shade. They have a jaw slide attachment
point on the bimini arm, as well as several tie downs along the
bimini frame, tower, and stern/bow cleats. Prior to assembly and
installation, the side shades are stowed in a black drawstring bag.
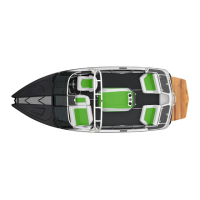
Installation
The shades are stowed in a black drawstring bag. Inside this bag
are a mesh canvas and metal frame. Attach the mesh to the frame
by slipping the side pole into the sleeves. Now that the shades are
assembled, follow these steps to install them:
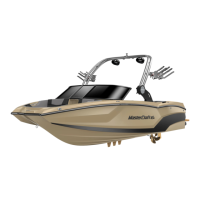
1. Lay the side shade out across the sun pad. Position the shade so
that the side pole is more or less parallel with the windshield. The
mesh should form the top layer, facing upward, with the frame
underneath and touching the sun pad.
 Loading...