12
blades.
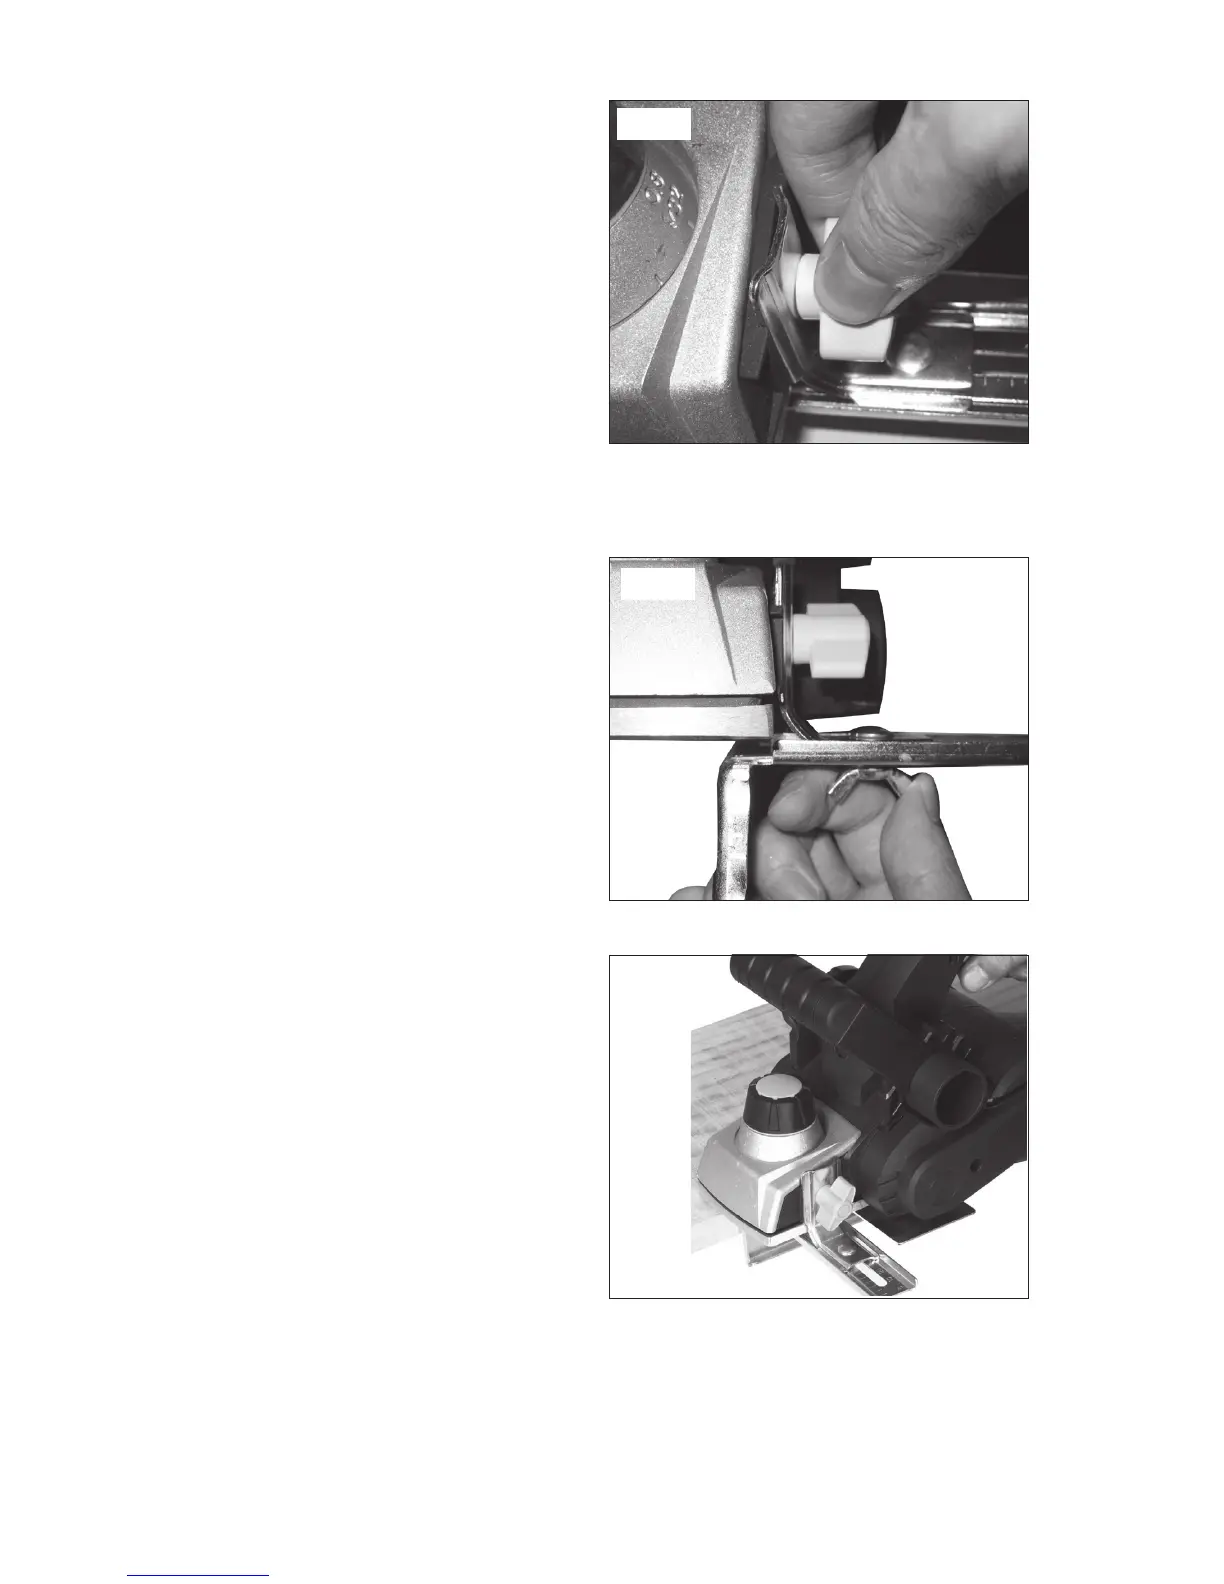
1. To fit the edge guide (14), remove
the edge guide attachment knob (7)
and slide the edge guide into the
planer, retighten the attachment
knob (7) (see Fig.8)
NOTE: Make sure that the two
notches in the fixing plate of the edge
guide are placed over the two lugs on
the planer body.
2. To adjust cutting width, loosen the wing nut that secures the edge guide,
then position the slide to the desired width. Re-tighten the wing nut (See
Fig.9).
• The scale on the edge guide
indicates the width.
• If it is necessary to change to a
precise width, plane a scrap piece
of wood, measure the distance and
adjust the setting as required (See
Fig. 10.)
5. DUST/CHIP EXTRACTION (See
Fig. 11)
Depending on which side of the
planer you wish the dust/chips to flow,
connect the bag adaptor (15) to the
appropriate dust/chip extraction port
(6).
The bag adaptor (15) can be installed
to allow shavings to flow either to the
left or to the right of the workpiece.
Set the dust/chip extraction guide
switch (8) to point towards the desired
extraction port (6).
If desired, fit the dust bag (16) to the bag adaptor (15) so that the dust/
shavings are collected.
A workshop dust-extraction system or a household vacuum cleaner can be
Fig. 8
Fig. 9
Fig. 10