INSTALLATION
EN / Alpha alternator - Alpha Pro regulator / June 2007 11
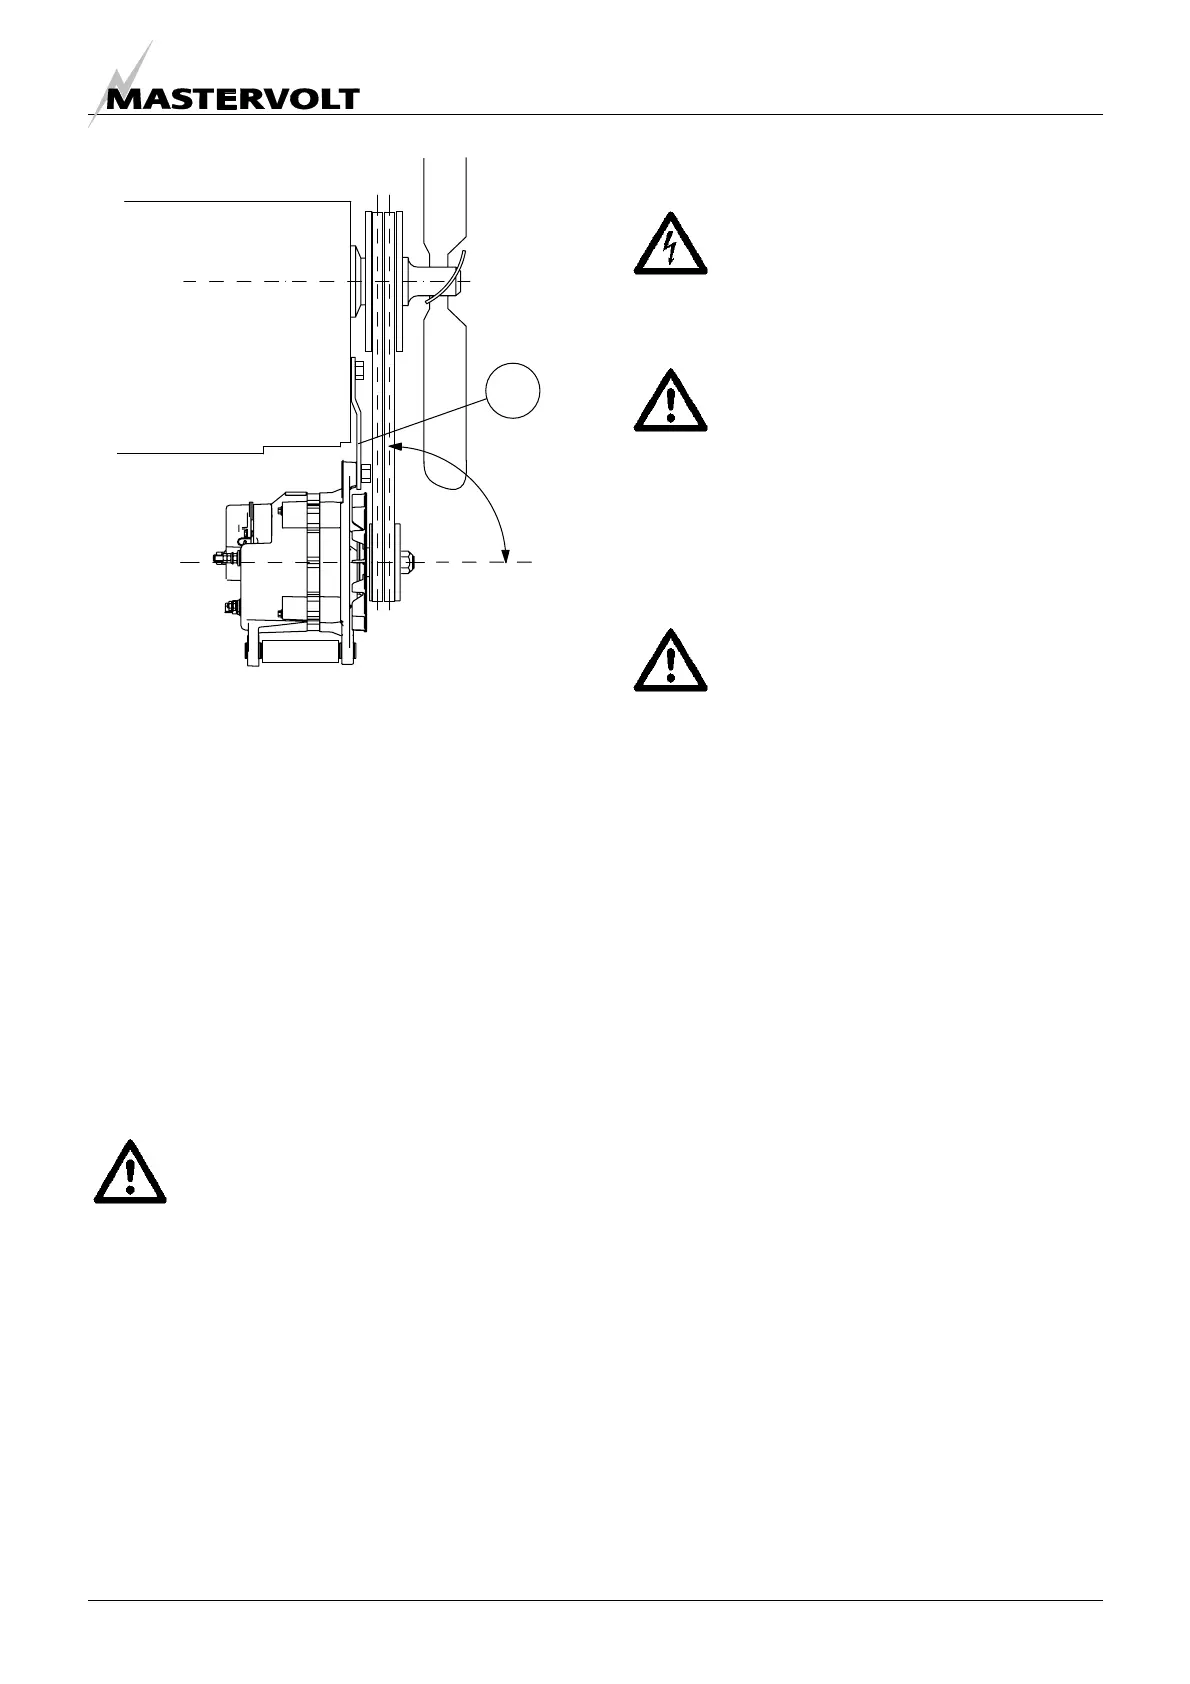
Figure 6
4 Loosely attach the alternator adjustment strap
(figure 6, reference D) to the alternator
adjustment ear (figure 5, reference C) with the
bolt, lockwasher and flat washer.
5 Tighten the V-belt by applying pressure to the
alternator front housing only and tighten the bolt
to the adjustment ear (figure 5, reference C). Set
belt tension per belt manufacturer's
recommended specifications. If manufacturer's
specifications are not readily available, set V-belt
tension tight enough so that the V-belt on
alternator fan pulley will not slip when attempting
to rotate alternator by hand.
CAREFUL!
Alternator will be permanently damaged if
pressure is applied to rear housing.
Tighten the V-belt by pressing against
front casing near alternator fan.
6 Tighten all remaining alternator mounting bolts
and retighten all other bolts to secure the
installation.
4.5 ELECTRICAL CONNECTIONS
WARNING
Let installation work be done by a
licensed electrician. Before beginning
with the connection of the wiring, make
the DC distribution voltage free.
CAUTION!
Short circuiting or reversing polarity may
lead to serious damage to the batteries,
the alternator, the Alpha Pro regulator,
the cabling and/or the terminal
connections. Fuses can not prevent
damage caused by reversed polarity. The
damage as a result of reverse polarity is
not covered by the warranty.
CAUTION!
Too-thin cables and/or loose connections
can cause dangerous overheating of the
cables and/or terminals. Therefore
tighten all connections well, in order to
limit transition resistance as far as
possible. Use cables of the correct size.
See specifications (section 8) for
recommended wire sizes
• Use the supplied cable harness for connection of
the Alpha Pro regulator
• DC Cables to connect the Battery to the
alternator are not included in the delivery.
• The alternator wiring is electrically isolated from
ground.
ENGINE
90°
D