97
5 6
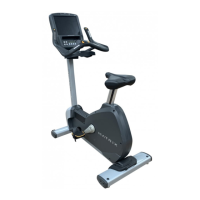
U30
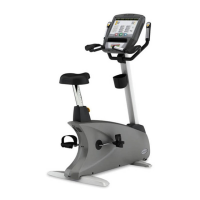
U50
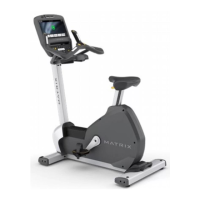
U30
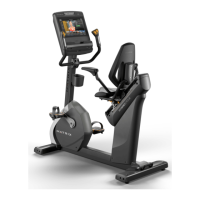
U50
ENGLISH
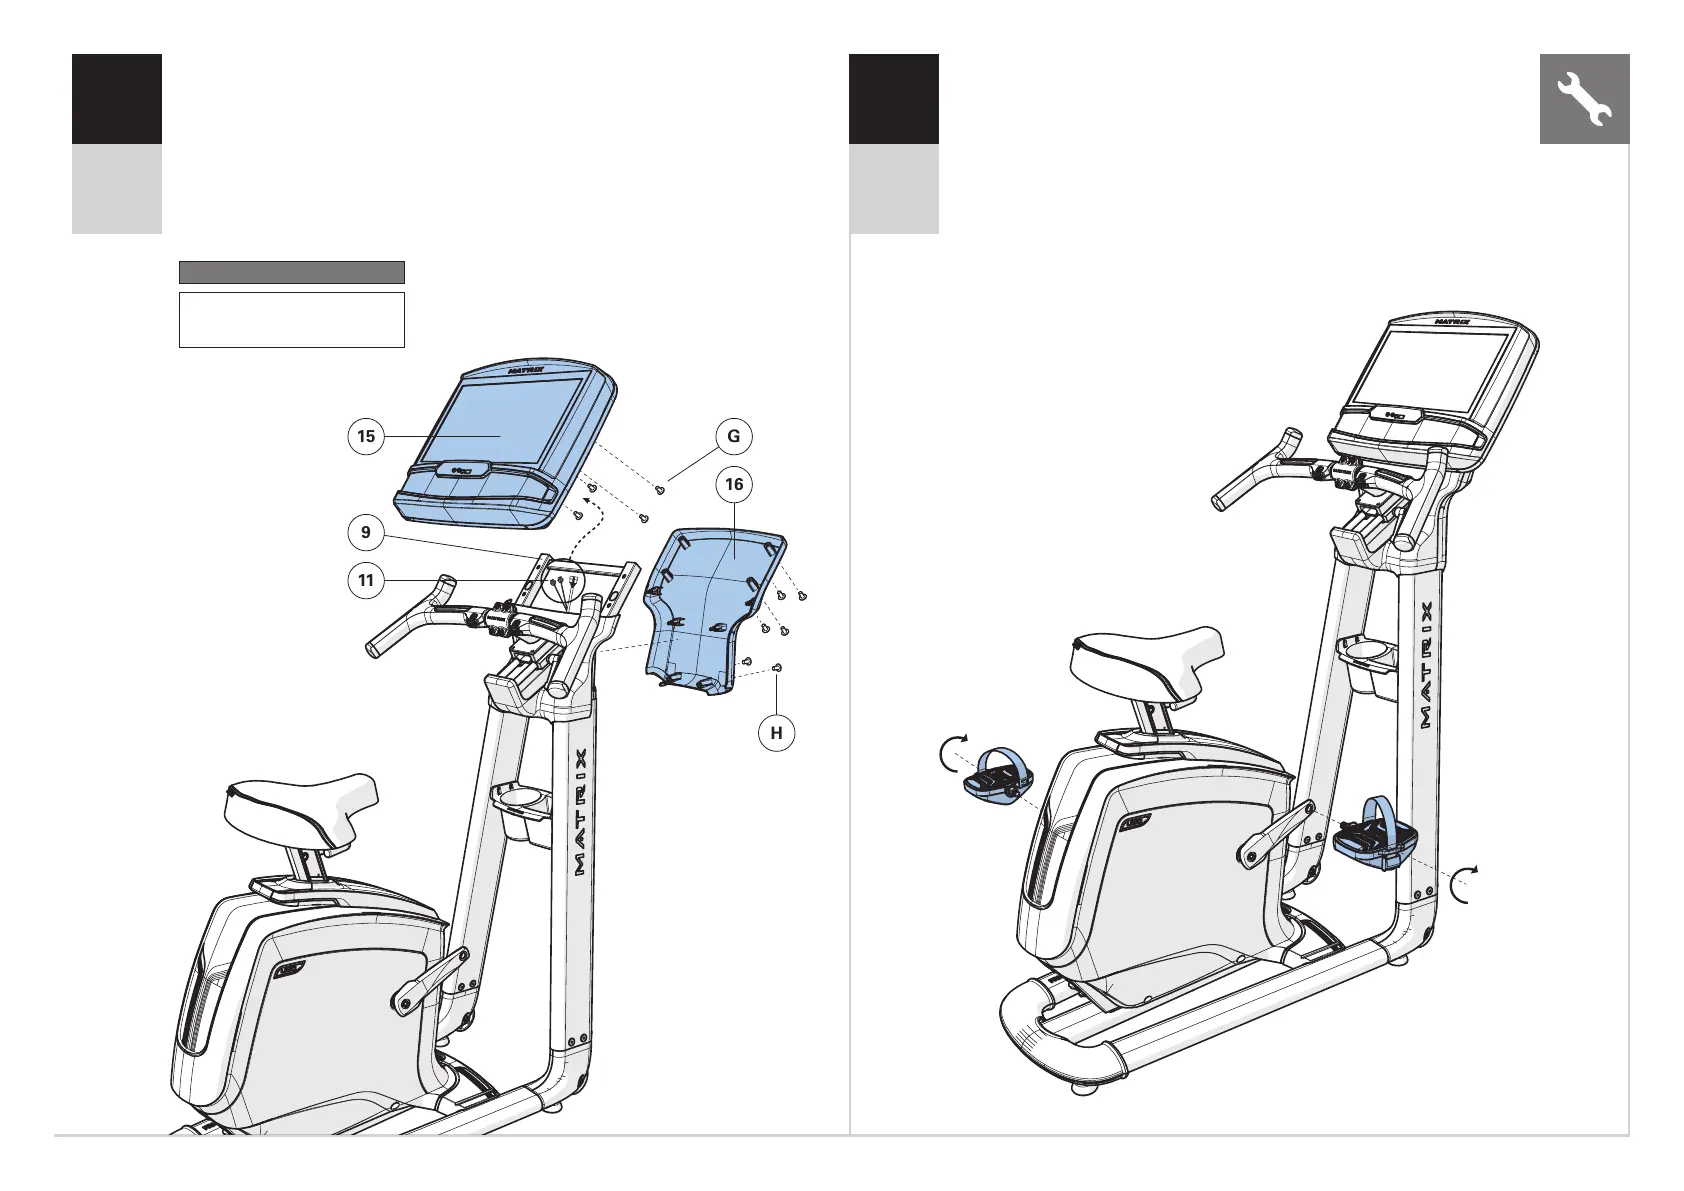
Hardware For Step 5
Description Qty
G
H
Screw
Screw
4
6
A Open HARDWARE FOR STEP 5.
B Connect the CABLES (11) to the CONSOLE (15) and carefully tuck them into
the CONSOLE BRIDGE (9).
C Attach the CONSOLE (15) to the CONSOLE BRIDGE (9) using 4 BOLTS (G).
D Attach the CONSOLE BACK COVER (16) to the console (15) and CONSOLE
BRIDGE (9) using 6 SCREWS (H).
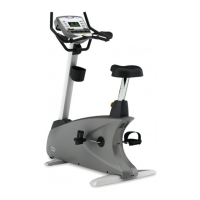
A Attach the RIGHT PEDAL to the RIGHT CRANK ARM, tightening it
clockwise with the provided 13mm/15mm flat wrench.
B Attach the LEFT PEDAL onto the left crank arm, tightening it
counter-clockwise with the provided 13mm/15mm flat wrench.
(NOTE: The left crank arm is reversed threaded so it is very
important that it is tightened counter-clockwise. Tightening it the
opposite way can damage the pedal or the crank arm or both.)