Do you have a question about the Maxell MC-EU5001 and is the answer not in the manual?
Overview of the projector's key capabilities and functionalities.
Verify that all items included in the projector package are present.
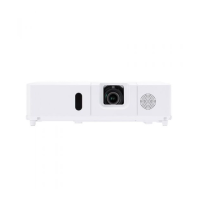
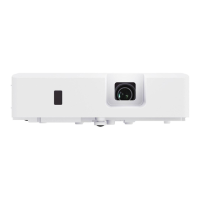
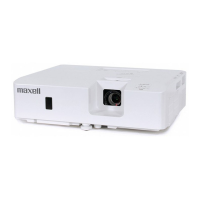
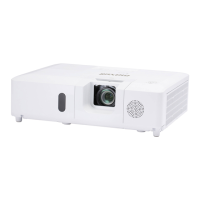
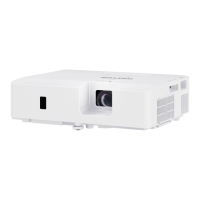
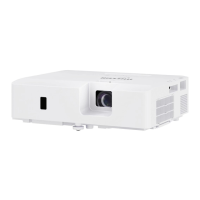
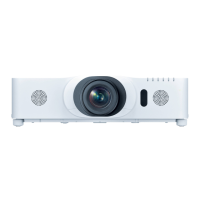
Identification and labeling of the projector's external components.
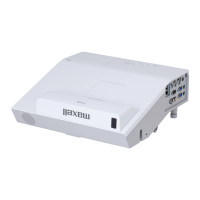
Guidance on the physical placement and positioning of the projector.
Instructions for connecting the projector to various external devices.
Steps for safely connecting the projector to an electrical power source.
Method for securing the power cord to prevent accidental disconnection.
Procedure for attaching a protective cover to the USB TYPE A port.
Information on how to attach a security cable to prevent theft.
Instructions for correctly inserting batteries into the remote control.
Details on the projector's remote sensor range and signal reception.
Procedure to adjust the remote control signal frequency if needed.
How to use the projector's remote as a PC mouse and keyboard.
Step-by-step guide for powering on the projector and its indicators.
How to choose the desired video or audio input source.
Procedure for safely shutting down the projector.
How to control the audio output level using the remote.
Instructions for silencing the audio output temporarily.
Guide to selecting the active input source from available ports.
How to change the display's aspect ratio (e.g., 4:3, 16:9).
How to adjust the projector's tilt angle using its adjustable feet.
Steps to adjust screen size and image sharpness using the lens rings.
How to automatically optimize image position and phase for input signals.
Methods for correcting geometric distortion like keystone and keystone shape.
How to zoom in on a specific part of the projected image.
How to freeze the current image on screen.
How to temporarily turn off the projected image without shutting down.
Guide to navigating and using the projector's on-screen menus.
Explanation of common icons and terms displayed on the screen.
Adjusts the aspect ratio of the displayed image.
Corrects vertical distortion to make the image rectangular.
Adjusts the screen to fit the display area perfectly.
Selects predefined picture settings for different viewing conditions.
Optimizes power consumption and lamp life.
Configures projector settings based on installation environment.
Resets EASY MENU items to their default factory settings.
Displays or resets the air filter usage time.
Changes the language displayed on the projector's OSD.
Accesses the projector's detailed configuration settings.
Exits the current menu or OSD display.
Adjusts the overall lightness or darkness of the image.
Adjusts the difference between the darkest and brightest parts of the image.
Adjusts the intensity or saturation of colors in the image.
Adjusts the color balance, shifting colors towards green or magenta.
Enhances or softens the detail and edges in the image.
Controls the iris to optimize brightness and contrast dynamically.
Selects specific picture enhancement modes or settings.
Adjusts the mid-tone brightness of the image.
Adjusts the color temperature, affecting the overall color cast of the image.
Improves image legibility by adjusting sharpness and detail.
Enhances contrast and color in bright scenes.
Saves and loads custom picture settings.
Sets the aspect ratio for displaying images.
Adjusts the image size to prevent cropping at screen edges.
Adjusts the vertical position of the image on the screen.
Adjusts the horizontal position of the image on the screen.
Adjusts the horizontal phase to eliminate image flicker.
Adjusts the horizontal size of the displayed image.
Automatically adjusts image position and phase for input signals.
Selects display mode for progressive scan video signals.
Reduces noise in video signals for a cleaner picture.
Selects the color space for optimal color reproduction.
Sets the video signal format for specific input sources.
Adjusts the dynamic range of digital video signals.
Configures settings for computer input signals.
Locks the frame rate for specific input signals.
Sets the display resolution for computer inputs.
Controls power supply to MHL devices in standby mode.
Corrects geometric distortion and allows advanced keystone adjustments.
Displays test patterns for image alignment and adjustment.
Monitors lamp usage and air filter status.
Manages power consumption and lamp life for efficiency.
Resets the air filter usage timer after replacement.
Configures notifications for air filter maintenance.
Enhances image quality by adjusting various parameters.
Sets installation mode (e.g., ceiling, desktop) for optimal projection.
Configures projector behavior and network functions in standby.
Controls the display of on-screen messages and indicators.
Manages audio output settings when the projector is in standby mode.
Adjusts the output audio volume.
Enables or disables the built-in speaker.
Selects the audio input port corresponding to the video source.
Sets the display language for the projector's menus.
Adjusts the on-screen position of the menu display.
Sets the screen to a blank state temporarily.
Automatically blanks the screen after a set period of inactivity.
Configures the screen displayed when the projector starts up.
Allows capturing and displaying custom images as screensavers.
Protects the MyScreen settings from unauthorized changes.
Assigns custom names to input ports for easier identification.
Selects and applies predefined display templates.
Enables and configures closed captioning display for video content.
Controls how closed captions are displayed.
Selects the display mode for closed captions.
Selects the channel for closed caption data.
Configures whether to skip specific input ports during auto search.
Enables automatic detection of input signals.
Allows the projector to turn on automatically when power is supplied.
Enables automatic power-on based on input signal detection.
Sets the projector to turn off automatically after a period of inactivity.
Assigns frequently used functions to custom buttons.
Sets up timed operations for the projector.
Instructions for accessing the projector's security settings.
Procedure to follow if the security password is lost.
Manages the password for accessing the MyScreen feature.
Enables or disables PIN code protection for projector operation.
Manages settings for detecting input signal transitions.
Protects custom text entries with a password.
Configures the display of custom text on the projector.
Allows users to input and edit custom text.
Enables presentations directly from a USB storage device.
Displays stored files as small preview images.
Control methods for navigating and interacting with the thumbnail screen.
Options for configuring selected images within the presentation tool.
Using menus to sort, organize, and manage images on the thumbnail screen.
Displays selected images in full screen for viewing.
Navigating and interacting with still images in full screen mode.
Automates the display of images in a sequence.
Defines the order and settings for image playback.
Procedure and precautions for replacing the projector lamp.
Instructions for cleaning or replacing the projector's air filter.
Guide for replacing the battery that maintains the projector's internal clock.
Recommendations for cleaning and maintaining the projector's exterior and interior.
Explanation of common error messages and their meanings.
Interpreting the status and error codes indicated by the projector's lamps.
Procedure to restore all projector settings to factory defaults.
Common issues that may not be due to a machine defect.
| Matrix size | 0.64 \ |
|---|---|
| Number of colors | 16.78 million colors |
| Projection distance | 0.8 - 8.6 m |
| Projection technology | 3LCD |
| Supported aspect ratios | 4:3, 14:9, 16:10, 16:9 |
| Contrast ratio (dynamic) | 16000:1 |
| Contrast ratio (typical) | - |
| Screen size compatibility | 30 - 300 \ |
| Projector native resolution | WUXGA (1920x1200) |
| Keystone correction, horizontal | -30 - 30 ° |
| Projector brightness (economic mode) | 3750 ANSI lumens |
| Service life of light source | 4500 h |
| Service life of light source (economic mode) | 6000 h |
| Focus | Manual |
| Throw ratio | 1.3/2.1:1 |
| Zoom capability | Yes |
| Focal length range | - mm |
| Aperture range (F-F) | 1.7 - 2.2 |
| Power source | AC |
| AC input voltage | 100-120/220-240 V |
| AC input frequency | 50 - 60 Hz |
| Power consumption (standby) | 0.35 W |
| Power consumption (typical) | 400 W |
| Card reader integrated | No |
| Remote control type | IR |
| Ethernet LAN (RJ-45) ports | 1 |
| HDMI connector type | Full-size |
| Serial interface type | RS-232C |
| USB 2.0 ports quantity | USB 2.0 ports have a data transmission speed of 480 Mbps, and are backwards compatible with USB 1.1 ports. You can connect all kinds of peripheral devices to them. |
| Component video (YPbPr/YCbCr) in | 0 |
| Supported graphics resolutions | 640 x 480 (VGA), 800 x 600 (SVGA), 1024 x 768 (XGA), 1280 x 1024 (SXGA), 1360 x 768 (WXGA), 1400 x 1050 (SXGA+), 1440 x 900 (WXGA+), 1600 x 1200 (UXGA), 1680 x 1050 (WSXGA+), 1920 x 1200 (WUXGA) |
| Placement | Desktop, Ceiling |
| Product type | Standard throw projector |
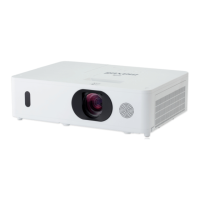
| Product color | White |
| RMS rated power | 16 W |
| Noise level | 35 dB |
| Certification | CE, EN61000-3-2, EN61000-3-3, EN55032 A, EN55024, EN60950-1, WEEE |
| Number of OSD languages | 34 |
| Noise level (economic mode) | 27 dB |
| On Screen Display (OSD) languages | ARA, CHI (SIMPL), CHI (TR), CRO, CZE, DAN, DEU, DUT, ENG, ESP, EST, FIN, FRE, GRE, HEB, HUN, IND, ITA, JPN, KOR, LAT, LIT, NOR, PER, POL, POR, RUM, RUS, SLV, SWE, THA, TUR, VIE |
| Sustainability certificates | RoHS |
| Harmonized System (HS) code | 85286200 |
| Depth | 315 mm |
|---|---|
| Width | 413 mm |
| Height | 123 mm |
| Weight | 5300 g |