Figure 4A Figure 5
Let's connect the camera to your WiFi Router.
1. Tap (Figure 6) and connect the camera to power (Figure 7. For iOS, ADD MANUALLY and
DEVICE(S) NEARBY are not shown) (for bulb type camera, turn off the power switch, install the
camera into the socket and turn on the power switch) and tap "Next".
2. Wait until you hear "Access-Point established". And then tap the arrow to continue (Figure 8).
3. Android:
● Figure 9 will be shown (if MVxxxxxxxx is not shown, tap Refresh). Tap the Access-Point
number (MVxxxxxxxx). If error message of Figure 17 is shown, select at Settings of phone.
● Figure 10 will be shown. Select a 2.4GHz WiFi router and enter password of the router and
tap "Confirm" (this could be hidden under keyboard).
iOS:
● Figure 11 will be shown. Go to Settings of your iPhone. Tap WiFi and connect MVxxxxxxxx
and return to the app. Wait for the status bar (top left corner) to display icon (it
takes around 40 seconds). And then tap "Next".
● Figure 12 will be shown. Select a 2.4GHz WiFi router and enter password of the router and
tap "Start" (a small pop-up screen will be shown).
4. Figure 13 and then 13A will be shown. You may select or enter device name or just skip. Wait
until you hear "WiFi connected" and Figure 14 is shown.
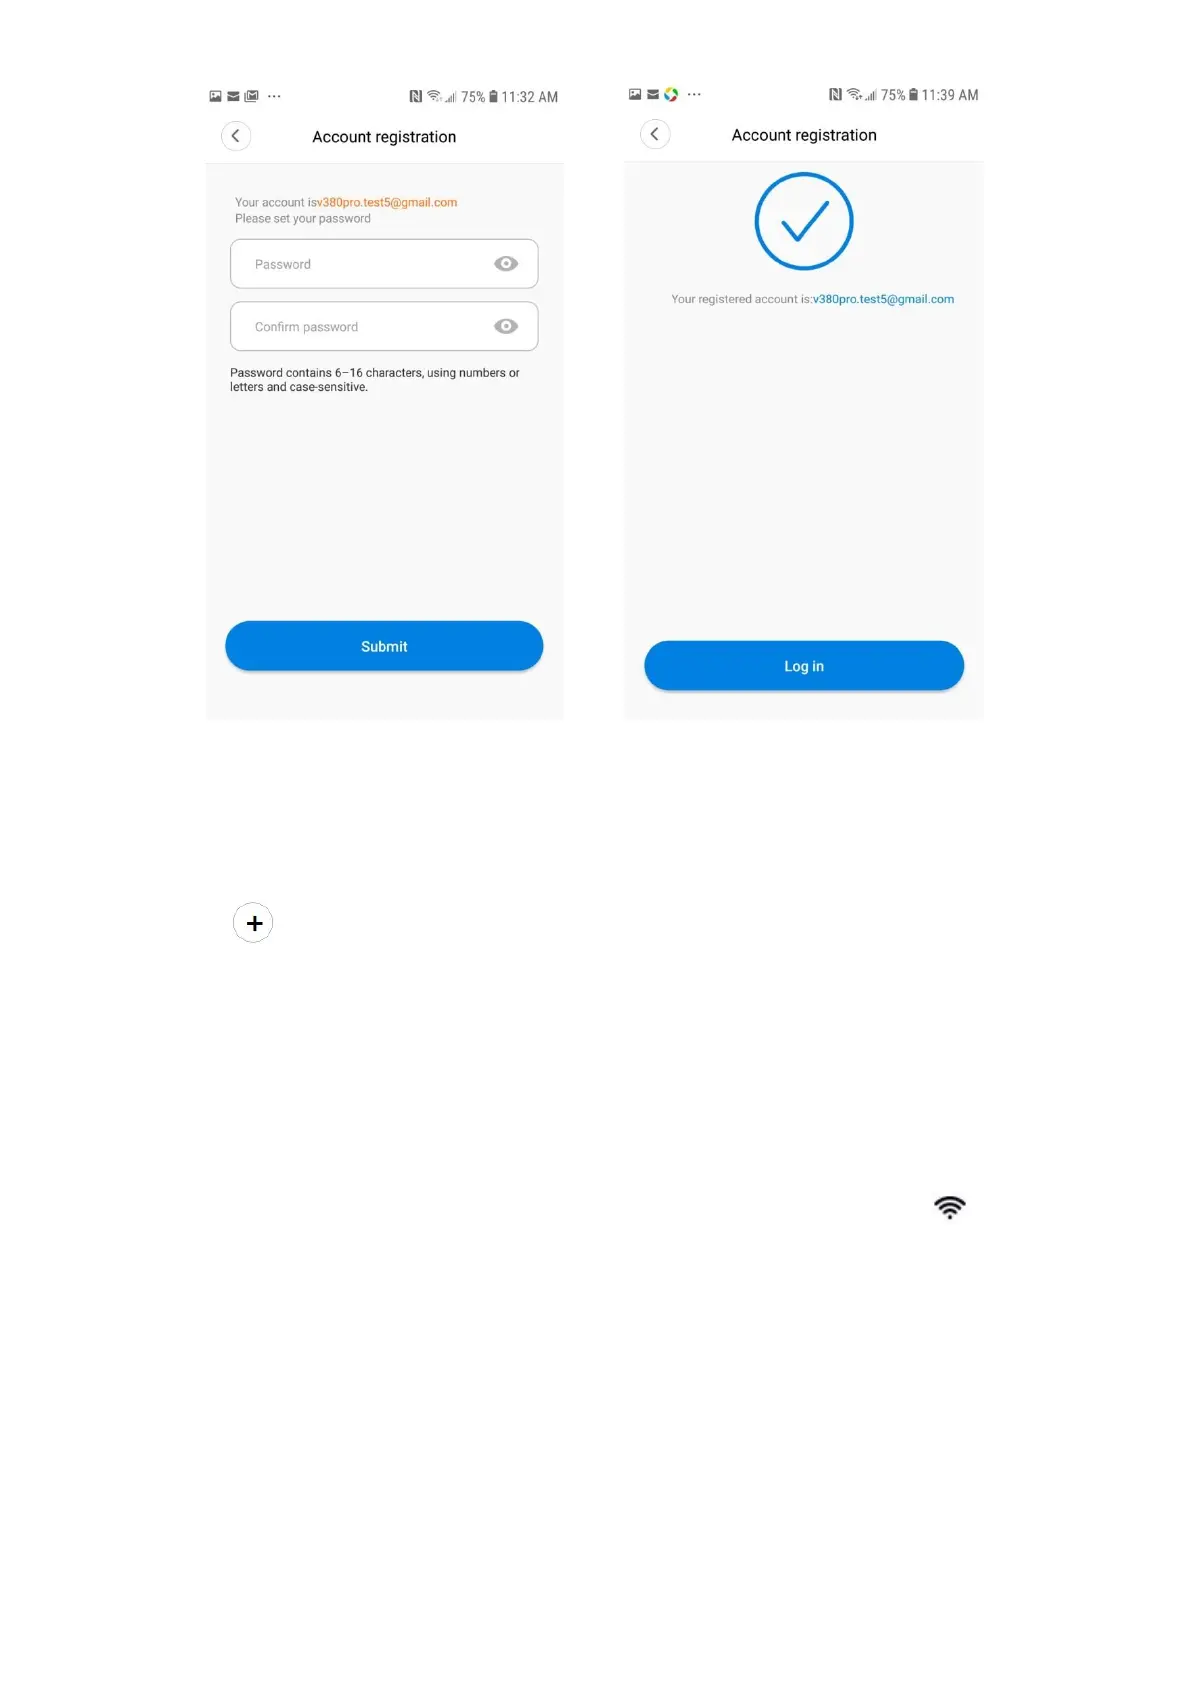
5. Tap Play button on Figure 14 and tap "Set password" (Figure 15). Enter password (numbers and
letters) and tap "Confirm" (Figure 16).
Now the camera is ready to use. Download Operation Manual from the website for the detailed explanation
of all the functions.
 Loading...