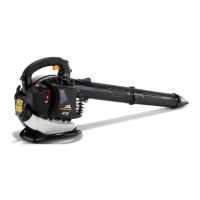
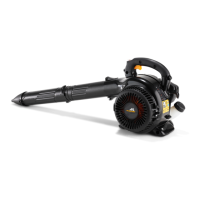
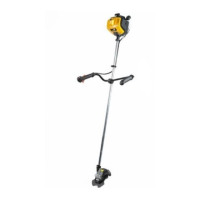
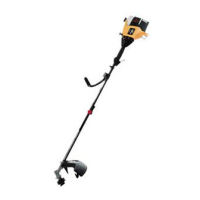
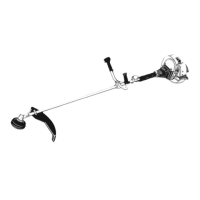
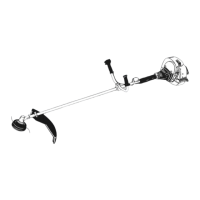
McCulloch 32cc Trimmer
9
NOTE: If the starter rope is not broken, it will be
necessary to relieve tension from it before
removing the starter pulley.
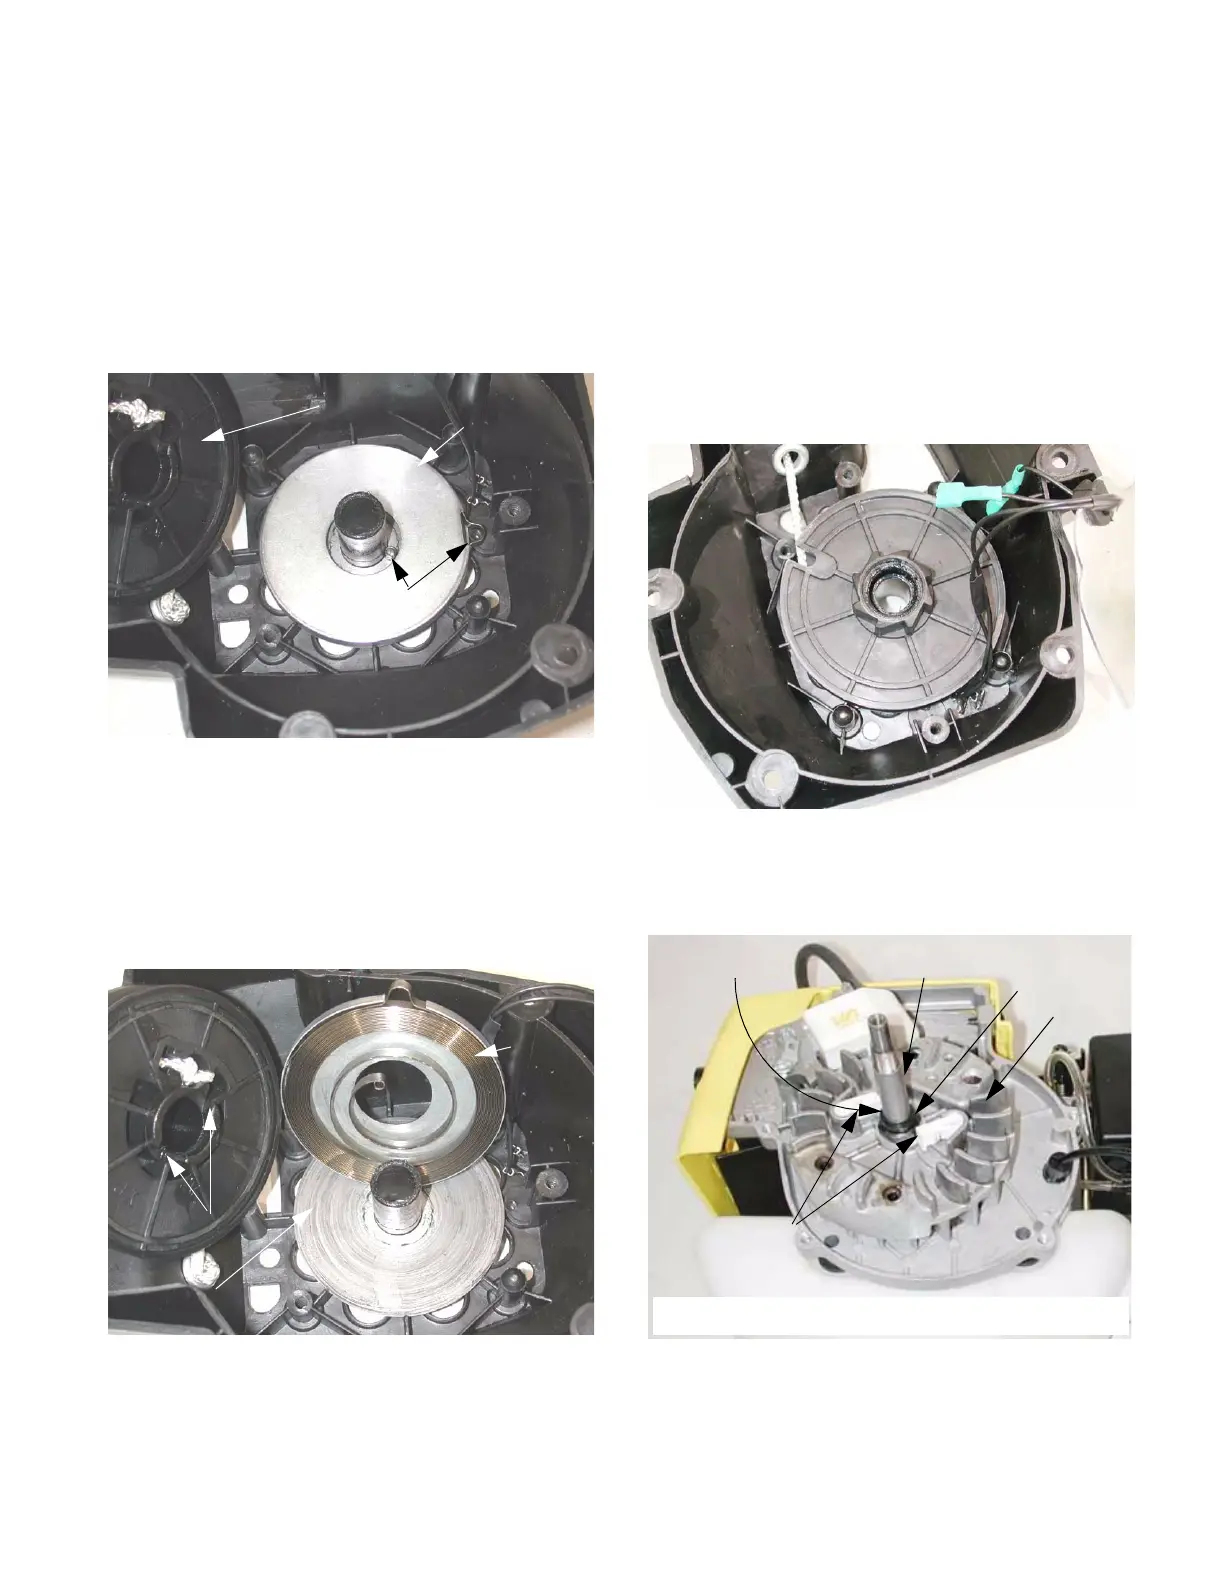
3.26. Examine the pulley and spring for wear and
damage. Look for straightened ends on the
spring. Look for rounded edges on the teeth of
the starter pulley. See Figure 3.26.
3.27. When installing new starter rope, use about 6’ of
3/16 starter rope.
3.28. After the starter pulley is removed, the starter
spring can be lifted out of the starter housing,
complete with the steel cartridge that contains it.
See Figure 3.28.
3.29. There is a plastic shield that fits between the
starter pulley and the starter spring.
Figure 3.26
Starter pulley
Spring cover
Spring ends
Figure 3.28
Starter
spring in
cartridge
Notches engage
end of spring
Plastic shield
3.30. As the starter is reassembled, apply a sparing
amount of white lithium grease to the friction sur-
faces of the starter pulley.
3.31. Pay close attention to the routing of the stop
switch wires.
3.32. Wind tension onto the starter rope after the pul-
ley is in place, but before the baffle is installed.
It will be necessary to use caution nut to pull
upward on the rope, dislodging the pulley from
the spring. Light thumb pressure on top of the
pulley is advised. See Figure 3.32.
3.33. If the starter pawls on the flywheel are worn or
damaged, remove the flywheel. See Figure 3.33.
NOTE: In particular, look for rounded edges on
the corners of the pawls that engage the teeth
on the pulley.
Figure 3.32
Figure 3.33
Tube
Nut
Flywheel
Starter pawls
Spacer