8
6. Repeat steps 1 and 2 on the ML1 Stand shipping
carton and remove the stand from the carton.
7. Place the stand, with the front facing up, on top
of the polybag.
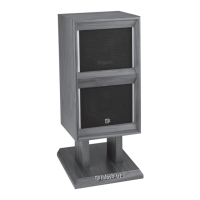
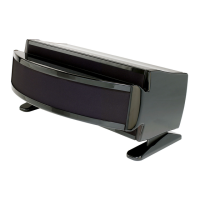
8. Stand is pre-assembled with glides,
use supplied spikes in place of glides
by unscrewing glides from bottom of
stand.
9. Turn the stand upright and place it in
the desired location. The Glides or
Spikes can be independently adjusted
to aim the loudspeakers upward or
downward.
Note: Retain the shipping carton, foam packing material and
polybag for possible future use.
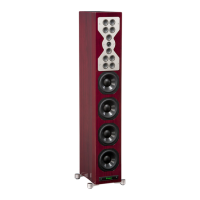
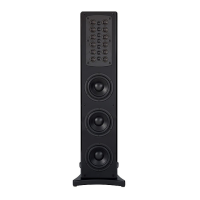
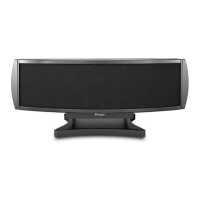
10. Place the ML1 loudspeaker on top of each stand,
and center on the top metal panel.
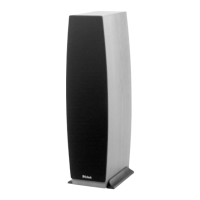
11. Orient the Loudspeaker Grille so the front Logo
is at the bottom and oriented properly. Locate the
grille on the bottom front of the cabinet and the
internal magnets will draw tightly. Bring the top
towards the cabinet and the grille will attach.
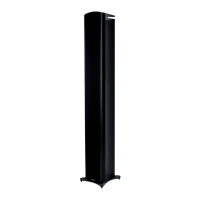
Unpacking the Loudspeaker, Stand, and Attaching the Feet
Caution: It is very important to install the four feet on
the bottom of the stand. This will greatly prevent
possible injury to small children and family pets.
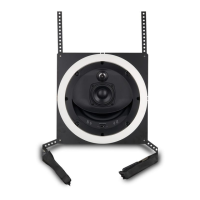
If the Loudspeaker is to be installed into custom
cabinetry the stand need not be used.
installation process, it is advisable to prepare a
suitable area. A freshly vacuumed carpeted area
covered with a soft, clean fabric, such as a large bed
linen or blanket would be suitable.
It is recommended that the professionals at your
McIntosh Dealer, who are skilled in all aspects of
installation and operation, install the ML1 and any
associated audio equipment.
Note: Refer to illustration on page 15 for unpacking the
loudspeaker.
1. Orient the ML1 shipping carton with the lettering
on the outside of the carton oriented upward.
2. Carefully cut open the shipping carton sealing
3.
carefully.
4. Release the Loudspeaker and the Grille from the
foam caps and set them aside.
5. Carefully remove the polybag from the ML1 and
Glides
Spikes
Input Terminals
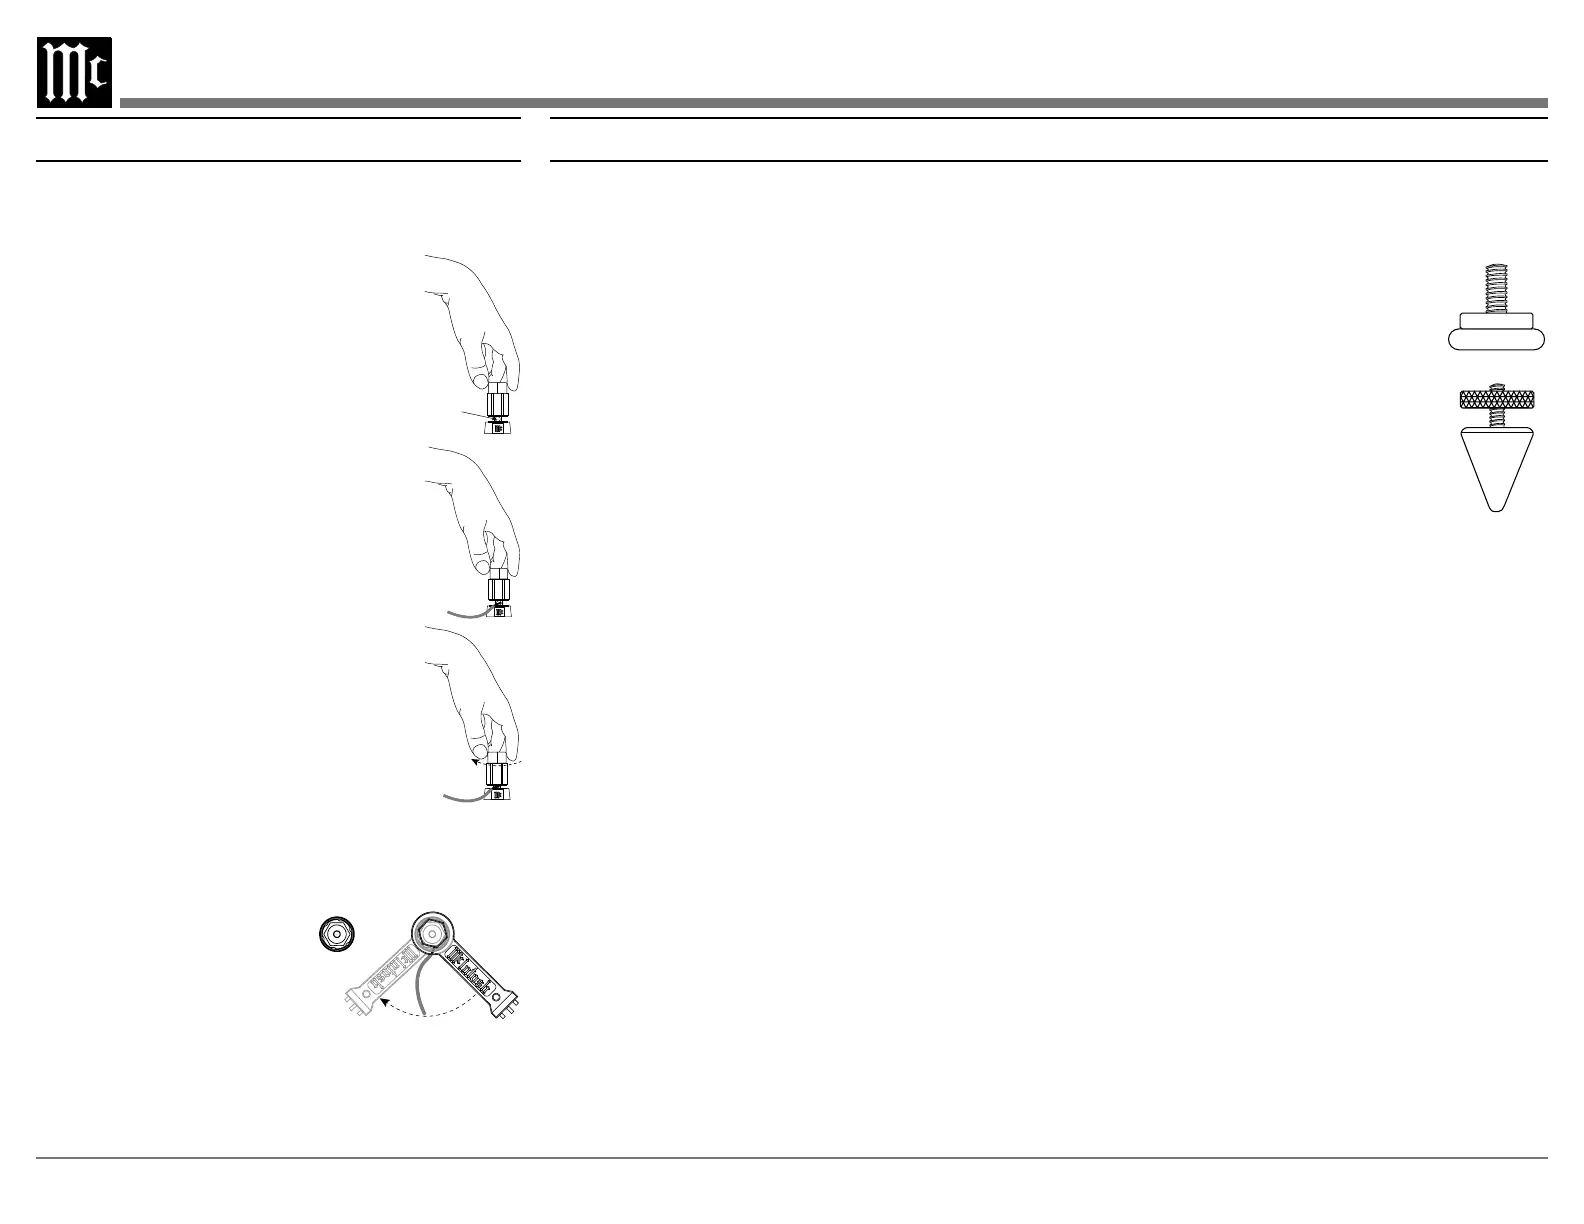
When connecting the loudspeaker hookup cables to
below:
1. Rotate the top of the output terminal
post counterclockwise until an
opening appears.
Opening
2. Insert the loudspeaker hookup cable
into the output terminal post opening
or the cable spade lug around the
center post of the output terminal.
3. Rotate the top of the output terminal
4. Place the supplied McIntosh wrench
over the top of the output terminal and rotate
loudspeaker cable connection. Do not over
tighten. .
 Loading...