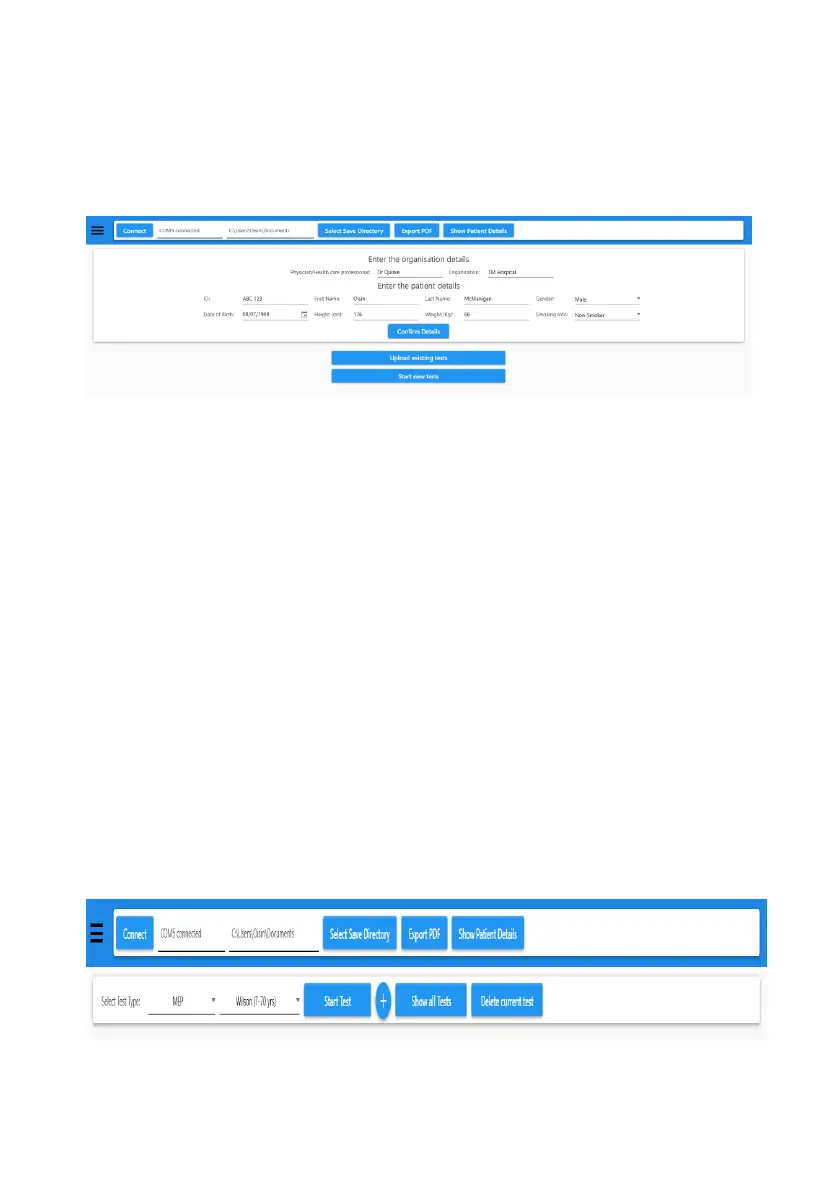
e) Enter the patient’s details and also the physician/healthcare
professionals name and the Hospital or organisations name –
these will appear on the PDF report that is created for the patient.
Note: ALL fields must be completed.
f) Once complete click on the button “Confirm Patient details”
g) The software will then offer the options to Upload Existing tests (from
the RP Check unit) or “Start New Test” using the PC software.
h) Select Upload Existing Tests and the individual tests will be uploaded
for viewing.
“Live tests” performed on the RP Check and displayed on the PC whilst
connected to the PC.
Follow the same procedure as if Uploading from the RP Check but select
Start new Test.
Note: It is important that you tell the PC software which test you are
performing MIP, MEP or SNIP, using the drop-down menu on the PC
software.
PC software Functionality