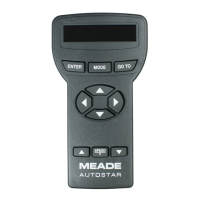
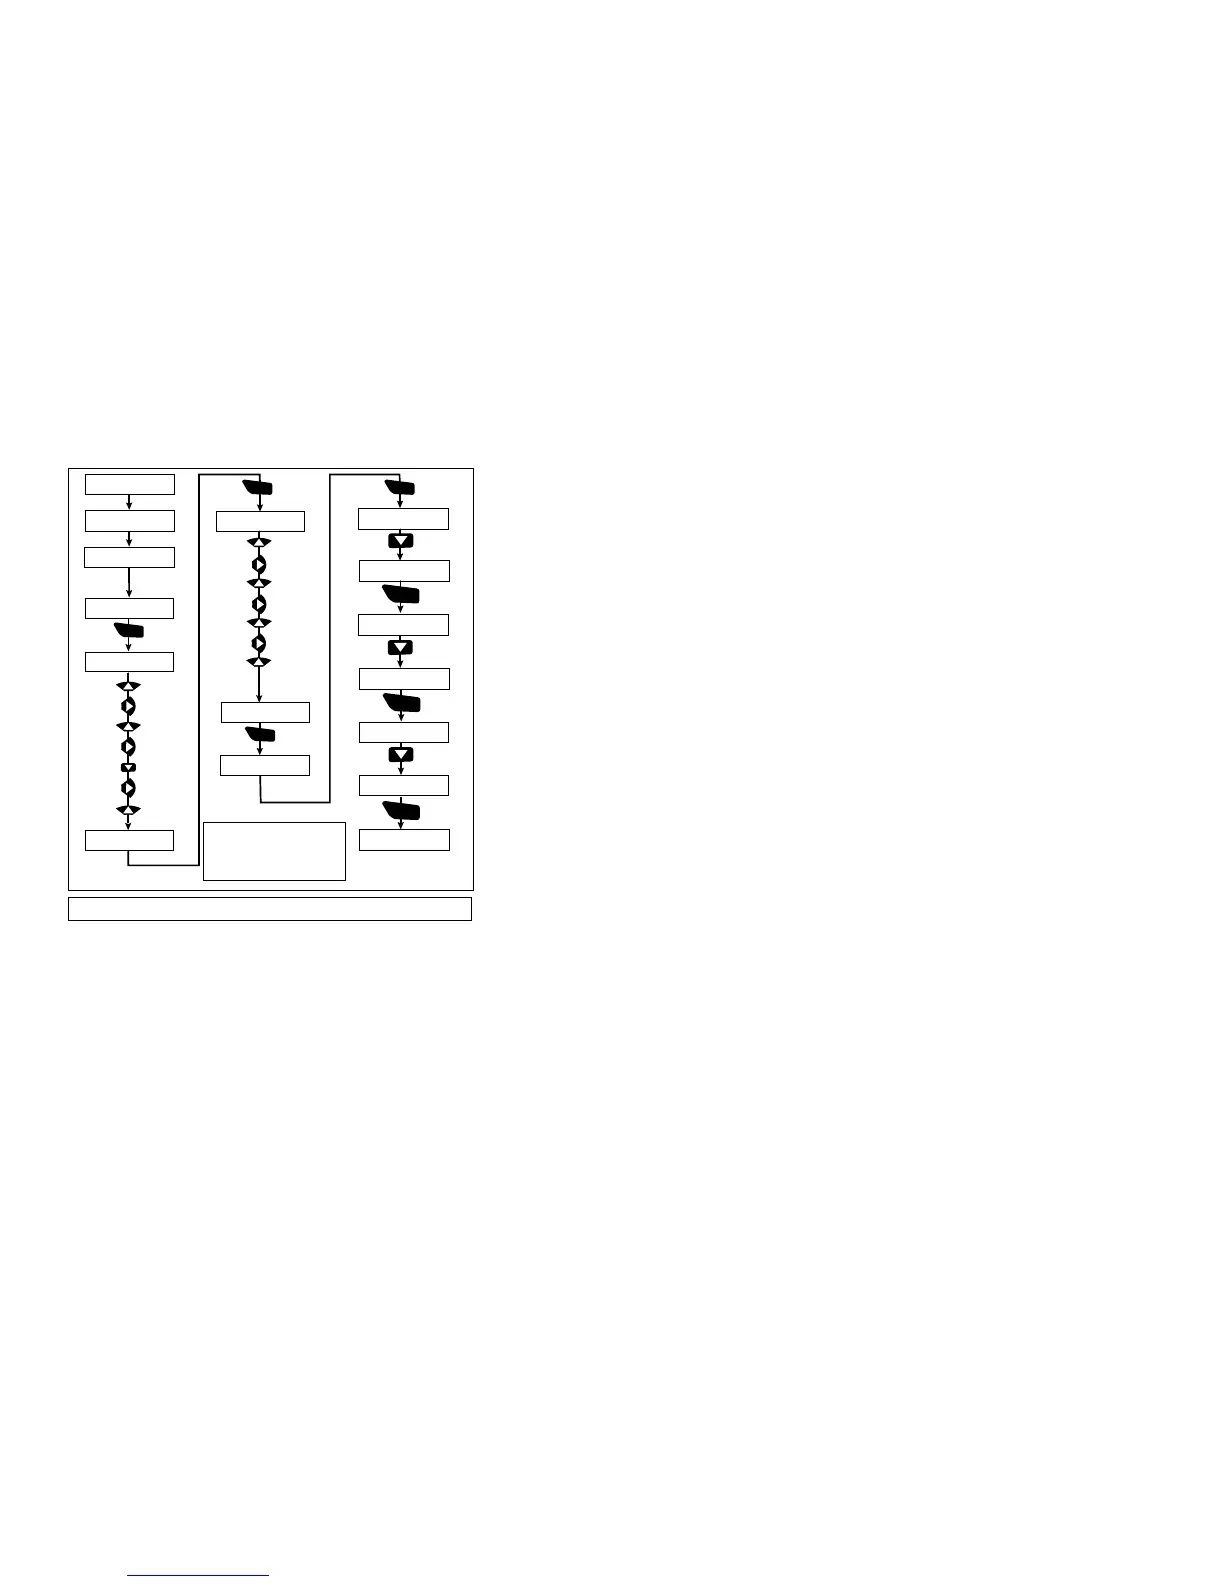
first time you use Autostar or after performing a
Reset. Fig. 4 depicts an example of an Autostar
Initialization procedure.
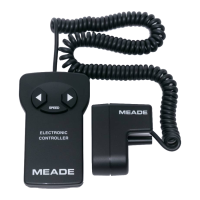
1. Plug Autostar's cord into the HBX port and plug the
power cord into the 12v port as previously described.
Make sure the motor assemblies are plugged into the
proper ports (see your telescope's instruction manual
for details). Also make sure that the telescope's horizon-
tal and vertical locks are tight (see the telescope instruc-
tion manual).
2. The Autostar handbox is now activated and a copyright
message displays briefly.
3. Autostar takes a few moments to prepare the system
and then "beeps."
4. A message displays that warns not to look at the Sun.
Press the key prompted by Autostar to signify that you
have read and understood the message.
5. The Getting Started menu displays a scrolling message
with two choices:
a. Hold down the Speed/? key (8, Fig. 3) for informa-
tion on Autostar functions and controls. When fin-
ished, press MODE (3, Fig. 3) to exit Help and to
return to the Getting Started procedure, or,
b. Press ENTER (2, Fig. 3) to bypass the Help tutori-
al and continue with initialization.
6. The telescope tests the motors by slewing a short dis-
tance vertically and horizontally (this test only occurs
the first time you use Autostar).
NOTE: If the telescope does not move, or
moves in only one axis, check that the vertical
and horizontal locks are tight (see your tele-
scope instruction manual for details).
-9-
 Loading...