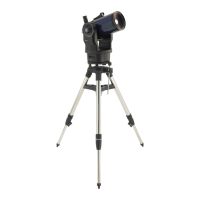
Control the telescope using the keypad and point
at a distant object. Press a number key to change
speed. *Note the telescope has physical limits of
moon. Do not try to move the telescope past these
limits or internal damage to the telescope may occur.
STEP
10
Looking at or near the Sun will cause irreversible damage to your eye. Do not point this telescope at or near the Sun without a proper solar filter attached.
Meade Instruments Warranty
The Meade Instruments Statement of Limited Warranty is published at: www.meade.com/supports/warranty/
A printed copy of the Meade Statement of Limited Warranty will be made available by Meade upon written
request. See below for Meade contact information.
Warranty Claim
Meade Instruments
89 Hangar Way
Watsonville, CA 95076 U.S.A • +1 (800) 626-3233
customerservice@meade.com • SUBJECT: Warranty Claim
89 Hangar Way, Watsonville, CA. 9507689 Hangar Way, Watsonville, CA. 95076
(800)626-3233 www.meade.com(800)626-3233 www.meade.com
14-2052-00 REV0 1/2023
Align with AudioStar
The handbox will show “Press 0 to Align, Mode for Menu” at startup.
Press “0” to perform a night sky alignment. Proceed to step 18 for more details. If you choose not
to perform a night sky alignment now, you can at any me by navigang to the SETUP/ALIGN/EASY
menu in AudioStar. Be sure to start with the ETX-AT mount in the HOME POSITION.
Press “MODE” to navigate AudioStars menus to set date, me, daylight savings,
and locaon informaon. This will allow accurate go-to poinng and tracking.
Refer to the full ETX-AT instrucon manual for more informaon about the usage
of the AudioStar and its features.
hps://www.meade.com/content/etx-at-support-resources
STEP
17
Use the red-dot nder adjustment screws to
center the red-dot on the distant target that is
in the eypiece. Only use the adjustment screws
during this procedure.
STEP
13
Adjustment
Screws
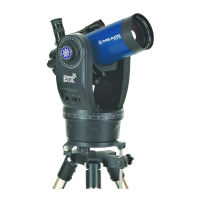
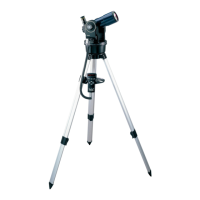
Center the distant object in the eyepiece.
STEP
11
Focus Knob
ETX
Focus Knob
Flip Mirror Knob.
Keep in "up"
position.
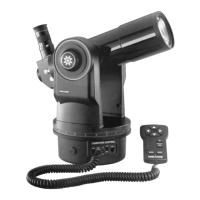
To hard
limit
Left Arm
over
Control Panel
1/4
Turn
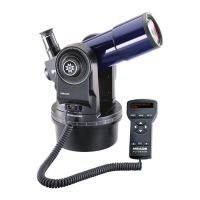
Starng Home Posion
Telescope Tube
is level
True or Magnetic
North
Next point the telescope in the North direcon you
selected. This may require picking the enre tele-
scope and moving it so the tube points North.
Unlock the vercal lock and level the OTA. Then lock
the vercal axis to a rm feel.
This is the telescopes HOME POSITION.
Unlock the horizontal lock. Rotate mount counterclock-
wise unl it stops at the hard limit. Rotate 1/4 turn
clockwise so le fork-arm is directly over the control pan-
el. Lock horizontal lock to a rm feel. This posion ensures
the telescope will not hit the hardstops during operaon.
STEP
14
Slew Speeds:
Speed 9: Fast
.
.
.
Speed 5: Medium
.
.
.
Speed 1: Slow
Turn on the red-dot nder. Note the loca-
on of the nder adjustment screws.
STEP
12
On/O &
Brightness
Adjustment
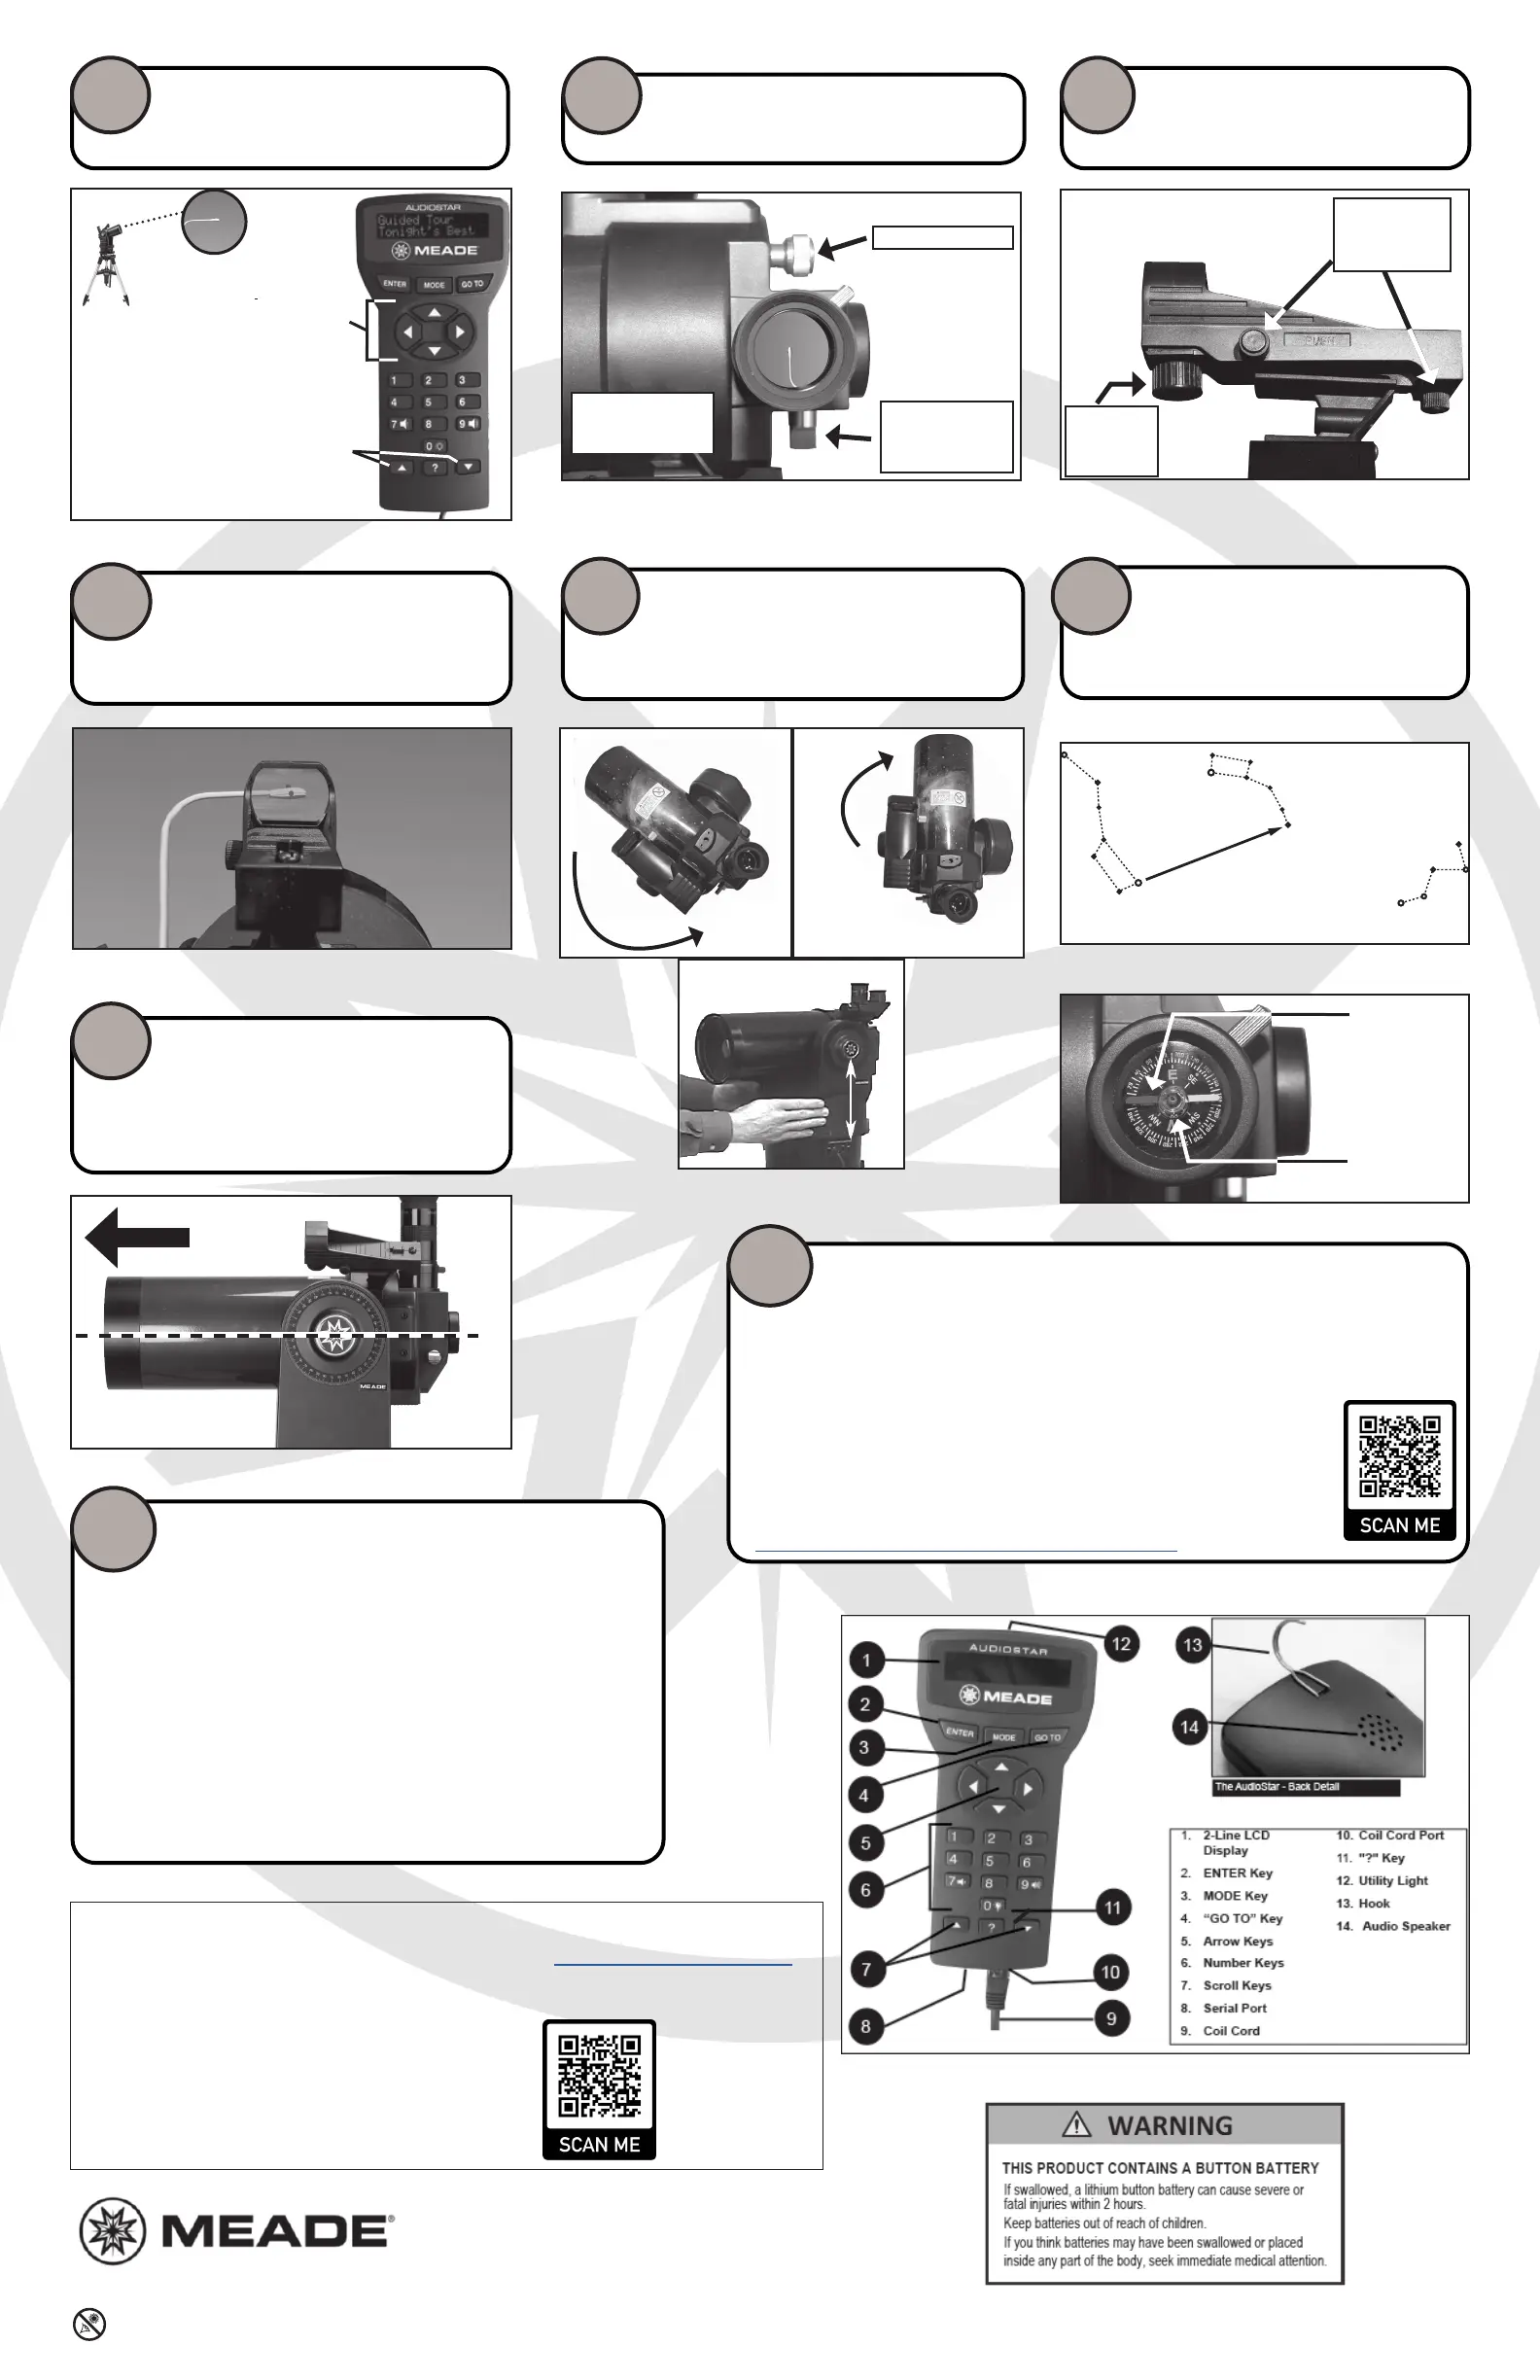
Locate True or Magnec North using the
methods described below.
STEP
15
Telescope controls
Scroll “up” & “down”
Polaris
Little Dipper
Big Dipper
Cassiopeia
Compass
needle is
pointing to
Magnetic
North
Bubble is
centered
Locating True North:
Locating Magnetic North:
STEP
16
When performing an Easy alignment, when prompted, select 1 if you pointed
the telescope toward TRUE North, or 2 if you pointed the telescope toward
Magnec North.
The telescope will slew to the rst of two alignment stars and will emit an audible “beep”
when it has nished slewing. Look though the red dot nder, a bright star should be in the
eld of view. It will be the brightest star in that area. Use the AudioStar arrow keys to put
the red dot on the star.
Looking through the eyepiece, focus to see the object. Center that star, using the arrow
keys. Press “ENTER” when completed. If an object obstructs the view of the sky, press the
up or down scroll keys (Step 10) and AudioStar will slew to another alignment star.
Repeat for the second alignment star.
AudioStar will display “Alignment Successful” when you have successfully centered two
alignment stars. The display then reads “Press 0 for tour or mode for menu”. Press “0” and
AudioStar will take you on a guided tour of the night sky.
STEP
18
AudioStar Handbox
 Loading...