EasyManua.ls Logo

Meccano 19605 User Manual

Meccano 19605
20 pages
To Next Page IconTo Next Page
Page #1 background imageLoading...
Page #1 background image
INTRO TO ROBOTICS
INTRODUCTION À LA ROBOTIQUE
19605
e Instructions f Notice de montage
E Instrucciones de construcción
d Bauanleitung n Bouwinstructie i Istruzioni
p Instruções r Инструкции P Instrukcja
c Pokyny s Pokyny h Útmutató
R Instrucţiuni g Οδηγίες C Upute
B Инструкции l Navodila
@MECCANO
YouTube
Question and Answer IconNeed help?

Do you have a question about the Meccano 19605 and is the answer not in the manual?

Meccano 19605 Specifications

General IconGeneral
Model Number19605
CategoryToy
BrandMeccano
Age Range10 years and up
Batteries RequiredNo
MaterialMetal

Summary

Meccano Robotics Introduction

Battery Installation and Safety

Safe Battery Handling and Disposal

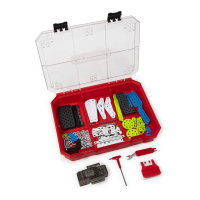
Instructions for safe battery insertion, removal, and disposal, including tool usage and local regulations.

Meccano Component Reference

Robot Assembly: Initial Steps

Steps 1-2: Chassis Base Construction

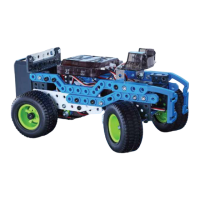
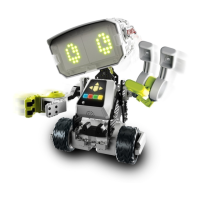
Assemble the foundational chassis of the robot by connecting primary structural components.

Robot Assembly: Mid-Stage

Steps 3-5: Adding Structural Elements

Continue building the robot structure by adding key beams and connectors.

Robot Assembly: Advanced Stage

Steps 6-9: Incorporating Mechanical Parts

Integrate mechanical components, motors, and gears into the robot's frame.

Robot Assembly: Integration

Steps 10-12: Connecting Drive Train Components

Connect the drivetrain elements, including motors and axles, to the robot chassis.

Robot Assembly: Refinements

Steps 13-15: Attaching Structural Supports

Add reinforcing beams and mounting points for subsequent components.

Robot Assembly: Completion Phase 1

Steps 16-17: Finalizing Chassis Assembly

Complete the main robot chassis assembly, preparing for electronics.

Robot Assembly: Completion Phase 2

Steps 18-21: Integrating Electronics and Supports

Install electronic modules and final structural components.

Robot Assembly: Completion Phase 3

Steps 22-24: Attaching Front and Rear Sections

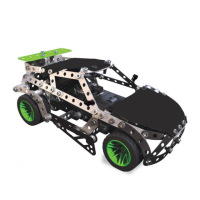
Attach the front and rear assemblies to the main robot body.

Robot Assembly: Completion Phase 4

Steps 25-28: Finalizing Robot Structure

Complete the robot's physical structure, adding final parts and supports.

Robot Assembly: Final Steps

Steps 29-31: Connecting Motors and Wheels

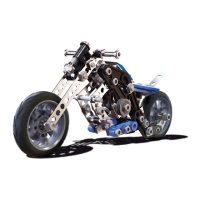
Connect the motors and attach the wheels to the robot for mobility.

Robot Assembly: Completion

Step 32: Attaching Wheels and Final Check

Final step to attach all wheels and ensure the robot is correctly assembled.

Programming and Electronics Setup

Connecting and Programming the Robot

Guide to connecting electronic components and using the programming tool for robot control.

Related product manuals