J
Jacqueline BurnsJul 27, 2025
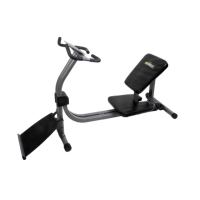
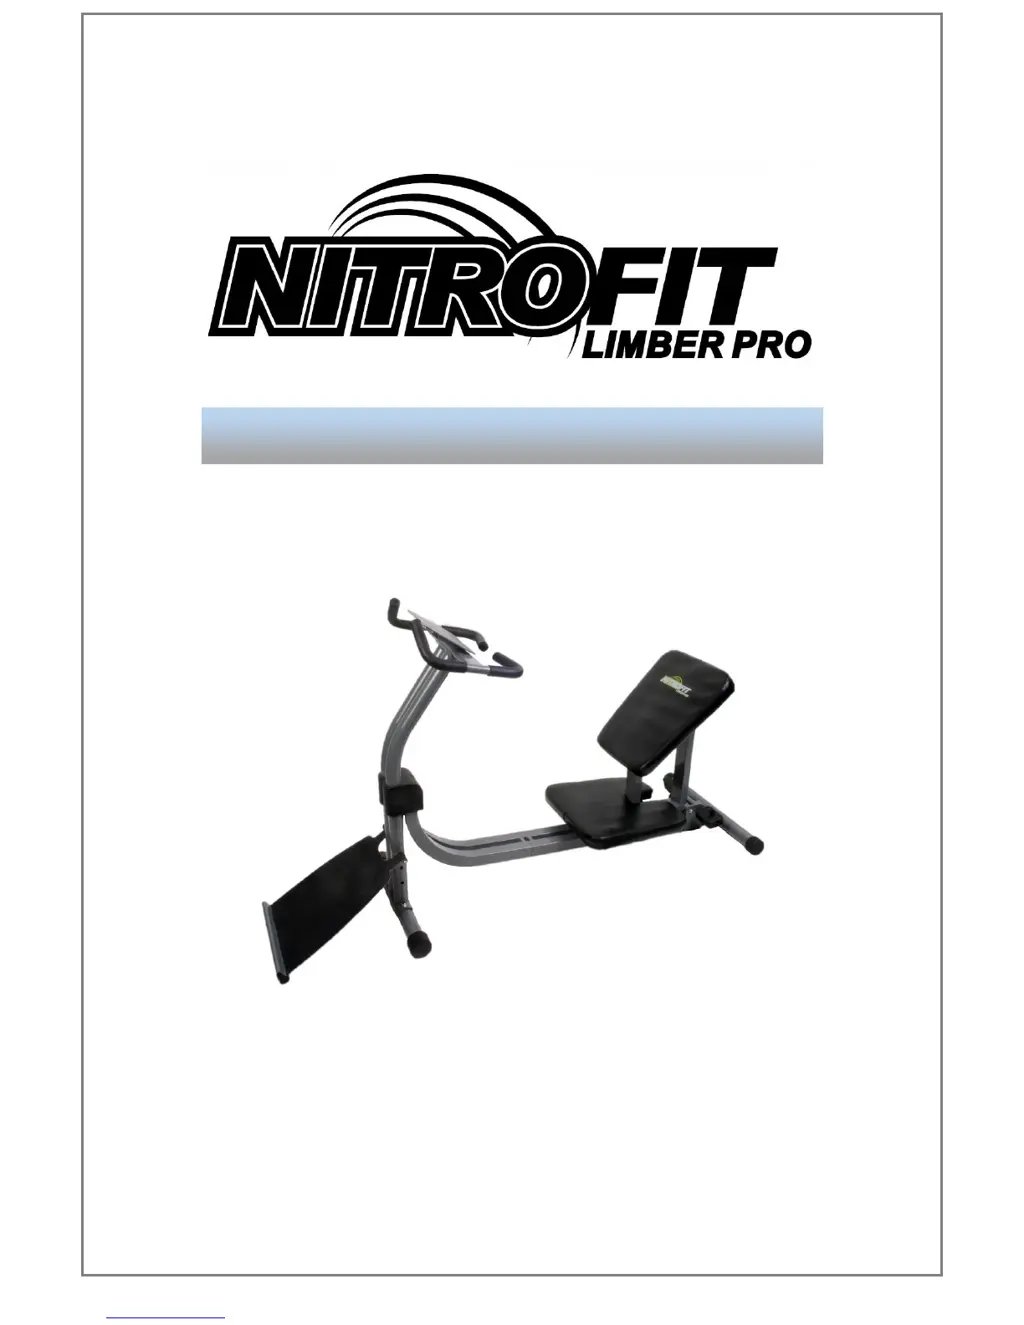
Why does my Medvibe Nitrofit Limber Pro Fitness Equipment machine flex significantly?
- JjasonjacksonJul 27, 2025
Significant flexing where the main tube meets the connection tube indicates you might be exceeding the machine's weight capacity. To resolve this, install the bracket support foot.