29
● Do not use the product if the power switch or safety
switch does not function correctly.
● Do not use a product with faulty or missing handles.
● Do not modify the product.
● The product must only be used for its intended purpose.
● Stop the product and remove the battery before it is left
unattended.
● Stop the product and remove the battery if the product
operates abnormally.
● Inspect the product before use. Make sure that all screws
are tightened and that moving parts do not jam.
● Do not operate the product in a place where objects can
get stuck and be thrown out by the product. Ejected
objects can cause serious personal injury and/or material
damage.
● Stop the product and make sure that all moving parts
have stopped before you put the product down.
● Do not attempt to stop the product with your hands.
● Always hold the product in its designated handles.
● Only operate the product in daylight.
● Make sure to keep your balance at all times.
● Do not run with the product.
● Make sure that the ventilation openings are free from
debris.
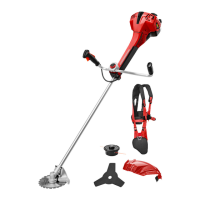
● Do not use the product with a metallic blade.
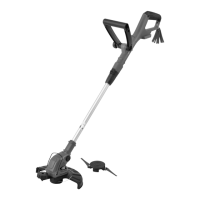
3 Assembly
Warning! Remove the battery before you do any work
on the product.
3.1 To attach the trimmer guard and
distance wheel
Figure 2
1 Put the trimmer guard onto the motor unit and attach
it with the 2 screws.
2 Put the distance wheel onto the trimmer guard and
attach it with the 2 screws.
3.2 To attach the front handle
Figure 3
1 Remove the front handle screw.
2 Pull the ends of the handle apart lightly.
3 Put the handle onto the handle holder.
4 Attach the front handle screw.
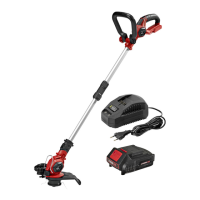
4 Operation
4.1 To replace the trimmer spool
Figure 4
1 Remove the battery from the product.
2 Push the release buttons on the trimmer spool cap
and remove it.
3 Remove the old trimmer spool.
4 Put the 2 trimmer lines of the new trimmer spool
through the 2 trimmer line outlets.
5 Put the trimmer spool inside the trimmer spool cap.
Note! The side of the trimmer spool with arrows must be
visible when you have install it inside the trimmer spool cap.
6 Put the trimmer spool cap into the trimmer spool slot.
Make sure that the trimmer spool cap clicks into
place.
4.2 To adjust the front handle
Figure 5
1 Loosen the front handle screw.
2 Adjust the front handle to an applicable position.
3 Tighten the front handle screw.
4.3 To adjust the telescopic shaft
Figure 6
1 Loosen the telescopic shaft locking nut.
2 Adjust the telescopic shaft to an applicable length.
3 Tighten the telescopic shaft locking nut.
4.4 To adjust the trimmer angle
Figure 7
1 Push and hold the angle adjustment locking button.