ASSEMBLY
Step14
Reapt Step 1 to Step 8.
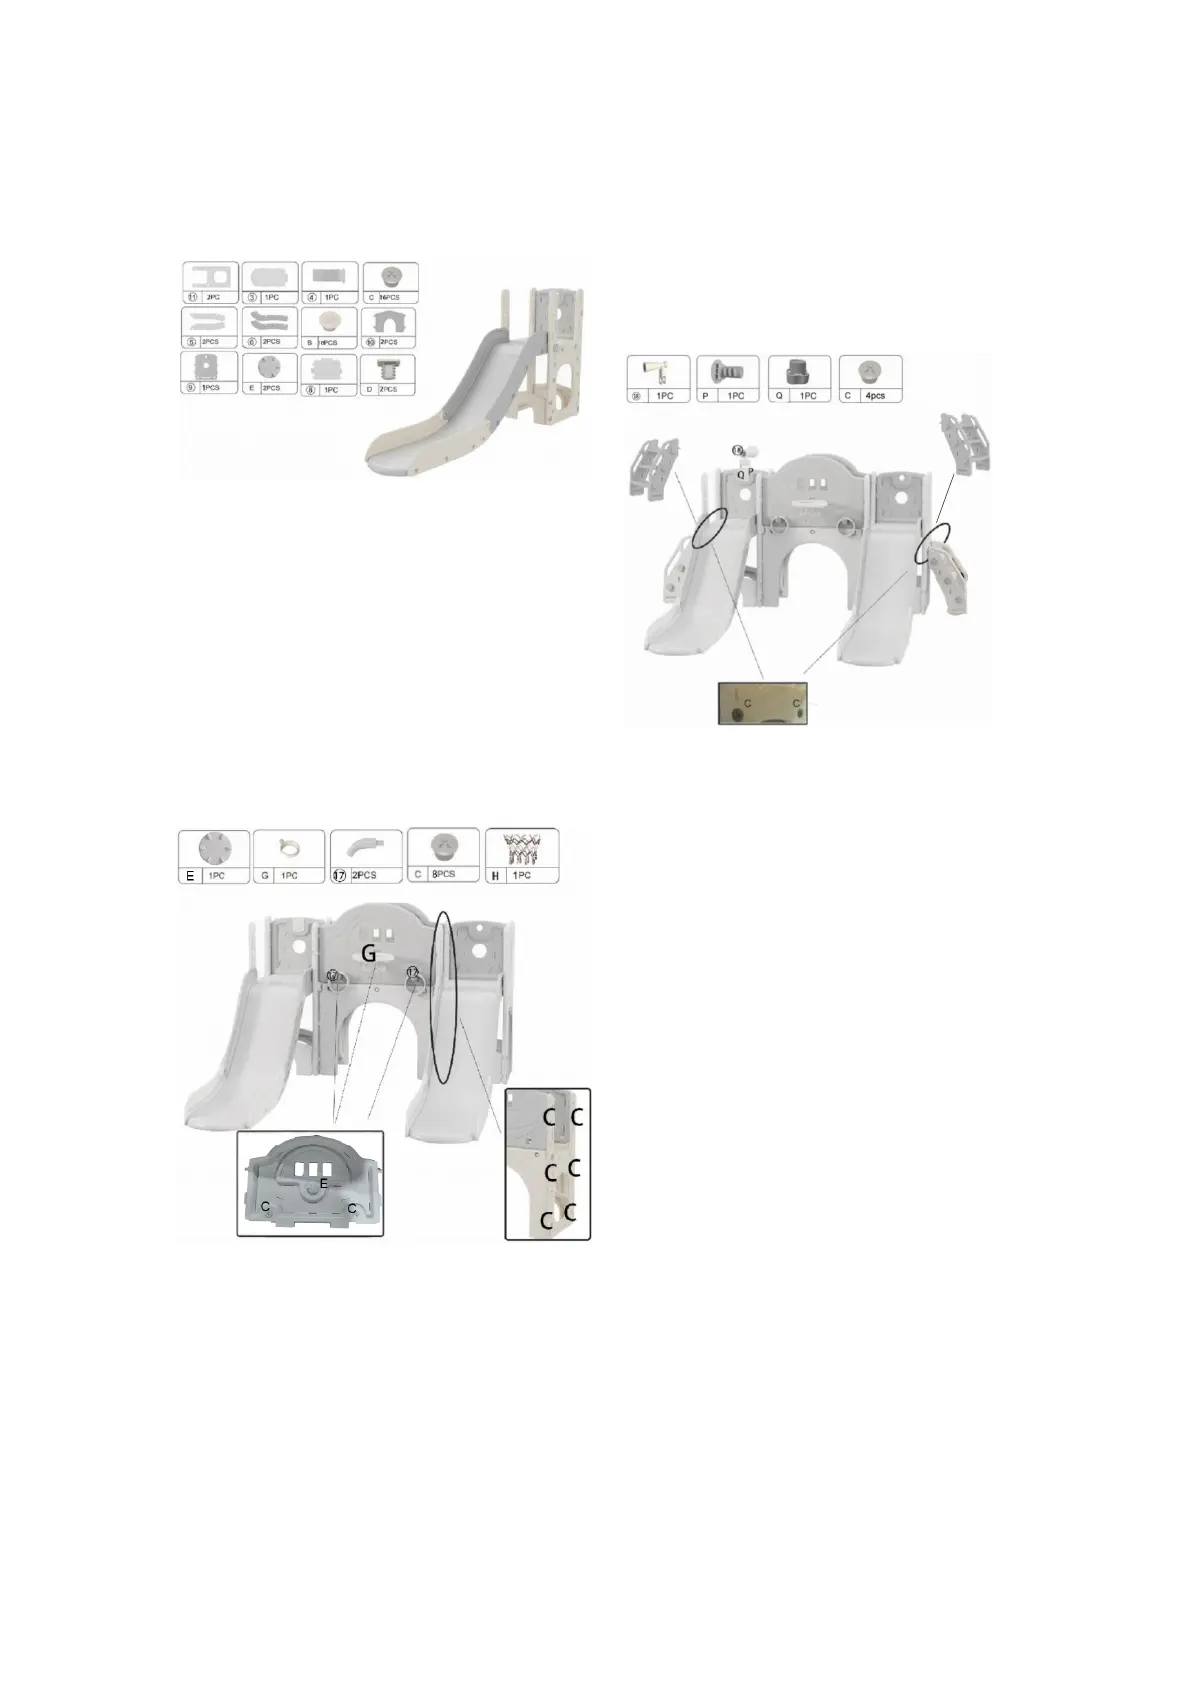
Step15
1.Connect the STEP 14 assembled parts
to the STEP 11 assembled parts, Secure
with 6 Screw C.
2. Connect the 2 Part 17 to Part 14,
Secure with 2 Screw C
3.Tie the Part H to the Part G, then
connect the Part G to the Part 14, Secure
with Screw E .
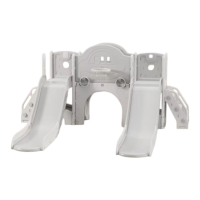
Step16
1.Connect the STEP 13 assembled parts
to the STEP 15 assembled parts, Secure
with 4 Screw C.
2. Connect the Part 18 to the Part ⑨,
Secure with Screw P&Q.
 Loading...