Step7
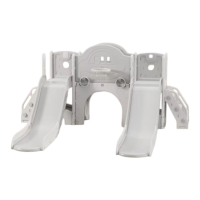
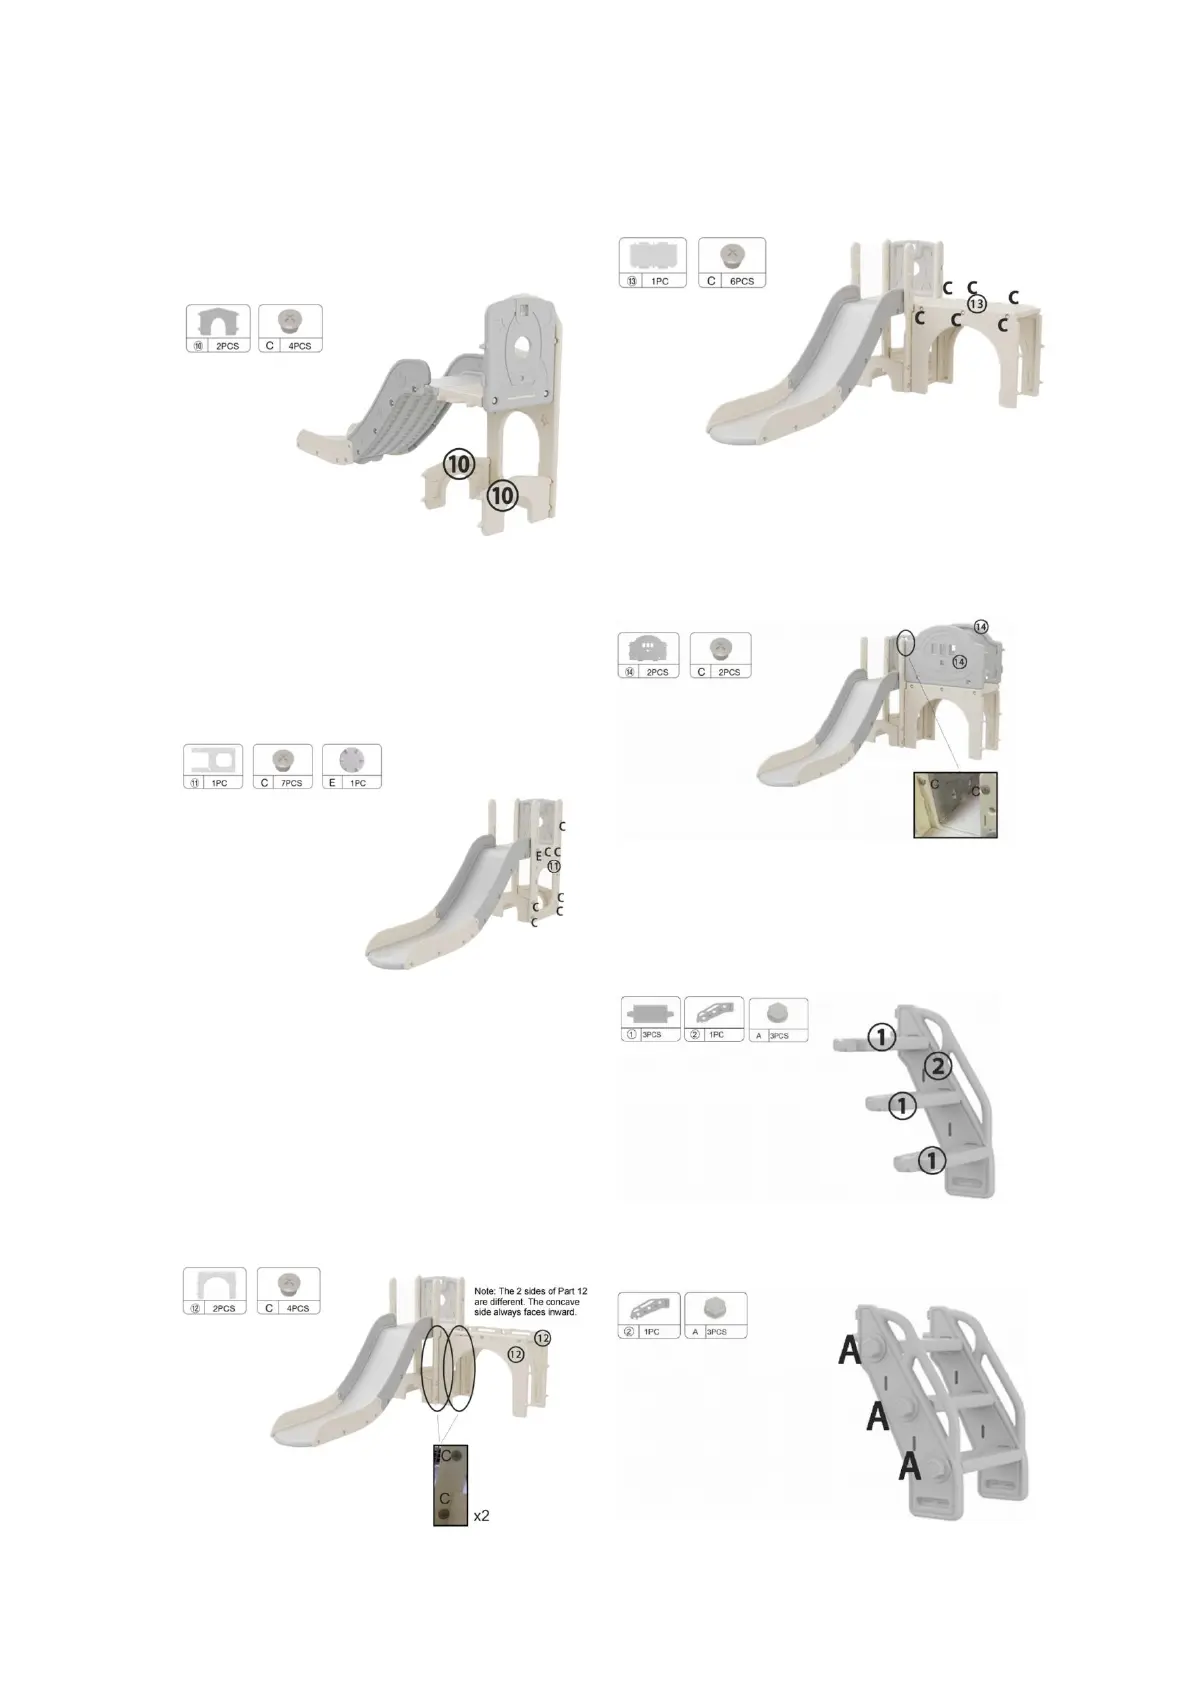
Connect the 2 Part ⑩ to the Part ⑦ ,
secure with 4 Screw C.
Step8
Connect the Part 11 to the STEP 7
assembled parts, secure with 7 Screw C
and Screw E.
Step9
Connect the 2 Part 12 to the STEP 8
assembled parts, secure with 4 Screw C.
For better stability the space around the
screw hole is rather tight with limited
vertical clearance. Push the screw in first,
and then use a screw hat to twist the
screw.
Step10
Connect the Part 13 to the STEP 9
assembled parts secure with 6 Screw C.
Step11
Connect the 2 Part 14 to the STEP 10
assembled parts, secure with 2 Screw C.
Note: The 2 sides of Part 14 are different
The concave side always faces inward.
Step12
Connect the 3 PCS Part ① to the Part ②,
secure with 3 Screw A.
Step13
Connect the other Part 2 to the STEP 12
assembled parts,secure with 4 Screw A.
 Loading...