POWER TRIM
Page 5B-22 90-855347R1 JANUARY 1999
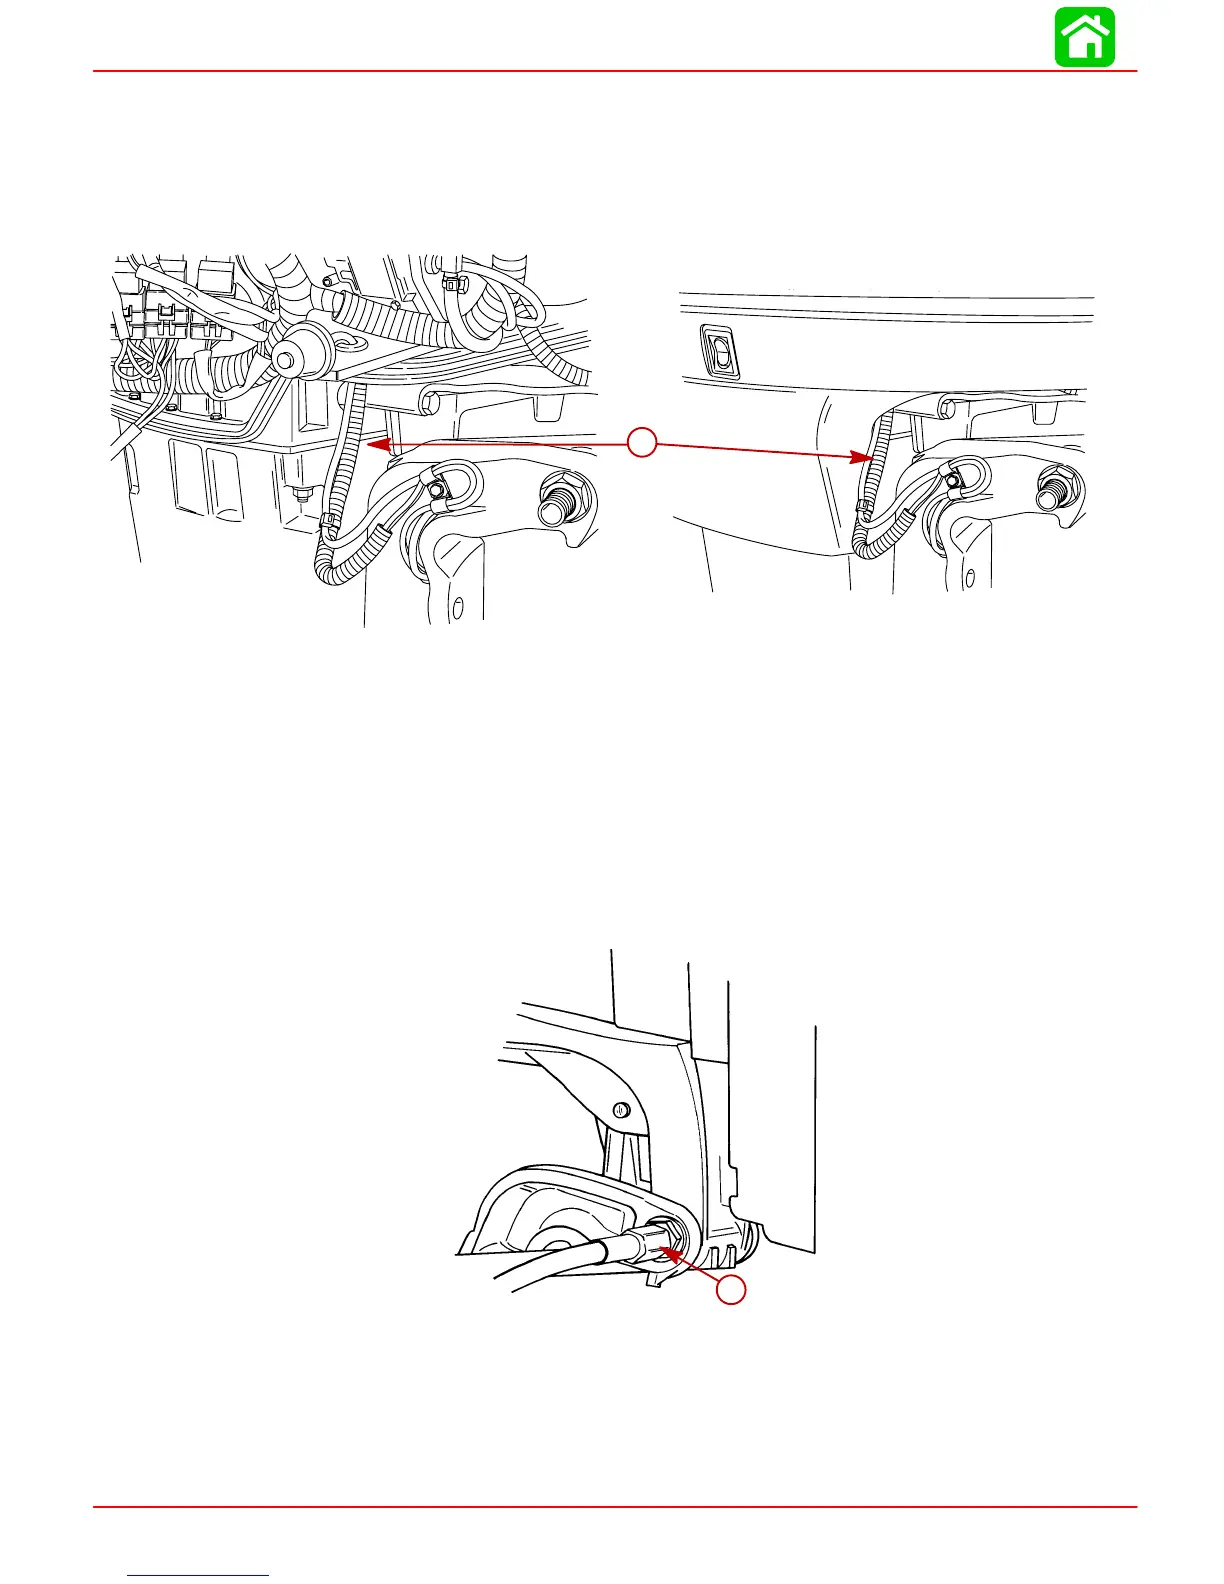
6. Connect trim motor wires to solenoids. Refer to Wiring Diagrams in this manual. Route
trim wires as specified in this manual.
NOTE: The 2 power leads going to the trim motor should be encapsulated with conduit
tubing. If tubing has not been previously installed, order 32-828547-353 and cut to ap-
propriate length.
56921
56922
a
a-Conduit Tubing
7. Apply marine sealer to shanks of mount bolts and install transom mount bolts.
IMPORTANT: Do not use an impact driver to tighten transom mount bolts.
Apply marine sealer to threads of mount bolts. Secure with flat washers and locknuts. Be
sure installation is watertight.
8. Tighten tilt tube nut securely.
IMPORTANT: Outboards equipped with thru-the-tilt-tube steering: Tighten steering
cable retaining nut securely to tilt tube.
51354
a
a-Steering Cable Retaining Nut
9. Apply Quicksilver Liquid Neoprene (91-25511--2) on all electrical connections.